
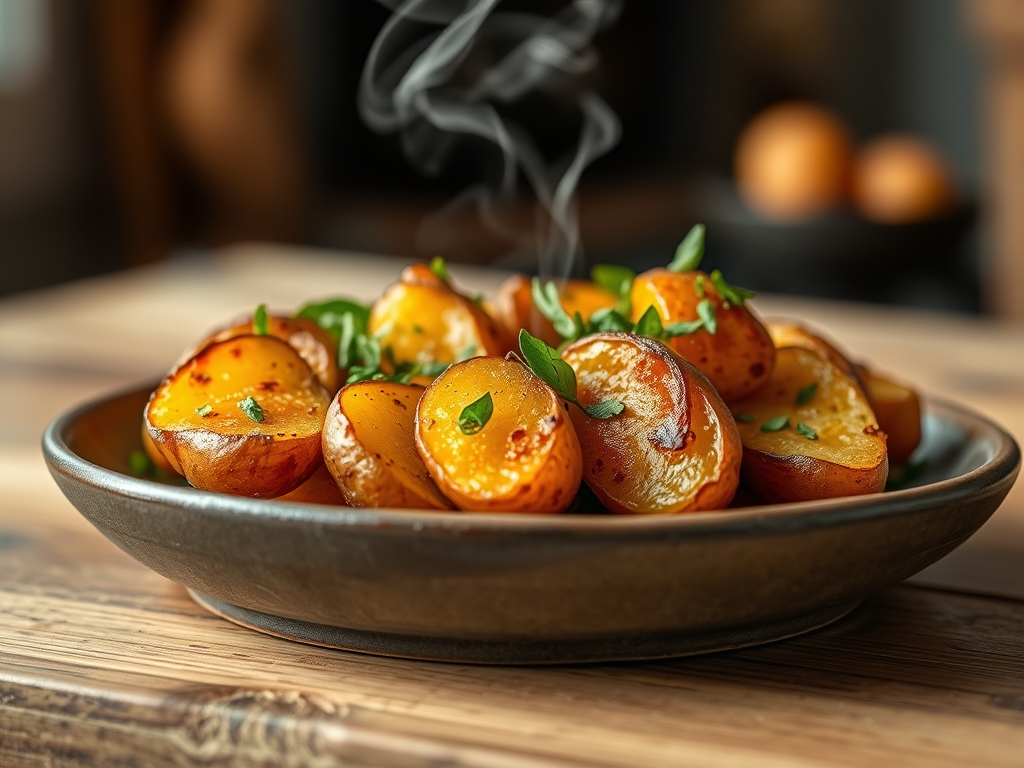
Picture the sound of a heavy-bottomed skillet meeting a cold burner. Now, imagine the scent of rosemary needles surrendering their volatile oils into a pool of shimmering fat. We are not just making dinner; we are engineering the perfect bite. When searching for easy fingerling potato recipes, most home cooks settle for "soft." We are aiming for a shattering exterior and a crumb that mimics silk. Fingerlings are unique because they possess a high surface-area-to-volume ratio. This means more skin for Maillard reactions and less water-heavy starch to turn into a gummy mess. They are the heirlooms of the root world, packed with a buttery density that standard Russets simply cannot replicate. Today, I am pulling back the curtain on the professional techniques that turn a humble bag of spuds into a restaurant-quality side dish. We will focus on the interplay of heat, pH levels, and fat emulsification to ensure every single tuber is a masterpiece of texture and flavor.
The Gathers:
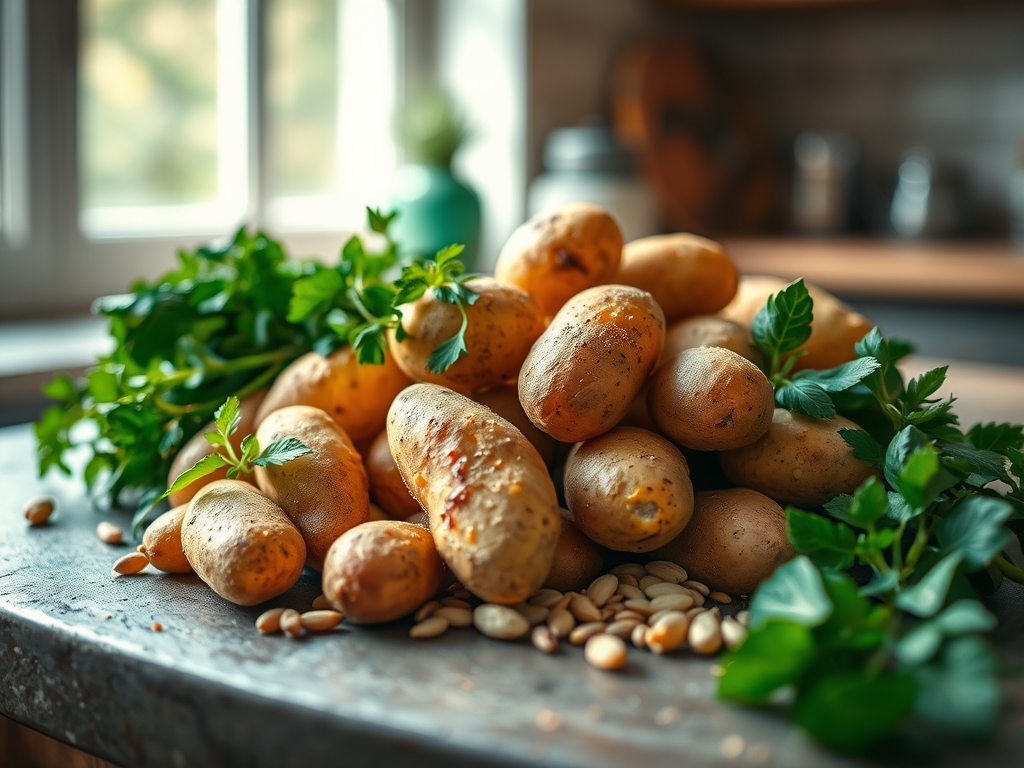
To begin, clear your workstation with a bench scraper to ensure a sterile, organized field. You will need two pounds of multi-colored fingerling potatoes; look for firm skins without any green tint, which indicates solanine development. For the fat, we are using a combination of clarified butter and high-smoke-point avocado oil. Clarified butter allows us to reach higher temperatures without burning the milk solids. You will also need four cloves of garlic, a bunch of fresh thyme, and high-quality Maldon sea salt. The salt is not just for flavor; it is a desiccant that draws moisture away from the skin to facilitate a faster crisp.
For smart substitutions, if you are out of clarified butter, use duck fat for a more savory, viscous mouthfeel. If you want a piquant kick, swap the thyme for fresh oregano and a pinch of red pepper flakes. Always use a digital scale for your salt measurements. A standard rule is 1.5 percent of the total weight of the potatoes. This precision ensures that the interior is seasoned through osmosis without making the exterior overly saline.
The Clock
Efficiency in the kitchen is about managing the "Chef's Flow." Total active prep time is exactly twelve minutes, while the total cook time spans forty-five minutes. We start with a ten-minute parboil. This is non-negotiable. Parboiling gelatinizes the exterior starch, which later dehydrates in the oven to create that coveted crunch. While the potatoes simmer, you will prepare your aromatics. The roasting phase takes twenty-five to thirty minutes at a high heat of 425 degrees Fahrenheit. The final five minutes are reserved for the "infusion window," where we add fresh herbs and garlic so they toast without turning bitter. By syncing these stages, you ensure the potatoes hit the table at their thermal peak.
The Masterclass
1. The Alkaline Parboil
Place your potatoes in a saucier filled with cold, heavily salted water. Add half a teaspoon of baking soda. This raises the pH of the water, breaking down the pectin on the potato surface. This creates a starchy slurry on the outside of each tuber.
Pro Tip: This slurry is the secret to a thick crust. By increasing the surface area through chemical breakdown, you provide more sites for the Maillard reaction to occur once they hit the hot oil.
2. The Steam Dry
Once fork-tender, drain the potatoes and let them sit in the colander for three minutes. Shake them vigorously. You want to see "fuzzy" edges. This is the mechanical roughening of the gelatinized starch.
Pro Tip: Do not skip the rest. Residual heat causes steam to escape. If you roast a wet potato, you are steaming it, not frying it. Surface moisture is the enemy of the crunch.
3. The Fat Infusion
While the potatoes are still hot, toss them in a bowl with your oil and melted butter. Use a microplane to zest a bit of lemon over them. The fat should fully coat every crevice of the roughened surface.
Pro Tip: The lemon zest contains essential oils that are fat-soluble. By adding them now, you infuse the cooking medium itself, ensuring the flavor penetrates the skin rather than just sitting on top.
4. The High-Heat Roast
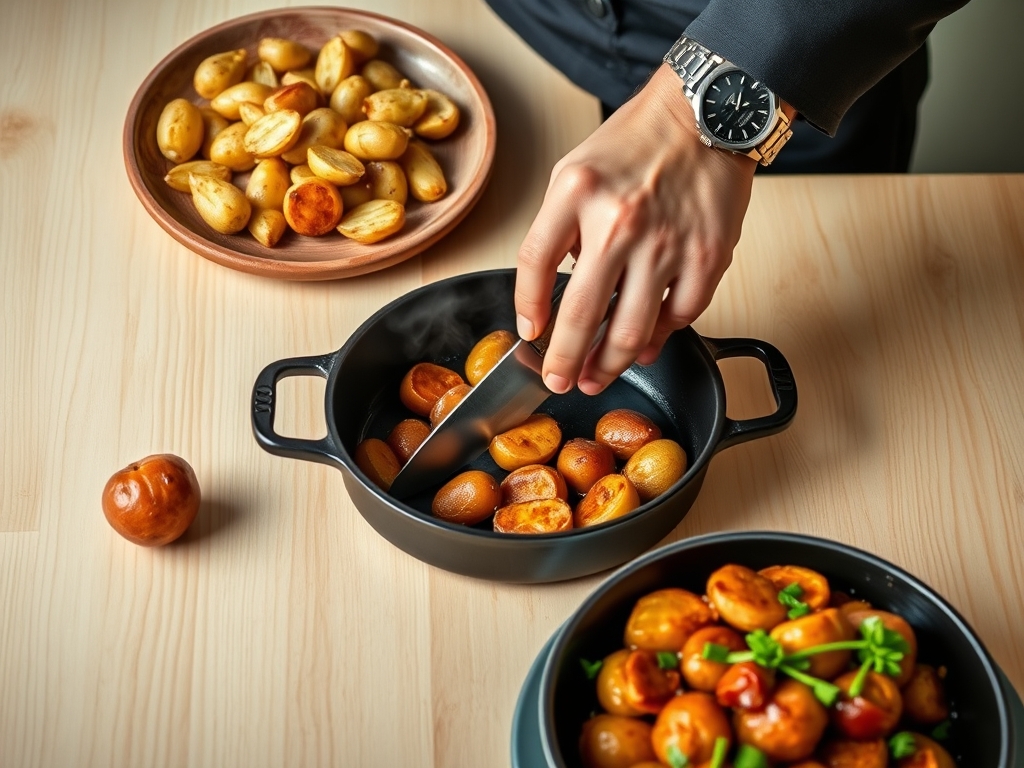
Spread the potatoes on a preheated heavy-duty sheet pan. Ensure they are not touching. If you crowd the pan, the potatoes will release moisture and steam each other.
Pro Tip: Preheating the pan prevents the potatoes from sticking. It creates an immediate sear through conduction, which locks the interior moisture in while the exterior begins to dehydrate.
5. The Aromatic Finish
In the last five minutes of roasting, toss in your smashed garlic cloves and thyme sprigs. Use tongs to rotate the potatoes so they are coated in the now-flavored fat.
Pro Tip: Garlic burns at 350 degrees Fahrenheit. By adding it at the end, you capture the sweet, roasted notes without the acrid flavor of carbonized garlic.
The Deep Dive
From a macro nutrition perspective, fingerling potatoes are a powerhouse of complex carbohydrates and potassium. They provide sustained energy without the rapid glucose spike associated with processed grains. For dietary swaps, vegans can substitute the butter with a high-quality extra virgin olive oil or coconut oil for a subtle tropical undertone. For those following a Keto lifestyle, keep portions small and pair with high-protein fats like ribeye drippings to balance the glycemic load.
The "Fix-It" guide for common pitfalls:
- Soggy Potatoes: Usually caused by overcrowding the pan. Fix this by splitting the batch across two pans to allow for proper airflow and evaporation.
- Burned Herbs: If your herbs turned black, you added them too early. Next time, wait until the last five minutes or use a warm oil infusion post-roast.
- Uneven Cooking: This happens when potatoes vary in size. Use your bench scraper to halve the larger tubers so every piece has a similar thermal mass.
For meal prep, reheating is a science. Never use a microwave; it turns the starch into a rubbery polymer. Instead, use a toaster oven at 400 degrees for eight minutes. This re-activates the fats and re-crisps the exterior, providing "day-one" quality even forty-eight hours later.
The Wrap-Up
Mastering easy fingerling potato recipes is about understanding the chemistry of the kitchen. By controlling the pH during the boil and managing the moisture levels before the roast, you elevate a simple root vegetable into a culinary event. These ten secrets represent the difference between a home cook and a chef. Go ahead and grab your favorite heavy-bottomed skillet and start experimenting. Your kitchen is your laboratory; let the Maillard reaction be your guide to the perfect dinner.
The Kitchen Table
Why are my roasted potatoes always soft?
Softness usually stems from excess surface moisture or overcrowding the roasting pan. Ensure you steam-dry the potatoes after boiling and give each tuber at least an inch of space on the sheet pan to allow for proper evaporation and crisping.
Can I roast fingerlings without boiling them first?
You can, but the texture will be inferior. Parboiling gelatinizes the starches and creates a shaggy surface. Without this step, the skin remains smooth and thin, preventing the development of a thick, crunchy crust that characterizes professional-grade roasted potatoes.
What is the best oil for roasting at high heat?
Use oils with a high smoke point like avocado oil, grapeseed oil, or clarified butter. Avoid extra virgin olive oil for high-heat roasting above 400 degrees, as it can break down and develop bitter, off-flavors during the long cooking process.
How do I stop garlic from burning in the oven?
Add aromatics like garlic and fresh herbs only during the final five to ten minutes of roasting. This provides enough time to render the flavors into the oil without reaching the combustion point that makes garlic taste bitter and burnt.