
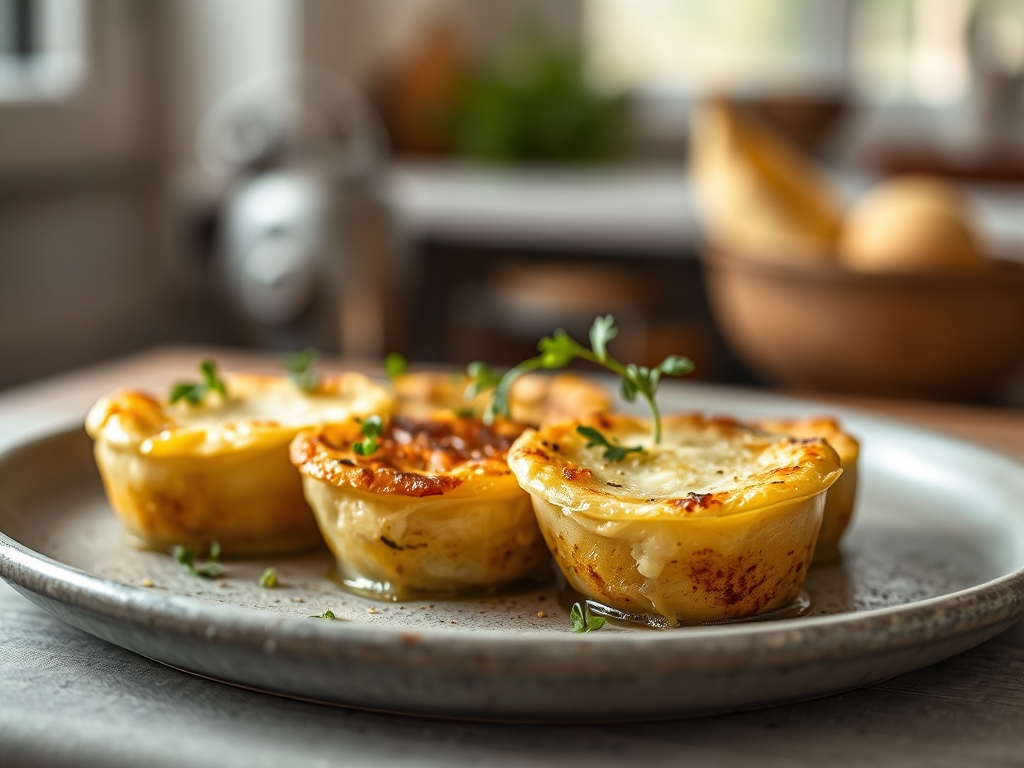
Imagine the scent of bubbling cream and earthy rosemary wafting through your kitchen as you pull a golden, bubbling dish from the oven. We are redefining comfort food today. By mastering these healthy scalloped potato recipes, you can enjoy that iconic velvet texture without the heavy caloric debt typically associated with traditional French gratins.
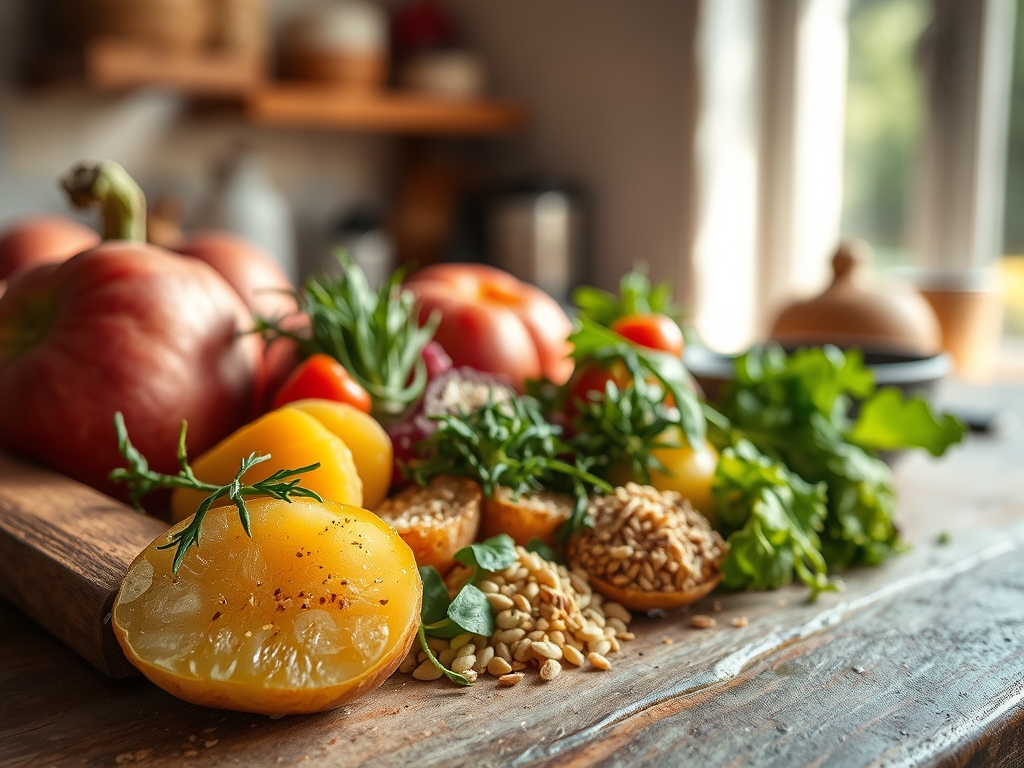
The Gathers:
Setting up your station is the first step toward culinary excellence. For these healthy scalloped potato recipes, we prioritize high-starch tubers like Russets or Yukon Golds. Russets provide a high amylopectin content, which helps thicken our sauce naturally as the starch granules swell and burst during the baking process.
Your mise-en-place should include a sharp mandoline for uniform slicing; precision is vital here because uneven slices lead to inconsistent cooking. You will also need a saucier or a heavy-bottomed skillet to prepare your base. Instead of heavy cream, we utilize "Smart Substitutions" like unsweetened almond milk thickened with a touch of arrowroot powder or a pureed cauliflower base. This creates a viscous liquid that mimics the mouthfeel of dairy fat.
Gather piquant aromatics: fresh thyme, smashed garlic cloves, and shallots. Use a microplane to zest a hint of nutmeg into your sauce; this spice contains myristicin, which provides a warm, woody depth that enhances the earthy notes of the potato. If you are opting for a cheesy crust, choose a sharp, aged Parmesan. The aging process breaks down proteins into savory glutamates, meaning you need less volume to achieve a massive flavor profile.
The Clock
Efficiency in the kitchen is about managing the "Chef's Flow." Expect about 20 minutes of active prep time, which includes washing, peeling, and slicing your tubers. The mandoline reduces this time significantly. The baking phase is the longest interval, typically requiring 45 to 60 minutes at 375 degrees Fahrenheit.
The "Flow" involves prepping your sauce while the oven preheats. If you par-boil your potato slices for three minutes in salted water before layering, you can shave fifteen minutes off the total bake time. This technique, known as blanching, also helps prevent enzymatic browning by deactivating the polyphenol oxidase enzymes before they can react with oxygen.
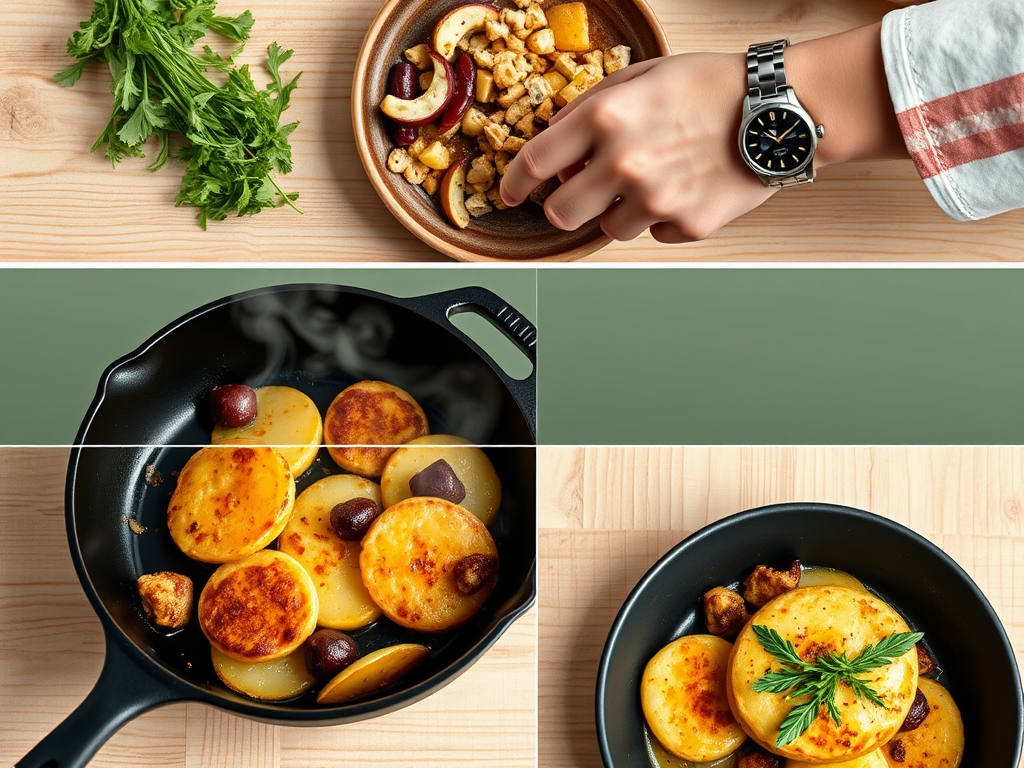
The Masterclass
1. Precision Slicing and Starch Management
Peel your potatoes and slice them to exactly one-eighth of an inch thick. Do not soak them in water after slicing; we want to preserve the surface starch. This starch is the natural emulsifier that will bind your sauce together.
Pro Tip: Keeping the starch on the surface facilitates the Maillard reaction on the top layer, creating that gorgeous brown crust. If you wash the starch away, your sauce will likely remain watery and thin.
2. Infusing the Liquid Base
In your saucier, combine your low-fat milk or plant-based alternative with garlic and herbs. Bring it to a gentle simmer, but do not boil. Use a digital scale to measure your thickener precisely. Whisk in your arrowroot or flour roux until the liquid is slightly thickened.
Pro Tip: Infusing the liquid while cold and bringing it to heat allows the volatile oils in the herbs to infuse more deeply into the fat molecules of the liquid, resulting in a more aromatic dish.
3. The Structural Layering
Lightly grease your baking dish with olive oil. Arrange the slices in overlapping concentric circles. This is not just for aesthetics; overlapping layers create small pockets that trap steam, ensuring every slice is cooked through by the time the top is browned.
Pro Tip: This layering method utilizes conduction to move heat from the dish walls through the potatoes, while the trapped steam provides convection within the layers for even softening.
4. The Tension of the Bake
Pour your infused liquid over the potatoes until they are just submerged. Cover the dish tightly with foil for the first 30 minutes. This creates a pressurized environment that breaks down the pectin in the potato cell walls.
Pro Tip: Covering the dish prevents moisture loss. If the liquid evaporates too quickly, the starches will crystallize rather than gelatinize, leading to a gritty texture.
5. The Final Broil and Set
Remove the foil, sprinkle your light cheese or nutritional yeast, and bake for the final 15 minutes. For a perfect finish, use the broiler for the last two minutes to render any remaining fats and crisp the edges.
Pro Tip: Always allow the dish to rest for ten minutes before serving. This allows for thermal carryover to finish the center and gives the starch molecules time to "set," preventing the sauce from running all over the plate.
The Deep Dive
When we look at the macro nutrition of these healthy scalloped potato recipes, the shift is dramatic. By swapping heavy cream for a cauliflower-almond base, you reduce the saturated fat by nearly 70 percent. A standard serving becomes a complex carbohydrate powerhouse rather than a fat-heavy side dish.
Dietary Swaps:
For a Vegan version, use cashew cream for its high fat-to-protein ratio, which provides a luxurious silkiness. For Keto enthusiasts, replace potatoes with sliced daikon radish or turnips; these vegetables have a lower glycemic index but a similar structural integrity when baked. Gluten-Free diners should always opt for cornstarch or arrowroot as the thickening agent.
The Fix-It:
- Curdled Sauce: This usually happens if the heat is too high or the acid content is too high. Fix it by whisking in a splash of warm milk to re-emulsify the proteins.
- Crunchy Potatoes: If the potatoes are still hard, your slices were too thick. Add a quarter cup of broth, cover tightly, and return to the oven for 10 minutes.
- Greasy Surface: This occurs if you use low-quality cheese. Use a bench scraper to lift the portions and blot the excess oil with a paper towel before serving.
Meal Prep Science:
To maintain "day-one" quality, reheat leftovers in the oven at 325 degrees rather than the microwave. Microwaves vibrate water molecules too violently, which can cause the starch structure to collapse and become "gluey." The oven provides gentle, ambient heat that restores the crispness of the top layer.
The Wrap-Up
Mastering healthy scalloped potato recipes is about understanding the chemistry of the potato and the physics of the oven. By manipulating starch and controlling moisture, you can create a masterpiece that feels indulgent but supports your wellness goals. Whether you are using a saucier to craft a silk-like infusion or a mandoline for geometric perfection, your kitchen is now a laboratory of flavor. Go forth and bake with confidence!
The Kitchen Table
How do I keep my healthy scalloped potatoes from being watery?
Ensure you use starchy potatoes like Russets and do not rinse them after slicing. The natural surface starch acts as a thickener. Additionally, let the dish rest for ten minutes after baking to allow the sauce to thicken and set.
Can I make these healthy scalloped potato recipes ahead of time?
Yes. You can assemble the dish and refrigerate it for up to 24 hours before baking. If you do this, add five minutes to the covered baking time to account for the cold temperature of the ceramic dish.
What is the best substitute for heavy cream in scalloped potatoes?
A blend of unsweetened almond milk and pureed steamed cauliflower offers the best nutritional profile. It provides a creamy, viscous texture and a neutral flavor that allows the garlic and herbs to shine without the heavy saturated fats.
Why are my potatoes turning gray?
This is caused by enzymatic browning. To prevent this, keep your sliced potatoes covered with a damp cloth or submerge them in the prepared sauce immediately after slicing to block oxygen exposure before the dish enters the oven.