
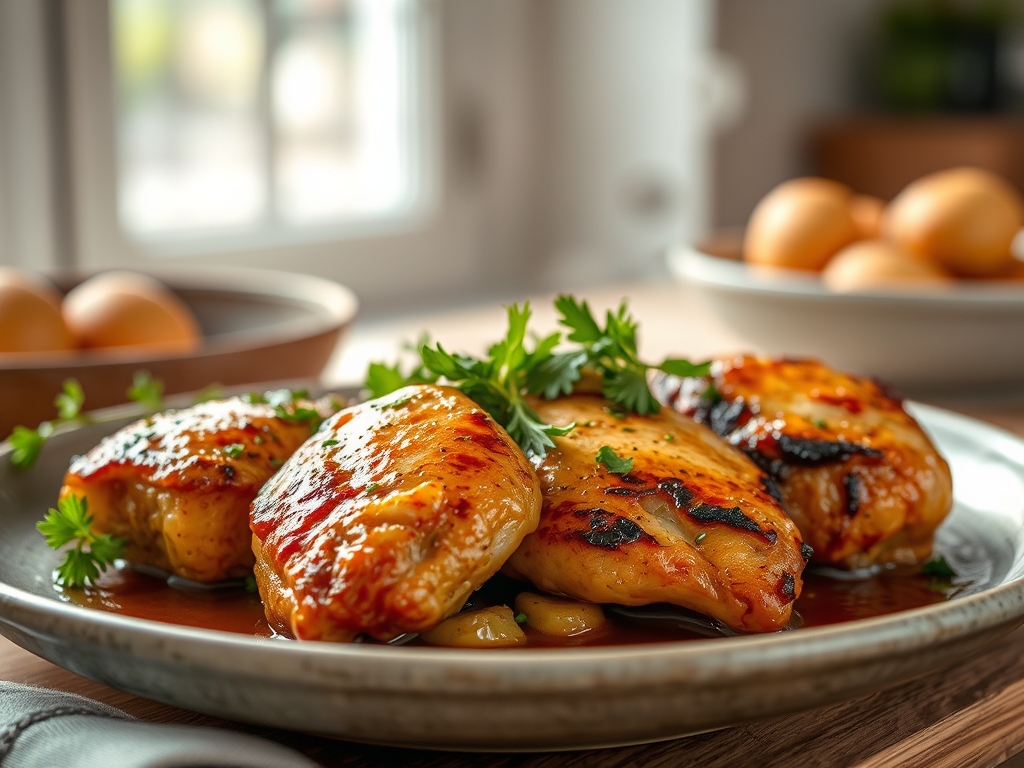
Close your eyes and listen for the sound of a heavy-bottomed skillet meeting a cold drop of oil. That sharp, rhythmic hiss is the preamble to a culinary masterpiece. We have all been there; staring at a pack of pale, uninspired breasts and wondering how to transform them into something legendary. Finding really good chicken recipes is less about the list of ingredients and more about mastering the physics of the pan. It is about understanding how heat interacts with protein fibers to create that elusive, golden-brown crust while maintaining a gushing, tender interior.
When we talk about the ultimate bird, we are chasing the Maillard reaction. This is the chemical dance between amino acids and reducing sugars that occurs around 285 degrees Fahrenheit. It creates hundreds of different flavor compounds that simply do not exist in poached or boiled meat. Whether you are craving a piquant lemon butter sauce or a deeply infused smoky rub, the foundation remains the same. You need control, precision, and a bit of kitchen swagger. We are moving beyond basic "cooked" chicken and entering the realm of professional-grade textures. Grab your favorite apron; we are about to turn your kitchen into a high-end bistro.
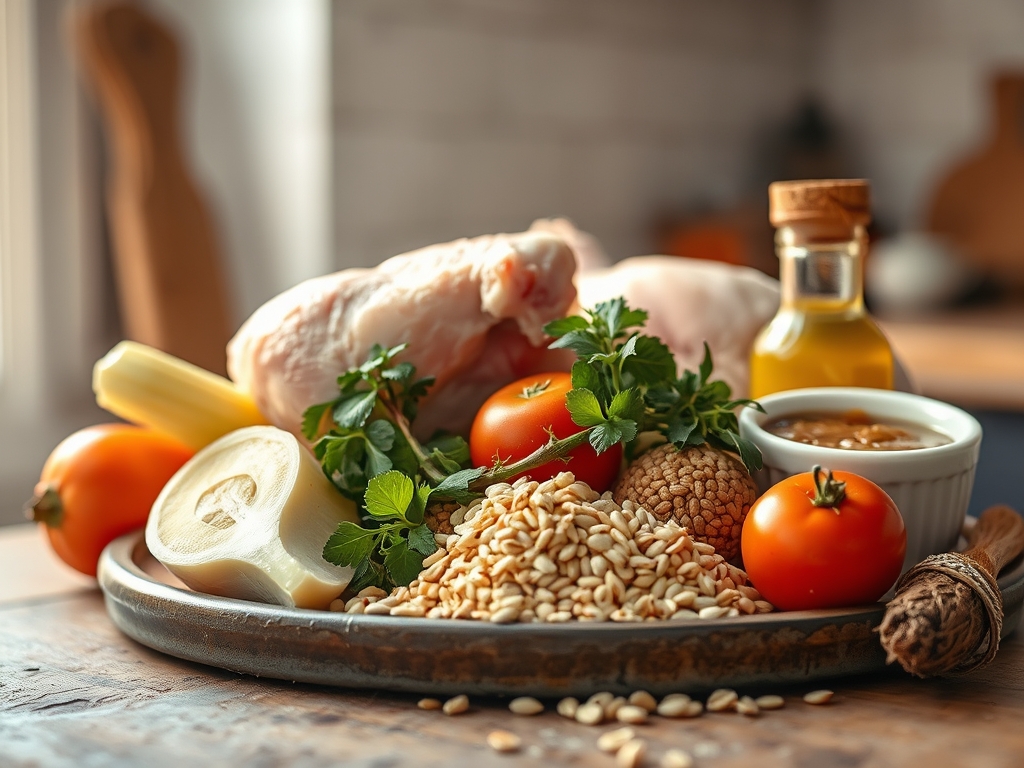
The Gathers:
Before you even think about igniting the burner, your mise-en-place must be impeccable. Start with high-quality poultry; look for air-chilled options which have less water retention, ensuring a better sear. You will need a coarse kosher salt for its ability to draw out moisture and then re-absorb as a concentrated brine. Gather your aromatics: fresh thyme sprigs, fat cloves of garlic, and perhaps a shallot for a more sophisticated, viscous pan sauce.
Your toolkit is your best friend here. A digital scale ensures your portions are uniform for even cooking times. You will want a microplane for zesting citrus or grating garlic into a fine paste, which prevents burning in high-heat environments. A saucier is essential if you plan on whisking together a delicate emulsion.
Smart Substitutions: If you find yourself without fresh lemons, a splash of high-quality white wine vinegar or a pinch of sumac can provide that necessary acid. No shallots? The white parts of green onions offer a similar delicate pungency without the aggression of a standard yellow onion. If you are avoiding butter, a high-smoke-point avocado oil mixed with a touch of ghee will provide that rich mouthfeel without the risk of scorching.
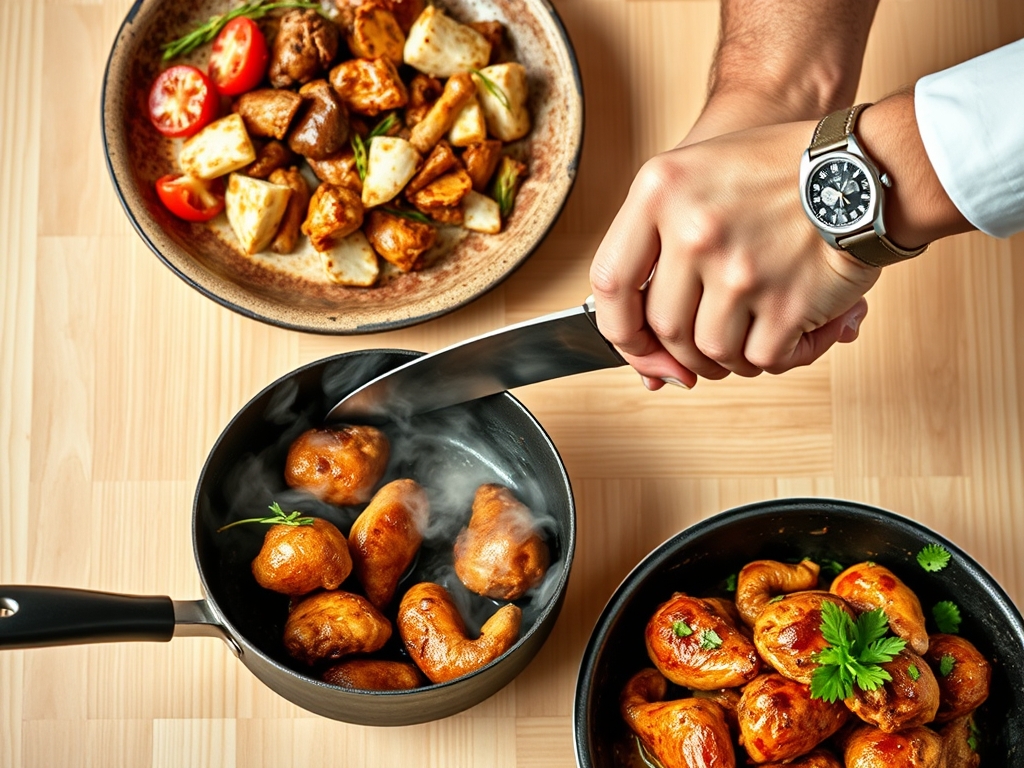
The Clock: Chef's Flow
Efficiency in the kitchen is about "Chef's Flow," the art of overlapping tasks so no time is wasted. Total active prep for these really good chicken recipes usually clocks in at 15 minutes, with cooking times varying from 8 minutes for a thin cutlet to 45 minutes for a roasted half-bird.
The secret to a stress-free service is the rest period. You must factor in at least 5 to 10 minutes of resting time post-heat. During this phase, the muscle fibers, which tightened under the heat, begin to relax and re-absorb the internal juices. If you cut too soon, those juices end up on the cutting board rather than in your mouth. Use this time to deglaze your pan or toss a crisp green salad.
The Masterclass:
1. The Dry Brine Technique
The most critical step for any recipe is the dry brine. Generously season your chicken with kosher salt at least 30 minutes before cooking. This allows the salt to penetrate the protein structure, seasoning the meat deeply rather than just the surface.
Pro Tip: This process involves osmosis; salt draws moisture out, creates a concentrated brine, and then the meat re-absorbs that liquid, breaking down tough proteins for a more tender result.
2. Achieving the Perfect Sear
Pat the skin or surface bone-dry with paper towels. Heat your heavy-bottomed skillet until the oil shimmers. Place the chicken skin-side down and do not touch it. Resistance is a sign that the proteins have not yet finished bonding.
Pro Tip: This is the Maillard reaction in action. Moving the meat too early prevents the formation of a continuous crust and causes the meat to tear.
3. Butter Basting and Aromatics
Once flipped, add a knob of cold butter, smashed garlic, and thyme to the pan. Use a large spoon to continuously pour the foaming butter over the cooked side. This adds a nutty depth and ensures the top stays moist while the bottom finishes.
Pro Tip: Basting utilizes convective heat transfer through the fat, which cooks the exterior more gently and evenly than direct contact with the pan.
4. Deglazing for Pan Sauce
Remove the chicken and discard the excess fat, leaving the brown bits (the fond) behind. Pour in a splash of dry white wine or stock. Use a bench scraper or wooden spoon to lift those flavorful bits into the liquid.
Pro Tip: Deglazing uses a solvent (liquid) to dissolve the caramelized sugars and proteins stuck to the pan, concentrating the flavor into a rich, complex sauce.
5. Managing Thermal Carryover
Always pull your chicken off the heat when it hits 160 degrees Fahrenheit on a digital thermometer. Do not wait for 165. The internal temperature will continue to rise as it rests on the board.
Pro Tip: Thermal carryover occurs because the residual heat on the surface of the meat continues to travel toward the cooler center even after the heat source is removed.
6. The Final Emulsion
To finish your sauce, whisk in a final pat of cold butter or a spoonful of heavy cream off the heat. This creates a glossy, stable emulsion that coats the back of a spoon.
Pro Tip: This is the science of lipid suspension. By adding cold fat to a hot liquid slowly, you prevent the sauce from breaking or becoming greasy.
The Deep Dive:
From a macro perspective, chicken is a lean protein powerhouse, but the preparation method dictates the final caloric density. A skinless breast is roughly 31 grams of protein per 100 grams. If you are following a Keto lifestyle, keep the skin on and lean into the butter basting for healthy fats. For Vegan guests, these same techniques (searing, deglazing, and aromatics) work beautifully with oyster mushrooms or thick-cut cauliflower steaks. Gluten-Free cooks should ensure their stock is certified and use cornstarch or a cold butter whisk-in instead of a flour-based roux for thickening.
The Fix-It:
- Rubbery Texture: This usually means the chicken was overcooked. Next time, use a meat thermometer and pull it earlier.
- Soggy Skin: You likely crowded the pan. This creates steam instead of a sear. Cook in batches to maintain high surface tension.
- Bland Interior: You skipped the dry brine. Salt needs time to travel into the center of the meat; surface seasoning isn't enough.
Meal Prep: To reheat without that "leftover" taste, avoid the microwave. Use a low oven (300 degrees) with a splash of water covered in foil to re-hydrate the proteins without over-tightening them.
The Wrap-Up:
Mastering really good chicken recipes is about respecting the chemistry of your ingredients. When you treat the bird with technical precision; drying the skin, timing the sear, and allowing for a proper rest; you elevate a simple weeknight staple into a gourmet experience. Your kitchen is a laboratory of flavor. Keep experimenting with different acids and aromatics, but never compromise on the fundamental physics of the sear. Now, go forth and cook with confidence!
The Kitchen Table:
How do I stop chicken from sticking to the pan?
Ensure your pan is properly preheated before adding oil. Once the meat is added, do not attempt to flip it until it naturally releases. This indicates the proteins have fully seared and formed a structural crust.
Is it safe to eat chicken cooked to 160 degrees?
Yes, provided you allow it to rest. The internal temperature will rise to the USDA-recommended 165 degrees Fahrenheit during the resting period due to thermal carryover, ensuring the meat is both safe and juicy.
What is the best oil for searing chicken?
Use oils with a high smoke point, such as avocado, grapeseed, or canola oil. These fats can withstand the high temperatures required for the Maillard reaction without breaking down and creating bitter, off-flavors or smoke.
Why does my chicken breast always turn out dry?
Dryness is usually caused by overcooking or failing to brine. Use a digital thermometer to monitor progress and always salt the meat at least 30 minutes before cooking to help the cells retain moisture during the heating process.