
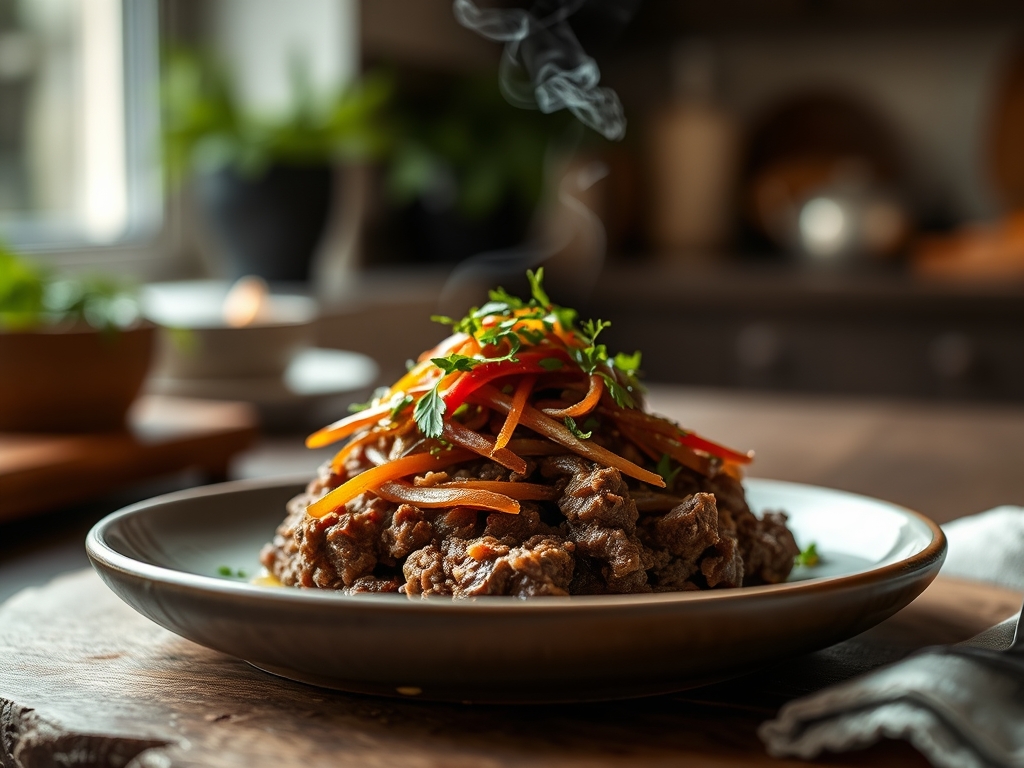
Close your eyes and listen for that distinctive, aggressive sizzle. If you have ever felt underwhelmed by a soggy, grey patty, it is likely because you treated your lean protein like its grain-fed cousin. Mastering grass fed ground beef recipes requires a fundamental shift in physics and heat management. Because these cattle graze on open pasture, their meat is leaner, more muscular, and packed with a complex, mineral-forward profile that demands respect and a very hot heavy-bottomed skillet. We are not just making dinner; we are engineering a masterpiece of crust and juice.
The beauty of grass-fed beef lies in its fatty acid profile. It boasts significantly higher levels of Omega-3s and Conjugated Linoleic Acid (CLA) compared to conventional beef. However, that lower intramuscular fat content means there is a razor-thin margin between a succulent sear and a dry, crumbly mess. We are going to solve that by introducing moisture-binding fats and enzymatic boosters that transform humble ground meat into a five-star experience. Whether you are aiming for a silky ragu or a crusty smash burger, the science remains the same: protect the moisture, amplify the umami, and never, ever overcrowd the pan.
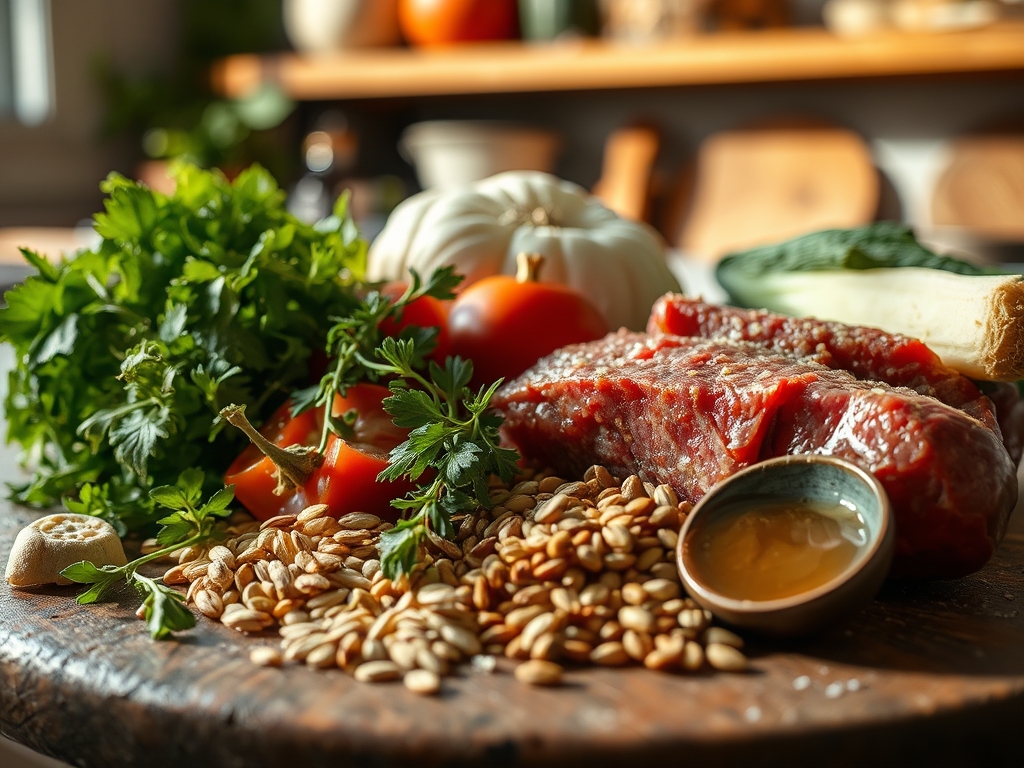
The Gathers:
To achieve a restaurant-grade finish, your mise-en-place must be precise. Start with one pound of cold, pasture-raised beef. You will need a digital scale to portion your patties or meatballs accurately, ensuring even thermal conductivity across the batch. For our six flavor boosters, gather high-viscosity liquids and piquant aromatics: aged balsamic vinegar, organic tomato paste, fish sauce (the secret to deep umami), fresh rosemary, garlic confit, and high-fat grass-fed butter.
Smart Substitutions: If you are out of fish sauce, a splash of Worcestershire or a finely grated anchovy fillet provides the same glutamic acid punch. Instead of fresh garlic, which can burn and turn bitter in a high-heat sear, use a microplane to grate frozen ginger or onion directly into the meat for instant moisture. If you need a binder but want to stay gluten-free, almond flour or crushed pork rinds offer excellent structural integrity without the heavy starch of traditional breadcrumbs.
The Clock (H2)
The "Chef's Flow" is all about timing the Maillard reaction against the internal temperature. Total preparation takes exactly 10 minutes; this includes tempering the meat and prepping your aromatics. The cooking phase is swift, usually 8 to 12 minutes depending on your desired level of doneness.
Professional timing dictates that you pull the beef from the refrigerator 15 minutes before it hits the heat. This prevents the "thermal shock" that causes muscle fibers to contract violently and squeeze out precious juices. Once the meat is in the pan, resist the urge to move it. Let the bottom develop a dark, lacquered crust for 4 minutes before using a bench scraper or sturdy turner to flip. This flow ensures you spend less time hovering over the stove and more time enjoying the aroma of infusing fats.
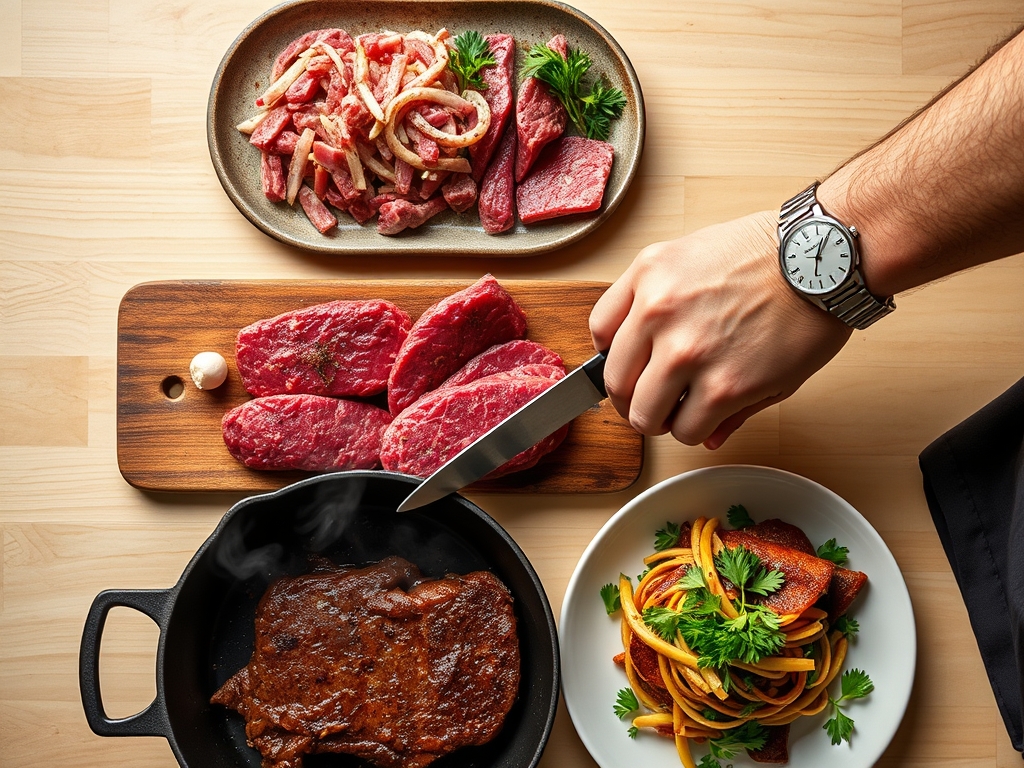
The Masterclass (H2)
1. Temper and Aerate the Protein
Gently break the cold beef apart into a chilled stainless steel bowl. Do not overwork the meat; excessive handling melts the delicate fats and leads to a rubbery texture. Use your fingertips to aerate the grind, creating small pockets that will later trap steam and rendered fat.
Pro Tip: This prevents mechanical toughness. Over-mixing causes proteins to cross-link too tightly, resulting in a dense, sausage-like consistency rather than a tender crumble.
2. The Umami Injection
Add one teaspoon of fish sauce and a tablespoon of tomato paste per pound of meat. These ingredients are rich in natural glutamates. Use a silicone spatula to fold these in until just combined. The acidity in the tomato paste helps tenderize the lean muscle fibers.
Pro Tip: This is a form of chemical seasoning. The glutamates interact with the beef's natural amino acids to create a "synergistic umami" effect that tastes meatier than the beef alone.
3. High-Heat Searing
Preheat your heavy-bottomed skillet until a drop of water dances and evaporates instantly. Add a high-smoke-point oil like avocado oil. Place the beef in the pan in a single, flat layer. Use a meat masher or the back of a spoon to ensure maximum surface contact.
Pro Tip: This maximizes the Maillard reaction. By increasing the surface area in contact with the heat, you create more flavor compounds through the browning of sugars and amino acids.
4. Deglaze and Emulsify
Once the beef is browned, a layer of "fond" (browned bits) will stick to the pan. Pour in two tablespoons of balsamic vinegar or beef bone broth. Use a wooden spoon to deglaze, scraping up every bit of flavor. Toss in a knob of cold butter at the very end to create a glossy sauce.
Pro Tip: This utilizes emulsification. The cold butter binds with the deglazing liquid to create a silky, viscous coating that clings to the meat rather than puddling at the bottom.
5. The Rest and Carryover
Transfer the beef to a warm plate and tent loosely with foil. Allow it to rest for at least 3 to 5 minutes before serving. This allows the internal pressure to stabilize and the juices to redistribute back into the center of the meat.
Pro Tip: Thermal carryover can increase the internal temperature by 5 to 10 degrees after the meat leaves the pan. Pulling the beef just before it hits your target temp ensures a juicy finish.
The Deep Dive (H2)
Nutritionally, grass-fed beef is a powerhouse. It typically contains less total fat than grain-fed beef but offers more heart-healthy fats and antioxidants like Vitamin E. For those following a Keto protocol, adding grass-fed butter or tallow during the deglazing phase ensures you hit your macro targets while maintaining superior flavor. Vegan guests can enjoy the same flavor profile by substituting the beef with a mushroom-walnut crumble, though the cooking time will decrease.
The Fix-It:
- The Meat is Greying: Your pan wasn't hot enough or you overcrowded it. Fix this by removing half the meat and cranking the heat.
- The Texture is Dry: You likely overcooked it. Fix this by folding in a tablespoon of bone broth or a dollop of Greek yogurt to restore moisture.
- The Flavor is Flat: It needs acid. A squeeze of fresh lemon juice or a dash of red wine vinegar will brighten the heavy fats instantly.
For Meal Prep, the secret to "day-one" quality is gentle reheating. Avoid the microwave, which vibrates water molecules and toughens the protein. Instead, use a saucier over low heat with a splash of water or broth. Cover the pan to create a steam chamber, which gently rehydrates the beef without overcooking the core.
The Wrap-Up (H2)
Elevating your grass fed ground beef recipes is all about embracing the science of the sear and the power of umami. By respecting the lean nature of the meat and using professional tools like a heavy-bottomed skillet and a digital scale, you transform a basic ingredient into a culinary event. Remember: keep it hot, keep it quick, and always let it rest. You have the tools and the technique; now go make something incredible!
The Kitchen Table (H2)
Why is my grass-fed beef always dry?
Grass-fed beef is leaner than grain-fed, so it cooks 30% faster. To prevent dryness, use a digital thermometer and pull the meat from the heat at 135 degrees Fahrenheit for a perfect medium-rare finish.
Do I need to add oil to the pan?
Yes. Because grass-fed beef has less intramuscular fat, it requires a small amount of high-smoke-point oil (like avocado oil or tallow) to facilitate heat transfer and prevent the meat from sticking to your heavy-bottomed skillet.
Can I use these tips for frozen beef?
Always thaw beef completely in the refrigerator before cooking. Cooking from frozen prevents the Maillard reaction, leading to a grey, steamed texture rather than a flavorful, browned crust. Use a paper towel to pat the meat dry before searing.
What is the best way to season grass-fed beef?
Salt your beef immediately before it hits the pan. Salting too early draws out moisture through osmosis, which interferes with the searing process. Add piquant boosters like fish sauce or garlic confit during the final stages of cooking.