
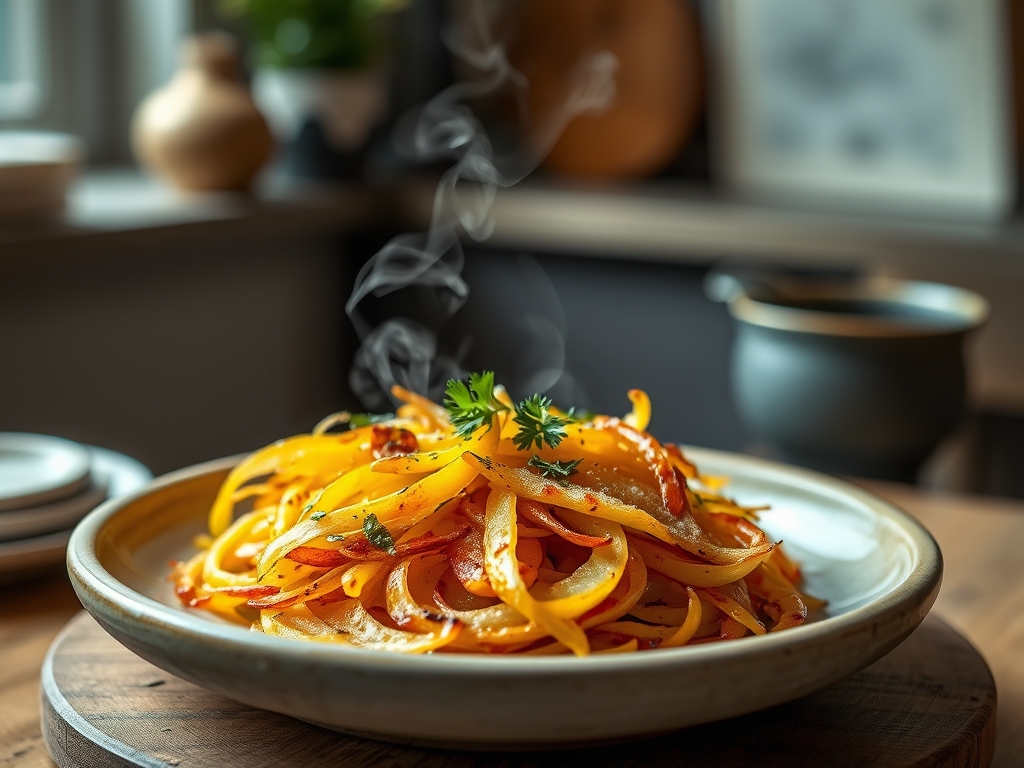
The kitchen is currently a theater of sound and scent. There is that specific, high-pitched hiss as cold starch hits shimmering oil; it is the sound of a transformation. If you are hunting for the ultimate julienne potato recipes, you have arrived at the intersection of snackable comfort and molecular precision. We are turning humble tubers into golden, architectural masterpieces today.
Potatoes are essentially bundles of water and starch held together by a pectin cellular wall. When we slice them into matchsticks, we increase the surface area exponentially. This allows for a rapid moisture escape that results in a crunch so loud it might wake the neighbors. Whether you are prepping for a movie night or looking to elevate a family dinner, mastering the julienne cut is your ticket to culinary prestige. Grab your apron and your sharpest knife; we are about to make magic.
The Gathers:
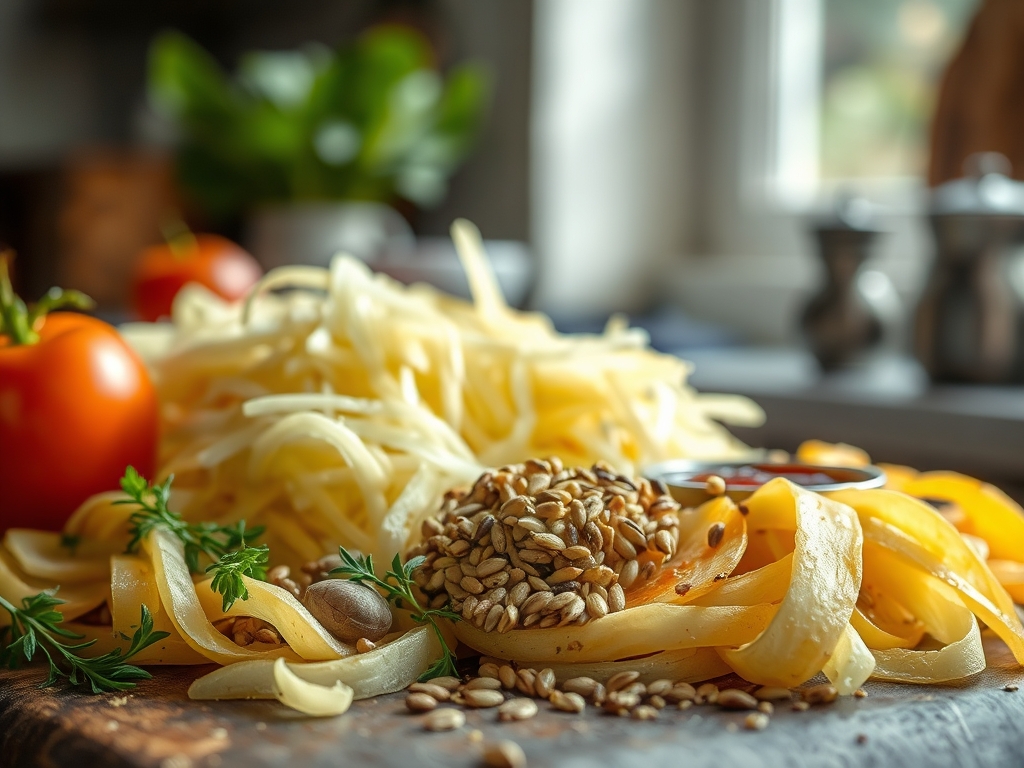
To achieve the perfect texture, you must respect the raw materials. Start with high-starch potatoes like Russets or Idaho varieties. These have a low moisture content and a high solids-to-water ratio, which is the secret to that coveted "glass-like" exterior. You will need a digital scale to ensure your ratios are exact; precision is the difference between a soggy mess and a crispy triumph.
Your mise-en-place should include high-smoke-point fats like avocado oil or clarified butter (ghee). Avoid extra virgin olive oil here, as its low smoke point will lead to bitter, acrid flavors at the temperatures required for crisping. Gather your microplane for zesting aromatics and a bench scraper to clear your workstation with efficiency.
Smart Substitutions:
If you want to lower the glycemic index, swap half the potatoes for parsnips or celery root. For a vegan-friendly "cheesy" profile, use nutritional yeast instead of parmesan. If you are out of fresh garlic, a high-quality granulated garlic powder actually adheres better to the jagged surface area of julienne potatoes than fresh minced cloves, which tend to burn and turn bitter in the high-heat environment.
The Clock
Efficiency in the kitchen is about "Chef's Flow." This is the art of overlapping tasks so that no second is wasted.
- Prep Time: 15 minutes. This includes the mechanical action of slicing and the essential cold-water soak.
- Cook Time: 12 to 18 minutes depending on your batch size and the thermal conductivity of your heavy-bottomed skillet.
- The Flow: While your potatoes soak to remove excess surface starch, use that window to prepare your seasoning blends and pre-heat your oil. Never wait for the oil to heat after the potatoes are dry; the moment those matchsticks are patted down, they begin to oxidize. Speed is your ally.
The Masterclass
1. The Precision Cut
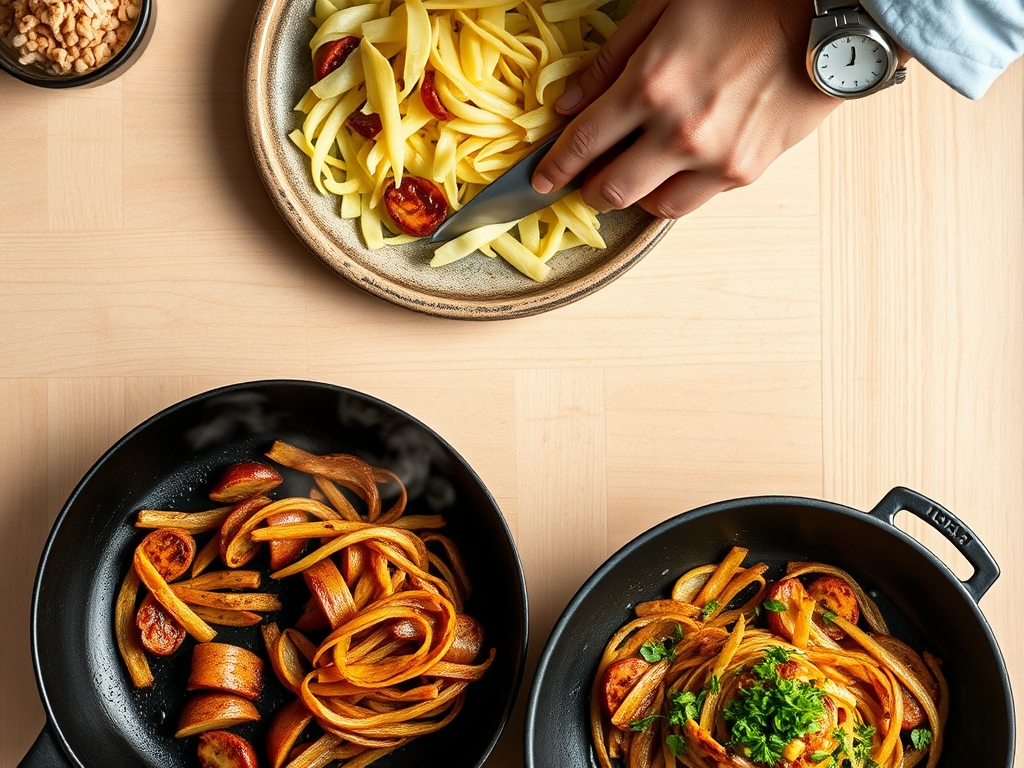
Using a sharp chef's knife or a mandoline, slice your potatoes into 1/8-inch planks, then stack them and slice again into thin matchsticks. Aim for uniformity so they cook at the same rate.
Pro Tip: This step prevents enzymatic browning. By immediately submerging the cuts in ice-cold water, you rinse away the surface starch that causes sticking and slow down the phenolase reaction that turns potatoes gray.
2. The Desiccation Phase
Drain the potatoes and spread them across a clean kitchen towel. Use a second towel to press down firmly, removing every microscopic bead of moisture.
Pro Tip: Water is the enemy of the Maillard reaction. If the potatoes are damp, the energy of the pan goes into evaporating water (steaming) rather than browning the sugars and proteins.
3. The Oil Tempering
Heat your oil in a heavy-bottomed skillet until it reaches 375 degrees Fahrenheit. Use an infrared thermometer if you have one to ensure accuracy.
Pro Tip: Maintaining a high thermal mass is vital. If you crowd the pan, the temperature drops precipitously, leading to oil absorption rather than a quick sear. This results in a greasy snack rather than a crisp one.
4. The First Sizzle
Carefully drop the potato matchsticks into the oil using tongs. Do not stir immediately; let the exterior structure set for at least sixty seconds.
Pro Tip: This initial contact triggers starch gelatinization. The starch granules swell and then dehydrate, forming a rigid, porous crust that provides the structural integrity of the fry.
5. The Aeration Toss
Once the edges begin to turn pale gold, use a slotted spoon to gently move the potatoes. This ensures even heat distribution and prevents "clumping" where the centers remain soft.
Pro Tip: Moving the potatoes helps infuse the oil throughout the pile, ensuring that the hot fat reaches the interior of the julienne stack, preventing a "steamed" center.
6. The Render and Brown
Continue cooking until the potatoes reach a deep, burnished gold. The "hissing" sound will subside as the moisture content reaches nearly zero.
Pro Tip: Watch for the "smoke point" of your oil. If the oil begins to break down, it can create free radicals and off-flavors. Constant monitoring of the heat source is essential for a clean finish.
7. The Seasoning Window
Remove the potatoes and place them in a stainless steel bowl lined with paper towels. Immediately sprinkle with fine sea salt and your choice of herbs while they are still glistening with hot oil.
Pro Tip: This utilizes thermal carryover. The residual heat helps the salt crystals "bite" into the surface, while the remaining oil helps dry spices adhere without falling to the bottom of the bowl.
8. The Final Rest
Spread the snacks out on a wire cooling rack for sixty seconds before serving.
Pro Tip: Resting on a rack allows air to circulate around the entire potato. If left on a flat plate, the bottom layer will trap steam, leading to "retrogradation," where the starch becomes rubbery and loses its crunch.
The Deep Dive
Macro Nutrition:
Per serving, these julienne snacks provide approximately 180 calories, 22g of carbohydrates, and 9g of healthy fats. Potatoes are a fantastic source of potassium and Vitamin C, though some Vitamin C is lost during high-heat frying.
Dietary Swaps:
- Keto: Replace potatoes with julienned daikon radish or zucchini (note: zucchini requires a light dusting of arrowroot starch to crisp).
- GF/Vegan: Naturally gluten-free. For vegan "truffle" fries, use a high-quality truffle-infused oil and sea salt.
The Fix-It:
- Problem: Soggy results. Fix: Your oil temperature was too low or you crowded the pan. Next time, fry in smaller batches.
- Problem: Burnt ends, raw middles. Fix: Your julienne cuts are inconsistent. Practice your knife skills or use a mandoline for perfect uniformity.
- Problem: Too salty. Fix: Toss the batch with a fresh squeeze of lemon juice. The acid helps neutralize the perception of salt on the palate.
Meal Prep & Reheating:
To maintain "day-one" quality, never use a microwave. Reheat your julienne potatoes in an air fryer at 380 degrees for three minutes, or in a hot oven on a perforated sheet pan. This re-activates the fats and drives out any moisture absorbed during refrigeration.
The Wrap-Up
There is a profound satisfaction in mastering the humble potato. By understanding the physics of starch and the chemistry of heat, you have transformed a basic root vegetable into a gourmet experience. These julienne potato recipes are more than just snacks; they are a testament to the beauty of precision cooking. Now, go share that crunch with the people you love!
The Kitchen Table
Which potato is best for julienne recipes?
Russet potatoes are the gold standard. Their high starch content and low moisture ensure a rigid, crispy structure that holds up during frying. Waxy potatoes like Red Bliss will turn out limp and soggy in comparison.
How do I keep my julienne potatoes from sticking?
Rinse the sliced potatoes in cold water until the water runs completely clear. This removes the surface starch. After rinsing, ensure they are bone-dry before they touch the hot oil to prevent clumping.
Can I bake these instead of frying?
Yes, but you must toss them thoroughly in oil first. Spread them in a single, non-overlapping layer on a preheated baking sheet at 425 degrees Fahrenheit. Flip them halfway through to ensure an even, 360-degree crunch.
What is the best way to slice them without a mandoline?
Cut a thin slice off one side of the potato to create a stable base. Slice into thin planks, stack three planks at a time, and cut into matchsticks. Always keep your fingertips tucked in.
How long do these stay crispy?
When cooked correctly and cooled on a wire rack, they stay crispy for about twenty minutes. For longer storage, a quick flash in a hot oven or air fryer will restore the original texture perfectly.