
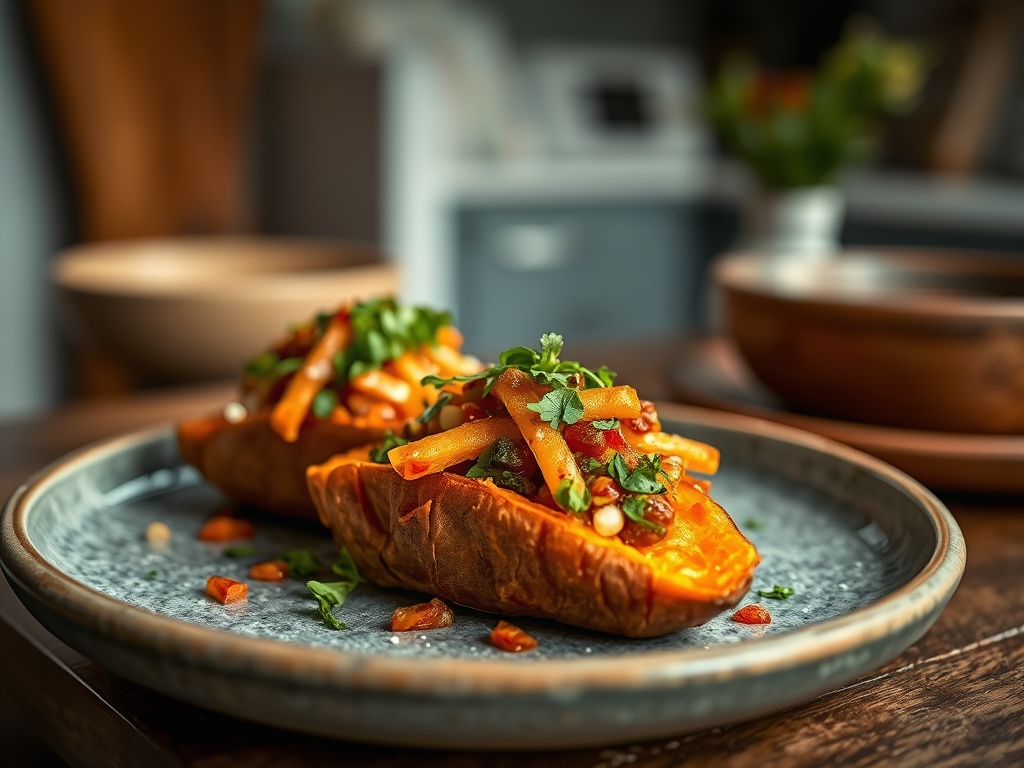
Imagine the scent of caramelized sugars and earth filling your kitchen as a vibrant orange center yields to the slight pressure of a fork. This is the ultimate comfort food evolution. Mastering loaded baked sweet potato recipes means transforming a humble tuber into a high protein vessel that balances sweet, salty, and piquant notes in every single bite.
We are moving past the days of simple butter and brown sugar. Today, we are treating the sweet potato as a canvas for global flavors and sophisticated textures. Whether you are craving a smoky chipotle black bean filling or a savory pulled pork topping, the chemistry remains the same. The natural maltose in the potato must be balanced with acidity and salt to prevent a one dimensional flavor profile. We are aiming for that perfect structural integrity where the skin is crisp and the interior is as smooth as a velvet puree.
The beauty of these loaded baked sweet potato recipes lies in their versatility. You can meal prep the bases on Sunday and spend exactly five minutes assembling a gourmet lunch on Wednesday. It is efficient, nutritionally dense, and aesthetically stunning. Let us get into the science of how to make these potatoes the absolute stars of your weekly rotation.
The Gathers:
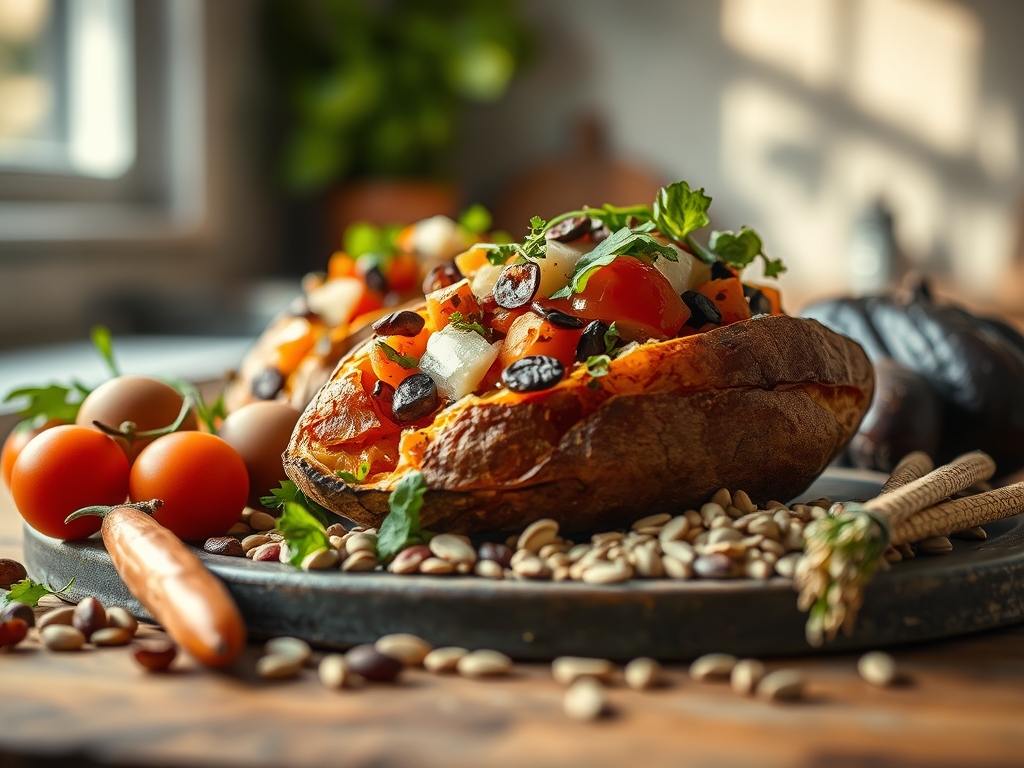
Before we ignite the flame, your mise en place must be precise. Start with medium sized Beauregard or Jewel sweet potatoes; these varieties have a high moisture content which is essential for a creamy interior. You will need a high smoke point oil like avocado oil to coat the skins. For the toppings, think in layers of texture. Gather your heavy bottomed skillet for rendering proteins and a microplane for zesting citrus or grating hard cheeses like aged Manchego.
For the "Ten Hearty Variations," ensure you have these components ready: black beans, Greek yogurt (a fantastic high protein sour cream swap), pickled red onions for acidity, toasted pepitas for crunch, and fresh cilantro. If you are leaning into the "BBQ Chicken" variation, use a saucier to gently warm your sauce, ensuring it does not break or separate.
Smart Substitutions: If you are avoiding nightshades, swap the chili flakes for a dusting of sumac to maintain that tart, bright profile. For a vegan swap, utilize a cashew based crema. The fat content in cashews mimics the mouthfeel of dairy through a stable emulsion, providing that necessary richness without the lactose.
The Clock
Efficiency in the kitchen is all about the "Chef's Flow." Total active prep time is approximately 15 minutes, while the oven does the heavy lifting for 45 to 60 minutes.
The Prep (15 Minutes): Scrub the tubers to remove debris and pierce the skin to allow steam to escape. Use a digital scale if you are tracking macros to ensure uniform cooking times across all potatoes.
The Roast (45-60 Minutes): This is where the Maillard reaction occurs on the skin while the interior starches convert to sugars.
The Assembly (5 Minutes): This is the high energy finish. While the potatoes undergo thermal carryover cooling, you will whip your sauces and chop your herbs. This flow ensures that by the time the potato is cool enough to handle, your toppings are at the peak of their flavor.
The Masterclass
1. The Surface Preparation
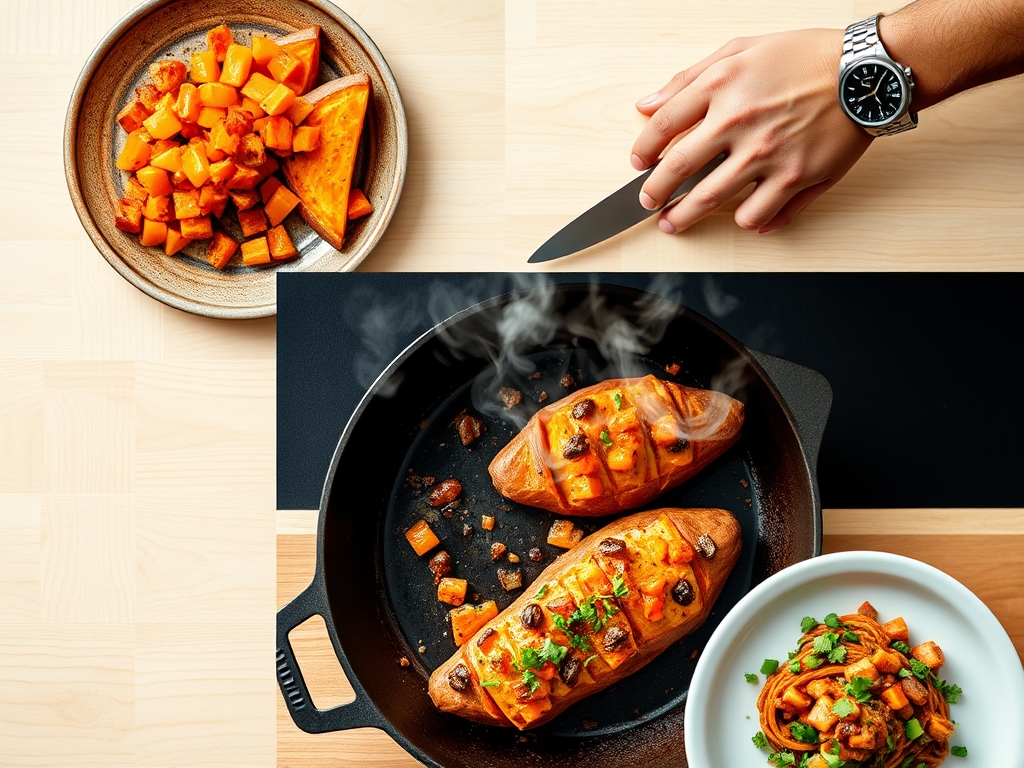
Wash and dry each potato thoroughly. Use a kitchen towel to ensure no residual moisture remains on the skin, as water creates steam which prevents the skin from becoming crisp. Rub the exterior with oil and a generous amount of kosher salt.
Pro Tip: Salt is hygroscopic; it draws moisture out of the skin, allowing the heat to crisp the surface faster while seasoning the potato deeply through osmosis.
2. The Strategic Piercing
Use a fork to prick the potato about six times. This creates vents for internal steam. Without these vents, the internal pressure can cause the potato to burst, or worse, result in a waterlogged, gummy texture.
Pro Tip: Controlled steam release prevents the starch granules from over saturating, ensuring the interior remains fluffy rather than dense.
3. The High Heat Roast
Place the potatoes directly on the oven rack with a sheet pan on the rack below to catch any drips. Roast at 425 degrees Fahrenheit. This high temperature is necessary to trigger the caramelization of the natural sugars leaking through the skin.
Pro Tip: Roasting directly on the rack allows for 360 degree air circulation, preventing a "soggy bottom" and ensuring the skin dehydrates and crisps evenly.
4. The Rest and Slice
Once a paring knife slides in with zero resistance, remove the potatoes. Let them rest for five minutes. Slice down the center and use your tongs to gently squeeze the ends toward the middle to "bloom" the potato.
Pro Tip: This rest period allows for thermal carryover, where the internal temperature continues to rise slightly, finishing the cook without drying out the edges.
5. The Aeration Mash
Before adding toppings, use a fork to gently fluff the interior orange flesh. Do not overwork it, or you will develop a gluey consistency. Add a touch of grass fed butter or olive oil at this stage to coat the starch molecules.
Pro Tip: Aerating the flesh increases the surface area for your toppings to cling to, ensuring every bite is infused with flavor.
The Deep Dive
When we look at the macro nutrition, a medium sweet potato offers about 4 grams of fiber and a massive dose of Vitamin A. By adding black beans or shredded chicken, you balance the complex carbohydrates with protein, stabilizing blood sugar levels.
Dietary Swaps: For Keto enthusiasts, keep the potato portion small and load up on high fat toppings like avocado and bacon. For a Vegan approach, use nutritional yeast to provide a "cheesy" umami flavor profile that complements the sweetness of the tuber.
The Fix-It:
- Soggy Skin: You likely wrapped it in foil. Foil traps steam. Next time, roast naked on the rack.
- Hard Centers: The oven was too hot or the potato was too large. Lower the temp and increase time.
- Bland Flavor: You forgot to salt the skin or lacked an acidic component in your toppings. Add a squeeze of lime.
Meal Prep: To reheat, avoid the microwave if possible. Use an air fryer at 350 degrees for 5 minutes. This re-crisps the skin and keeps the interior moist. The microwave often agitates water molecules too violently, leading to a "leathery" skin texture.
The Wrap-Up
Mastering loaded baked sweet potato recipes is about more than just a quick dinner; it is about understanding how to balance the natural chemistry of whole foods. By using professional techniques like aeration and strategic salt application, you elevate a simple root vegetable into a culinary masterpiece. Don't be afraid to get creative with your toppings. Use your bench scraper to tidy your station, grab your favorite fork, and dive into a meal that is as smart as it is delicious.
The Kitchen Table
How do I prevent my sweet potatoes from getting mushy?
Avoid wrapping them in aluminum foil. Roasting them "naked" on the oven rack allows steam to escape, which dehydrates the skin and keeps the interior fluffy. Ensure you dry the skin completely after washing before applying oil.
What is the best way to reheat a loaded sweet potato?
Use an air fryer or toaster oven at 350 degrees Fahrenheit for about five to eight minutes. This method preserves the structural integrity of the skin while gently warming the center without making the starch granules gummy or tough.
Can I eat the skin of the sweet potato?
Absolutely. The skin contains a high concentration of fiber and potassium. When roasted with salt and oil, it becomes crisp and flavorful. Just ensure you scrub the exterior thoroughly with a vegetable brush before cooking to remove grit.
How do I know when the sweet potato is perfectly cooked?
Insert a paring knife or a skewer into the thickest part of the potato. It should slide in and out with no resistance. The internal temperature should reach approximately 205 to 210 degrees Fahrenheit for a truly creamy texture.