
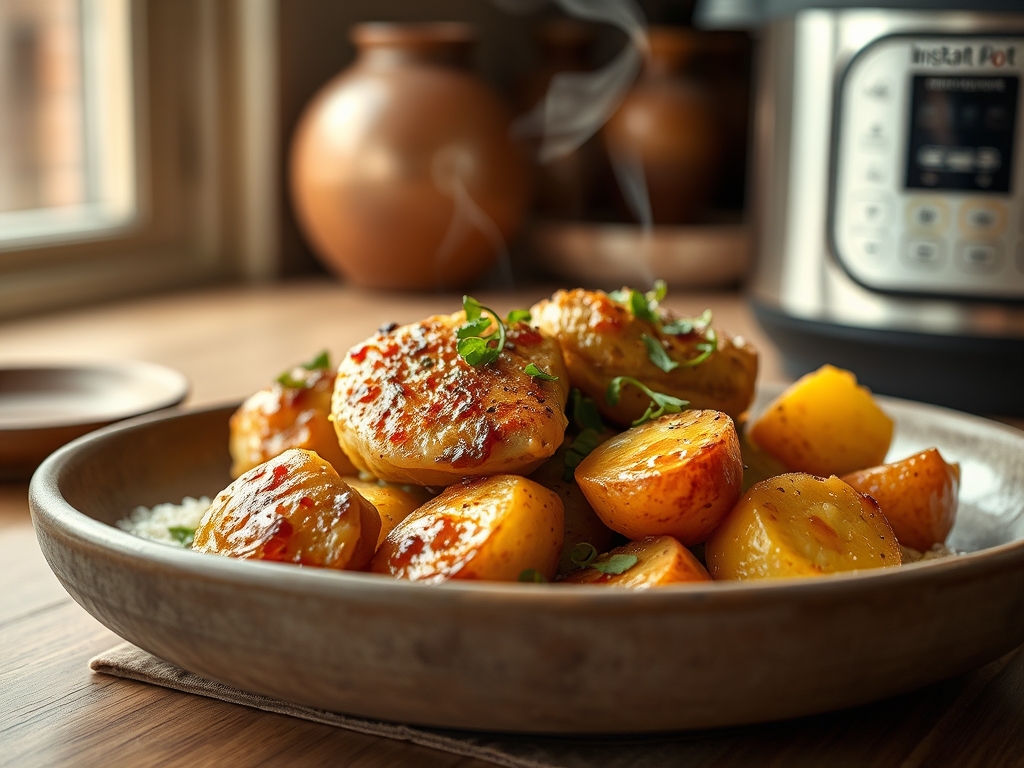
Imagine the sound of a pressurized seal locking into place while the aroma of rosemary and rendered poultry fat begins to bloom in your kitchen. We have all been there; it is six o'clock on a Tuesday and the craving for something soulful yet efficient is hitting a fever pitch. This is where the magic of instant pot chicken and potato recipes transforms your evening from a frantic search for takeout into a masterclass in domestic efficiency. We are moving beyond the basic watery stews of yesteryear. We are talking about thighs with skin so succulent it practically melts and Yukon Golds that have absorbed every ounce of savory collagen from the cooking liquid. By harnessing the power of high-pressure steam, we are essentially fast-tracking the braising process that usually takes hours in a heavy-bottomed skillet or Dutch oven.
The Gathers:
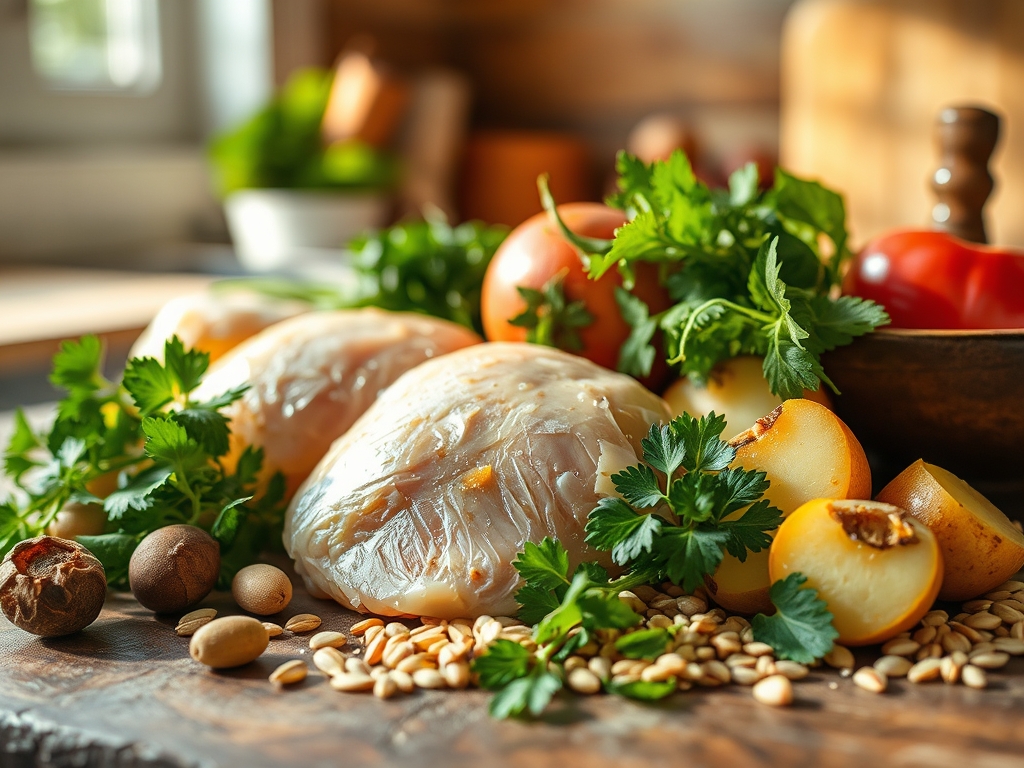
To execute these instant pot chicken and potato recipes with precision, your mise-en-place must be impeccable. Start with your proteins; high-quality, bone-in thighs offer the most connective tissue, which breaks down into gelatin for a viscous sauce. For the starch, reach for waxy varieties like Red Bliss or Yukon Gold. These contain less amylose than Russets, meaning they hold their structural integrity under pressure rather than disintegrating into a grainy mash.
Gather your aromatics: cloves of garlic ready for the microplane, shallots for a piquant bite, and fresh thyme sprigs. You will also need a high-smoke-point oil to render the chicken skin during the initial sear. For the liquids, a fortified chicken bone broth is superior to water, providing a deeper umami profile.
Smart Substitutions:
If you are out of fresh garlic, use garlic confit for a mellow, buttery depth. No Yukon Golds? Fingerling potatoes are an excellent swap because their high skin-to-flesh ratio adds a delightful textural contrast. If you want to brighten the finish, replace a splash of broth with a dry Sauvignon Blanc to deglaze the pot and lift the heavy fats.
The Clock
Total preparation time for these dishes averages twenty minutes of active labor, followed by a twenty-five minute pressurized cycle. This is what I call the Chef's Flow. Use the first ten minutes to prep your vegetables with a sharp chef's knife and a bench scraper to clear your board efficiently. The next ten minutes are for the "Sauté" function, where you develop the foundational flavors. Once the lid is locked, you have a twenty-minute window to toss a crisp green salad or finally pour that glass of wine. Remember, the "Natural Release" phase is not wasted time; it is a critical cooling period that prevents the protein fibers from seizing and becoming tough.
The Masterclass
1. The Maillard Sear
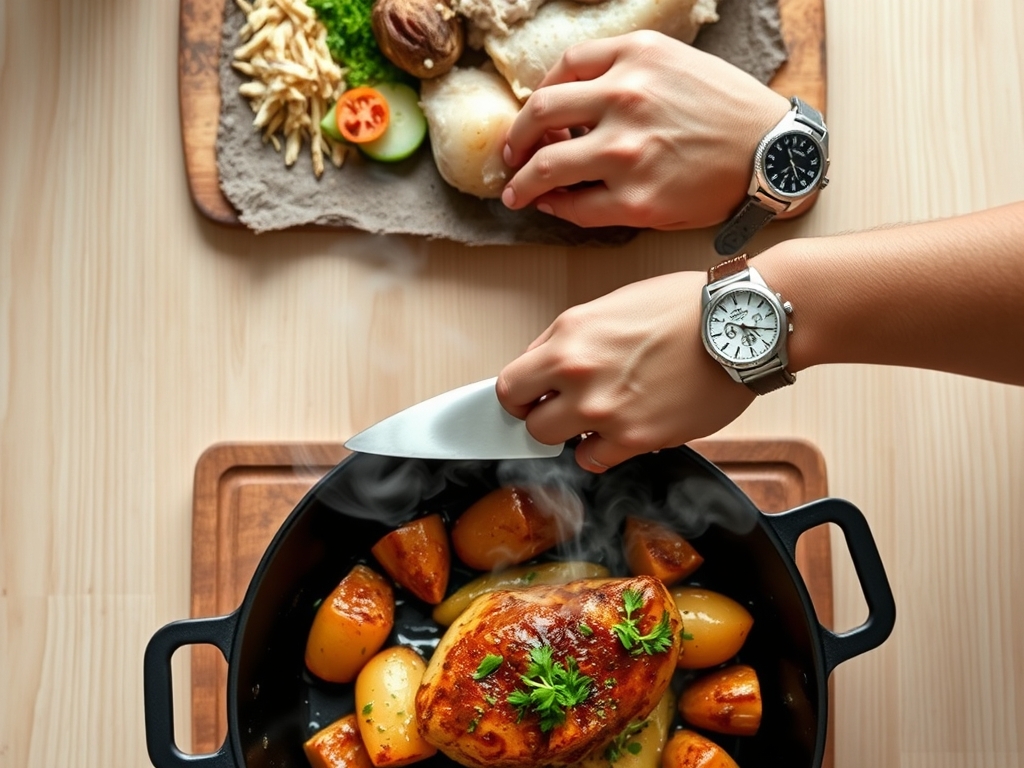
Set your device to the highest sauté setting. Pat the chicken skin bone-dry with paper towels to ensure rapid evaporation. Use tongs to press the meat firmly against the bottom of the pot.
Pro Tip: This step initiates the Maillard reaction, a chemical dance between amino acids and reducing sugars that creates hundreds of flavor compounds. Without this, your chicken will look pale and lack the complex, roasted notes essential for a gourmet finish.
2. Deglazing the Fond
Once the chicken is browned and removed, you will see brown bits stuck to the bottom. This is "fond." Pour in your liquid and use a wooden spoon to scrape every morsel loose.
Pro Tip: Neglecting to deglaze can trigger the "burn" sensor. Scientifically, those browned bits are concentrated flavor bombs that, when dissolved, create a more viscous and savory sauce through the integration of caramelized proteins.
3. Layering for Even Cooking
Place the potatoes at the bottom of the pot and nestle the chicken on top, skin-side up. This prevents the skin from becoming soggy while the potatoes act as a trivet, absorbing the dripping juices.
Pro Tip: This creates a thermal gradient. The potatoes, being denser, require the direct heat of the liquid, while the chicken gently steams, ensuring the delicate breast or thigh meat does not overcook before the starch is tender.
4. The Pressure Phase
Secure the lid and set to high pressure. For most instant pot chicken and potato recipes, eight to ten minutes is the sweet spot.
Pro Tip: Pressure cooking raises the boiling point of water to roughly 250 degrees Fahrenheit. This accelerated heat transfer breaks down tough collagen into gelatin much faster than standard boiling, resulting in that "fall-off-the-bone" texture we crave.
5. The Emulsified Finish
After the pressure release, remove the chicken. If the sauce is too thin, whisk in a knob of cold butter or a splash of heavy cream using a saucier technique.
Pro Tip: This is called mounting with butter (monter au beurre). The fat molecules suspend in the liquid, creating a velvety emulsion that coats the back of a spoon and rounds out the acidity of the dish.
The Deep Dive
When we look at the Macro Nutrition, a standard serving of these instant pot chicken and potato recipes provides a balanced profile of approximately 35g of protein, 30g of complex carbohydrates, and 12g of healthy fats. It is a complete fuel source that stabilizes blood sugar thanks to the fiber in the potato skins.
Dietary Swaps:
For a Vegan version, swap chicken for thick-cut cauliflower steaks or chickpeas and use vegetable bouillon. For Keto enthusiasts, replace potatoes with radishes or cauliflower florets; radishes lose their peppery bite and mimic the texture of a potato perfectly when pressure-cooked. All these recipes are naturally Gluten-Free as long as you avoid using flour to thicken your sauces.
The Fix-It:
- The Sauce is Watery: Switch back to "Sauté" after cooking and let the liquid reduce by half to concentrate the solutes.
- Potatoes are Mushy: You likely used a Russet. Next time, cut your waxy potatoes into larger two-inch chunks to increase the cooking time required for core penetration.
- Chicken is Dry: This happens with boneless breasts. Try reducing the pressure time to six minutes and allow a full ten-minute natural release to maintain moisture.
Meal Prep Science:
To maintain "day-one" quality, store the chicken and potatoes in airtight glass containers. When reheating, add a tablespoon of water to create a micro-steam environment in the microwave. This prevents the starch in the potatoes from undergoing retrogradation, which is what makes leftover potatoes feel gritty or hard.
The Wrap-Up
Mastering instant pot chicken and potato recipes is like having a culinary superpower in your back pocket. It is the perfect marriage of high-tech physics and old-world comfort. By understanding the science of the sear and the importance of the deglaze, you are not just "making dinner"; you are engineering a meal that is balanced, flavorful, and incredibly satisfying. Now, grab your digital scale, weigh out those ingredients, and get ready to impress yourself with how easy excellence can be.
The Kitchen Table
How do I prevent the "Burn" notice?
Always ensure you thoroughly deglaze the bottom of the pot after searing. Use a wooden spoon to scrape up all browned bits (fond) with liquid before sealing the lid to prevent carbonized buildup from triggering sensors.
Can I use frozen chicken for these recipes?
Yes, but you must ensure the pieces are not clumped together. Increase the pressure cook time by 50 percent. Note that you will skip the initial searing step, which may result in a less complex flavor profile.
Which potato holds up best under pressure?
Yukon Gold potatoes are the gold standard. Their medium starch content allows them to remain creamy and tender without disintegrating like Russets or staying too firm like some red varieties.
How do I get crispy skin in an Instant Pot?
Pressure cooking is a moist-heat method, so skin will naturally soften. To fix this, pop the cooked chicken under a broiler for three minutes after pressure cooking to re-crisp the skin via infrared radiation.