
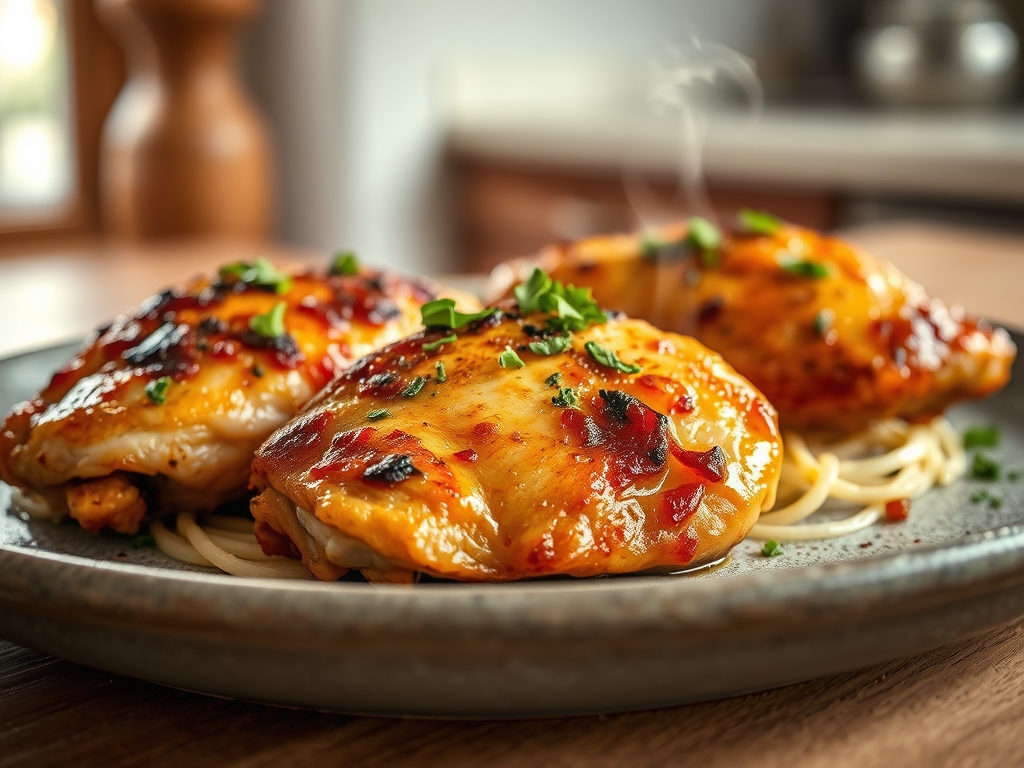
Imagine the sound of a heavy plastic bag snapping shut; followed by the rhythmic; percussive thumping of breadcrumbs colliding with cold protein. This is the soundtrack of a weeknight revolution. When you are hunting for the ultimate shake and bake chicken recipes; you are not just looking for dinner; you are looking for that elusive; glass-shattering crunch that usually requires a deep fryer and a lot of cleanup. We are bypassing the vat of oil today. Instead; we are leveraging the power of convection and moisture management to create a crust so golden it looks like it was forged in a jewelry shop.
The secret to a truly elite result lies in the surface area. By utilizing a specific blend of textures; we can mimic the structural integrity of a traditional fry without the saturated fat. We are talking about a piquant; savory coating that clings to the meat like a second skin. It is science; it is art; and it is about to become your new personality trait. Grab your apron; because we are about to turn your kitchen into a high-performance culinary lab.
The Gathers:
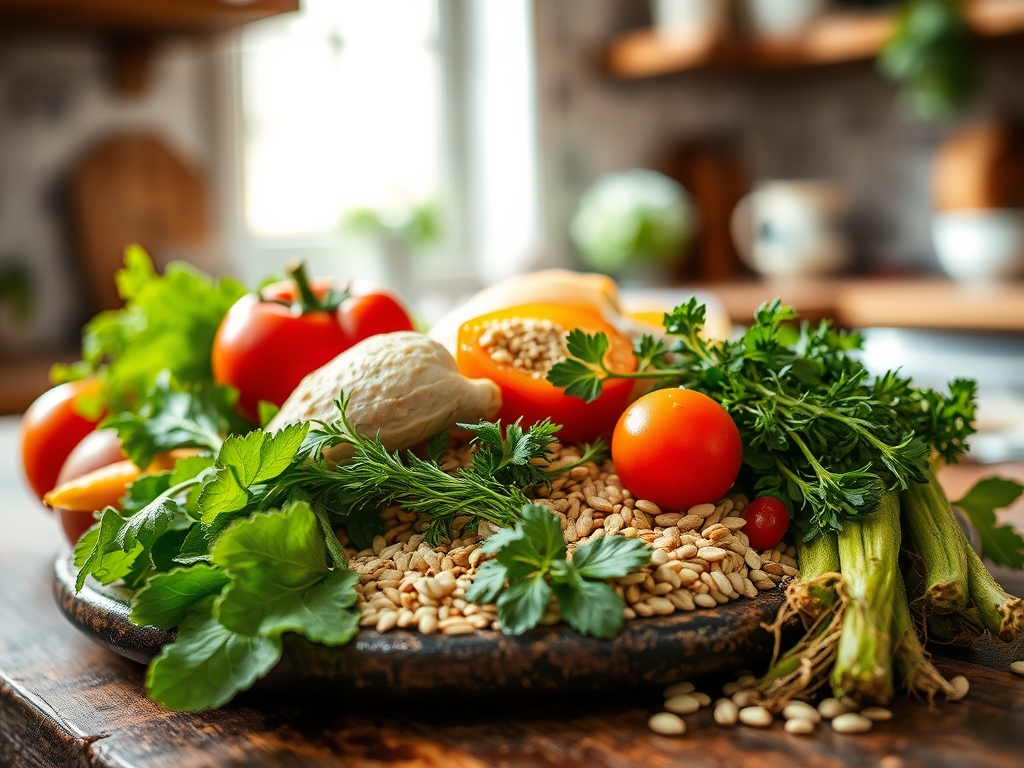
Before we begin; clear your workspace with a bench scraper to ensure a pristine surface. Our mise-en-place is a study in textural contrast. You will need 1.5 pounds of chicken breast or thighs; patted bone-dry with paper towels to ensure optimal adhesion. For the coating; gather two cups of panko breadcrumbs; half a cup of finely grated parmesan (use a microplane for that cloud-like fluff); and a tablespoon of cornstarch to act as a moisture-wicking agent.
The flavor profile relies on a concentrated spice blend: smoked paprika for depth; garlic powder for umami; dried oregano for an herbal lift; and a heavy pinch of kosher salt. For the "glue;" we are moving beyond plain water. Use a mixture of Dijon mustard and a splash of olive oil to create a viscous emulsion.
Smart Substitutions: If you are avoiding gluten; crushed pork rinds or almond flour provide excellent lipid-rich alternatives that brown beautifully. For a vegan twist; cauliflower florets or firm tofu blocks work perfectly; though you should swap the honey for agave in the binder to maintain that sticky; sugar-based browning.
The Clock
Efficiency is the hallmark of a professional. This recipe follows a strict "Chef's Flow" to ensure you are never idling.
- Prep Time: 15 minutes. This includes the "Station Setup" where you organize your dry and wet ingredients.
- Cook Time: 20 to 25 minutes. This varies based on the thickness of your protein.
- Rest Time: 5 minutes. Essential for juice redistribution.
The flow is simple: while the oven preheats to 425 degrees Fahrenheit; you prepare the coating. By the time the oven chime sounds; your chicken should be fully dressed and ready for the heat.
The Masterclass
1. The Desiccation Phase
Start by drying your chicken thoroughly. Moisture is the enemy of the crunch. Use a digital scale to portion your meat into even pieces; ensuring they all cook at the same rate.
Pro Tip: This is about surface tension. If the meat is wet; the binder will slide off rather than bonding. Drying the surface allows the proteins to form a tighter bond with the mustard emulsion.
2. The Emulsion Application
In a small saucier or bowl; whisk your mustard; oil; and spices. Brush this thin layer over the chicken. It should be tacky; not dripping.
Pro Tip: The mustard acts as a surfactant. It lowers the surface tension between the chicken and the breadcrumbs; ensuring an even; gap-free coating that won't flake off after baking.
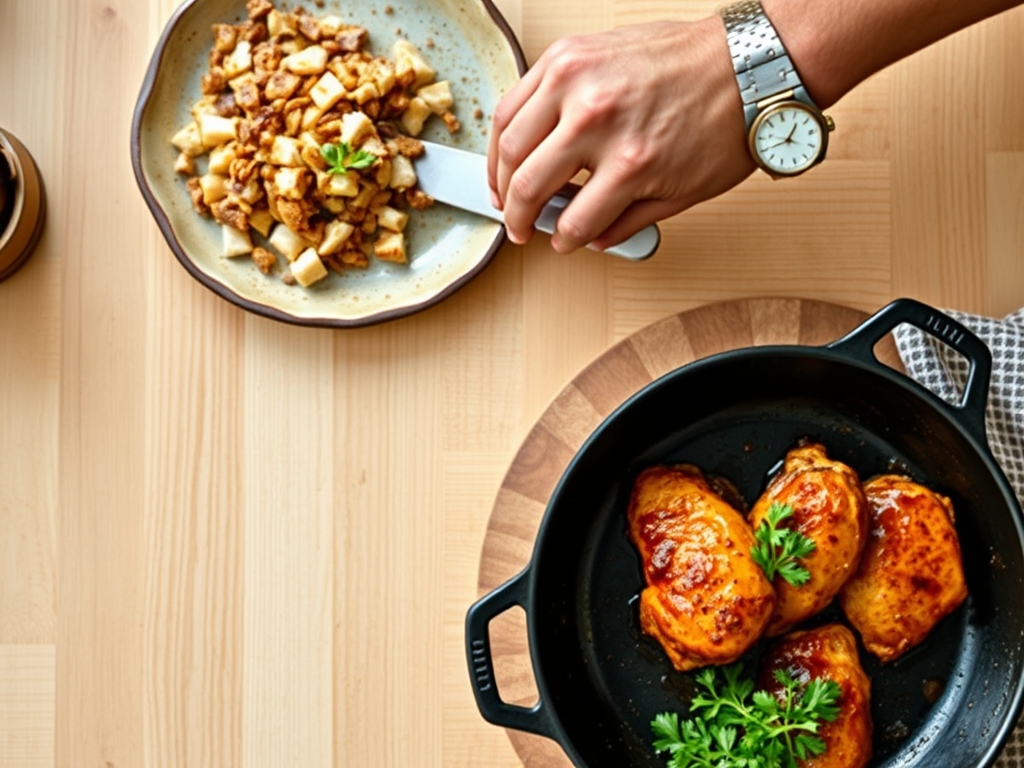
3. The Aerated Shake
Place your dry ingredients in a large; gallon-sized bag. Add the chicken one piece at a time. Blow a little air into the bag before sealing it to create a "balloon" effect; then shake vigorously.
Pro Tip: Aeration is key here. By inflating the bag; you allow the crumbs to tumble freely; hitting every nook and cranny of the meat for 360-degree coverage.
4. The Elevation Strategy
Place a wire cooling rack over a rimmed baking sheet. Arrange the chicken on the rack; ensuring no pieces are touching.
Pro Tip: This facilitates 360-degree convection. Lifting the meat allows hot air to circulate underneath; preventing a "soggy bottom" and ensuring the base is just as crisp as the top.
5. The Thermal Blast
Slide the tray into the center of the oven. Bake until the internal temperature reaches 165 degrees Fahrenheit.
Pro Tip: Watch for the Maillard reaction. This chemical reaction between amino acids and reducing sugars gives the crust its brown color and complex flavor. If it looks pale; the temperature is too low.
6. The Carryover Rest
Remove from the oven and use tongs to transfer the chicken to a clean board. Let it sit for five minutes before slicing.
Pro Tip: Thermal carryover means the internal temperature will rise about 5 degrees after removal. Resting prevents the cell walls from rupturing; keeping the interior succulent rather than dry.
7. The Final Infusion
Finish with a light dusting of fresh parsley and a squeeze of lemon juice to cut through the richness.
Pro Tip: The citric acid in the lemon acts as a flavor brightener; vibrating the taste buds and making the savory notes of the chicken feel more intense.
The Deep Dive
Macro Nutrition: One serving typically contains 280 calories; 32g of protein; 12g of carbohydrates; and 8g of fat. It is a high-protein powerhouse that fits into most balanced lifestyles.
Dietary Swaps:
- Keto: Replace panko with crushed macadamia nuts and parmesan.
- Vegan: Use "flax eggs" as a binder and nutritional yeast in the breading.
- GF: Use certified gluten-free breadcrumbs or cornmeal for a "Southern-style" grit.
The Fix-It:
- Soggy Crust: You likely overcrowded the pan. Steam trapped between pieces kills the crunch. Space them out!
- Bland Flavor: You didn't season the breadcrumbs. Always taste your dry mix before shaking.
- Dry Meat: You skipped the rest period. Five minutes of patience saves the entire meal.
Meal Prep Science: To reheat; avoid the microwave; which turns the crust into a sponge. Use an air fryer at 350 degrees for 3 minutes to re-crystallize the fats and restore the "day-one" snap.
The Wrap-Up
Mastering shake and bake chicken recipes is about more than just convenience; it is about understanding how heat and texture interact. By using the "elevation strategy" and a high-protein binder; you have graduated from basic home cooking to culinary engineering. Your dinners are now officially more interesting; more textured; and significantly more delicious. Now; go forth and shake!
The Kitchen Table
How do I keep the coating from falling off?
The secret is the "dry-wet-dry" principle. Ensure the chicken is bone-dry before applying the binder. The binder must be viscous; like Dijon mustard; to act as a high-strength adhesive for the breadcrumbs during the baking process.
Can I use an air fryer for this?
Absolutely. Set your air fryer to 375 degrees Fahrenheit. The high-velocity air creates an even more intense crunch. Just ensure you do not overlap the pieces; as restricted airflow will lead to uneven browning and soft spots.
What is the best breadcrumb for maximum crunch?
Panko is the gold standard. Because panko flakes are larger and airier than traditional breadcrumbs; they provide more surface area for the heat to crisp up; resulting in a lighter; more shattered-glass texture than dense; sandy crumbs.
How long does leftover chicken stay crispy?
In the fridge; the crust will naturally soften due to moisture migration. However; you can restore the original texture by reheating it in a 400-degree oven for five minutes; which evaporates the absorbed moisture and re-crisps the exterior.