
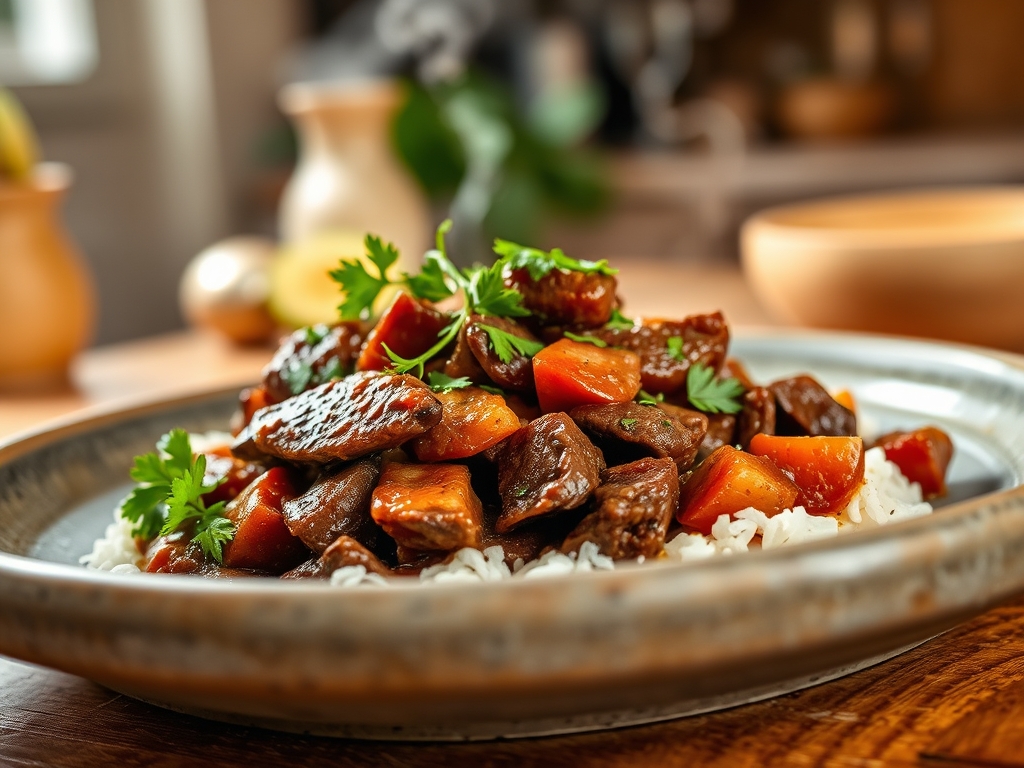
Imagine the scent of toasted cumin and rendered beef fat drifting through your home at three in the afternoon. It is the ultimate domestic flex. When you master slow cooker mexican beef recipes, you are not just making dinner; you are engineering a sensory experience that balances piquant acidity with the deep, savory bass notes of long-simmered protein.
The magic happens while you are busy living your life. Inside that ceramic vessel, a quiet chemical revolution occurs. Connective tissues, specifically the stubborn collagen fibers in tough cuts like chuck or brisket, undergo a thermal transformation. They slowly melt into silky gelatin. This process creates a mouthfeel that is simultaneously rich and weightless. By the time you lift the lid, the meat should practically sigh and fall apart at the mere suggestion of a fork.
We are moving beyond the basic dump and go methods. To achieve restaurant quality results, we have to respect the chemistry of the sear and the importance of aromatics. This is your invitation to turn a humble kitchen appliance into a high performance culinary tool. Let us dive into the mechanics of building flavor profiles that taste like they took forty eight hours of labor, even if you only spent twenty minutes at the counter.
The Gathers:
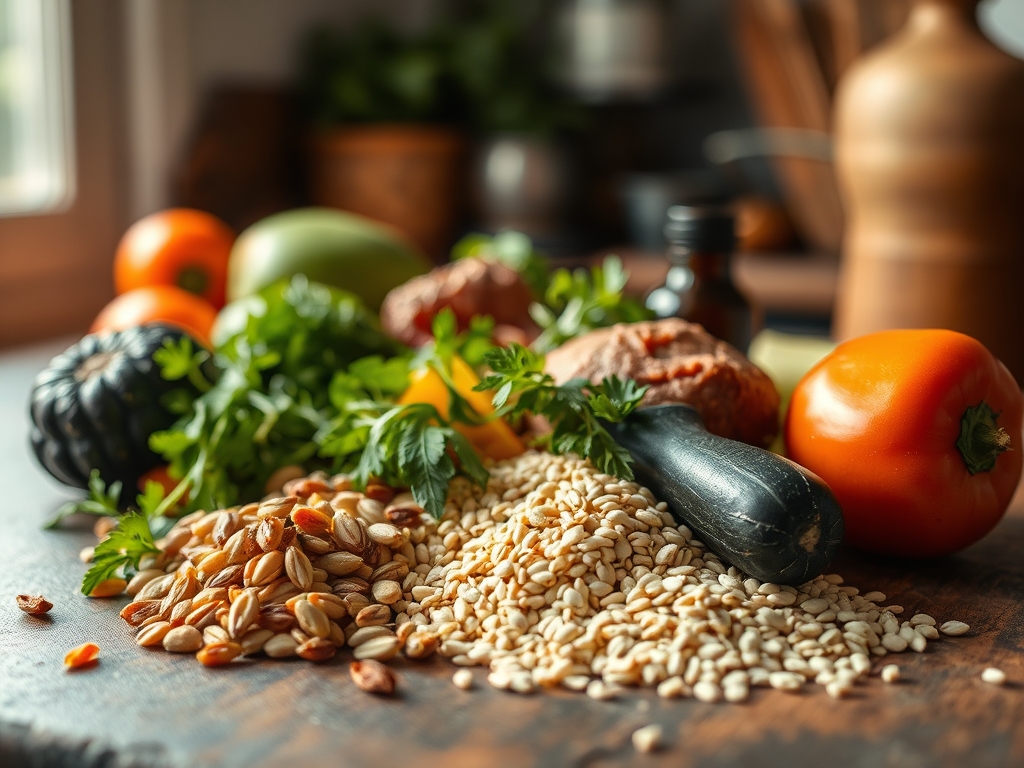
Before we engage the heating element, we must curate our mise en place with precision. Use a digital scale to ensure your spice ratios are consistent. You will need a heavy three pound beef chuck roast, preferably with significant marbling. The intramuscular fat is essential for moisture during the long trek of a six hour simmer.
For the aromatics, gather three cloves of garlic, one large white onion, and two chipotle peppers in adobo. The peppers provide a smoky, capsicum heat that anchors the dish. You will also need high quality beef bone broth to provide a viscous base, fresh lime juice for enzymatic brightness, and a blend of dried oregano, smoked paprika, and toasted cumin.
Smart Substitutions:
If you cannot find chuck roast, a bottom round or brisket works beautifully; just ensure you do not use lean cuts like eye of round, which will turn stringy and dry. If you are watching your sodium, replace the canned adobo with a dry rub of ground ancho chiles and a teaspoon of liquid smoke. For a brighter profile, swap half the beef broth for fresh orange juice to mimic the traditional Yucatecan style.
The Clock: Chef's Flow
Efficiency in the kitchen is about managing the Chef's Flow. Your active preparation time is approximately 20 minutes. This includes the high heat searing and the chopping of aromatics. Once the lid is locked, the passive cooking time is 6 to 8 hours on "Low" or 4 hours on "High."
Always opt for the "Low" setting if time permits. The slower temperature climb allows the collagen to transition into gelatin without the muscle fibers tightening too quickly and squeezing out their internal juices. After the timer ends, allow for a 15 minute resting period. This is the thermal carryover phase where the fibers relax and reabsorb the flavorful cooking liquid.
The Masterclass:
1. The Maillard Foundation
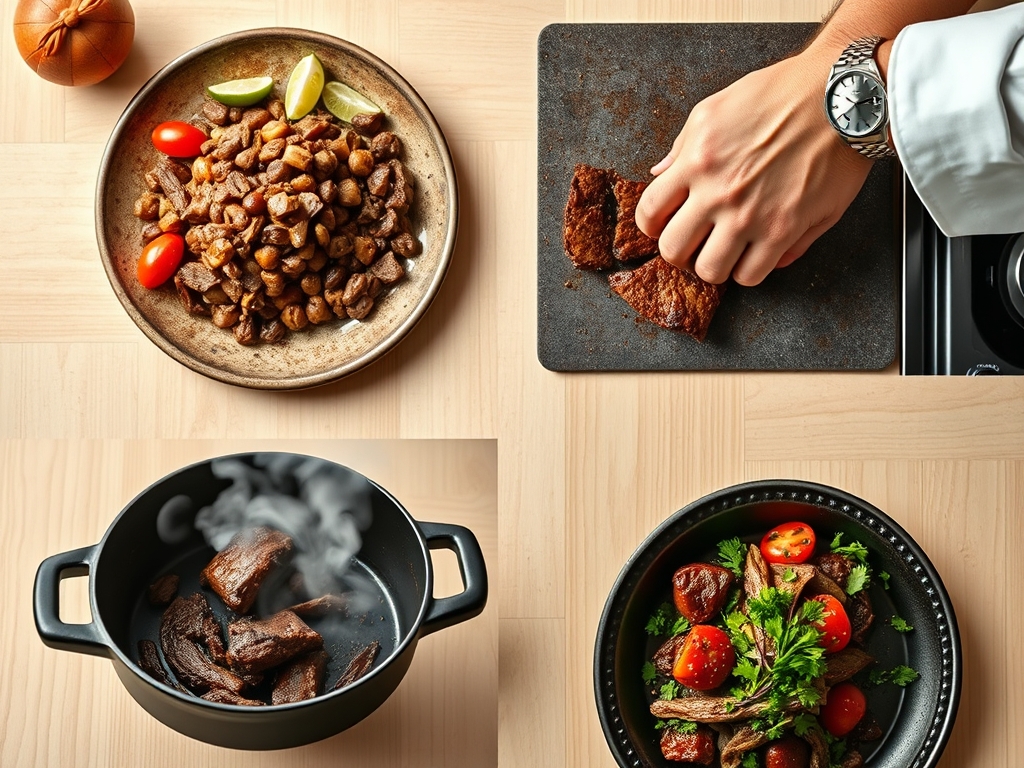
Pat your beef completely dry with paper towels. Use a heavy-bottomed skillet over medium high heat to sear the exterior of the meat until a deep, mahogany crust forms. Use tongs to turn the meat, ensuring every surface is caramelized.
Pro Tip: This is the Maillard Reaction. By browning the meat before it enters the slow cooker, you create complex new flavor molecules that a slow cooker cannot produce on its own due to its moist, low heat environment.
2. Deglaze and Extract
Remove the beef and add sliced onions to the hot pan. Once they soften, pour in a splash of broth or beer to deglaze the skillet. Use a bench scraper or wooden spoon to lift the "fond," those delicious browned bits stuck to the bottom.
Pro Tip: The fond contains concentrated umami. Incorporating these bits into the slow cooker ensures the liquid base has a professional depth of flavor rather than a watery consistency.
3. The Aromatic Infusion
Place the beef in the slow cooker and pour the onion mixture over it. Use a microplane to grate fresh garlic directly into the pot. Add your spices and chipotles.
Pro Tip: Grating garlic creates more surface area than slicing. This allows the garlic's sulfurous compounds to infuse the liquid more aggressively, ensuring the flavor survives the long cooking cycle.
4. Controlled Submersion
Add your liquid until the beef is only two thirds submerged. Do not drown the meat. The beef will release its own juices as the fats render out.
Pro Tip: Overfilling the pot leads to "diluted flavor syndrome." A partial submersion allows the top of the meat to braise in the flavored steam, creating a more concentrated sauce.
5. The Low and Slow Glide
Set your cooker to low. Resist the urge to peek. Every time you lift the lid, you lose significant heat and moisture, extending the cook time by at least fifteen minutes.
Pro Tip: Consistent temperature is key for protease activity. These enzymes help break down proteins before the heat deactivates them; a steady, slow rise maximizes this window of tenderization.
6. The Shred and Emulsify
Once tender, move the beef to a cutting board. Use two forks to shred it against the grain. Strain the remaining liquid into a saucier and simmer it on the stove for ten minutes to reduce.
Pro Tip: Reducing the liquid concentrates the solutes. When you toss the shredded beef back into this reduction, the gelatin helps emulsify the fats and juices, coating every strand of meat in a glossy, flavorful lacquer.
The Deep Dive:
Macro Nutrition:
A standard four ounce serving of this Mexican beef contains approximately 240 calories, 28 grams of protein, and 14 grams of fat. It is naturally low in carbohydrates, making it an excellent anchor for various dietary lifestyles.
Dietary Swaps:
- Keto: Serve over cauliflower rice with extra avocado for healthy fats.
- Vegan: Replace beef with "pulled" king oyster mushrooms or young jackfruit; use vegetable bouillon and a dash of soy sauce for umami.
- Gluten-Free: Ensure your beef broth and canned chipotles are certified GF, as some brands use wheat based thickeners.
The Fix-It:
- Too Salty: Add a peeled, halved potato to the pot for the last 30 minutes to absorb excess sodium; discard the potato before serving.
- Too Greasy: Use a fat separator or chill the liquid so the fat hardens on top for easy removal.
- Too Tough: If the beef is still rubbery, it simply hasn't cooked long enough. Give it another hour; the collagen hasn't fully converted yet.
Meal Prep & Reheating:
To maintain "day one" quality, store the beef in its own cooking liquid. When reheating, use a small saucepan over low heat. This prevents the proteins from becoming "bouncy" or dry, which often happens in the microwave. The gelatin will melt back into a liquid, restoring the original viscous texture.
The Wrap-Up:
You are now equipped with the technical prowess to dominate the world of slow cooker mexican beef recipes. By focusing on the Maillard reaction, respecting the "low and slow" thermal curve, and finishing with a proper sauce reduction, you elevate a simple meal into a culinary event. Go forth, grab your tongs, and let that slow cooker work its magic. Your kitchen is about to become the most popular spot in the neighborhood.
The Kitchen Table:
Can I put frozen beef in the slow cooker?
No, it is a safety risk. Frozen meat stays in the "danger zone" for bacterial growth too long. Always thaw your beef completely in the refrigerator before starting your slow cooker mexican beef recipes to ensure even heat distribution.
Why is my beef still tough after eight hours?
It likely needs more time or more fat. If you used a lean cut, there is no collagen to melt. If using chuck, simply keep cooking; some stubborn muscles require extra time to reach the gelatinous stage.
Do I really need to sear the meat first?
Technically no, but practically yes. Searing creates the complex flavor profile that defines high quality beef. Without it, the meat will taste "boiled" rather than braised. It is the most important step for depth.
How do I make the sauce thicker?
The best way is reduction. Simmer the cooking liquid in a separate pan until it coats the back of a spoon. Alternatively, whisk in a small amount of cornstarch slurry for an immediate, glossy thickness.
How long does this beef stay fresh?
You can store the beef in an airtight container in the fridge for up to four days. For longer storage, it freezes beautifully for up to three months when submerged in its own flavorful juices.