
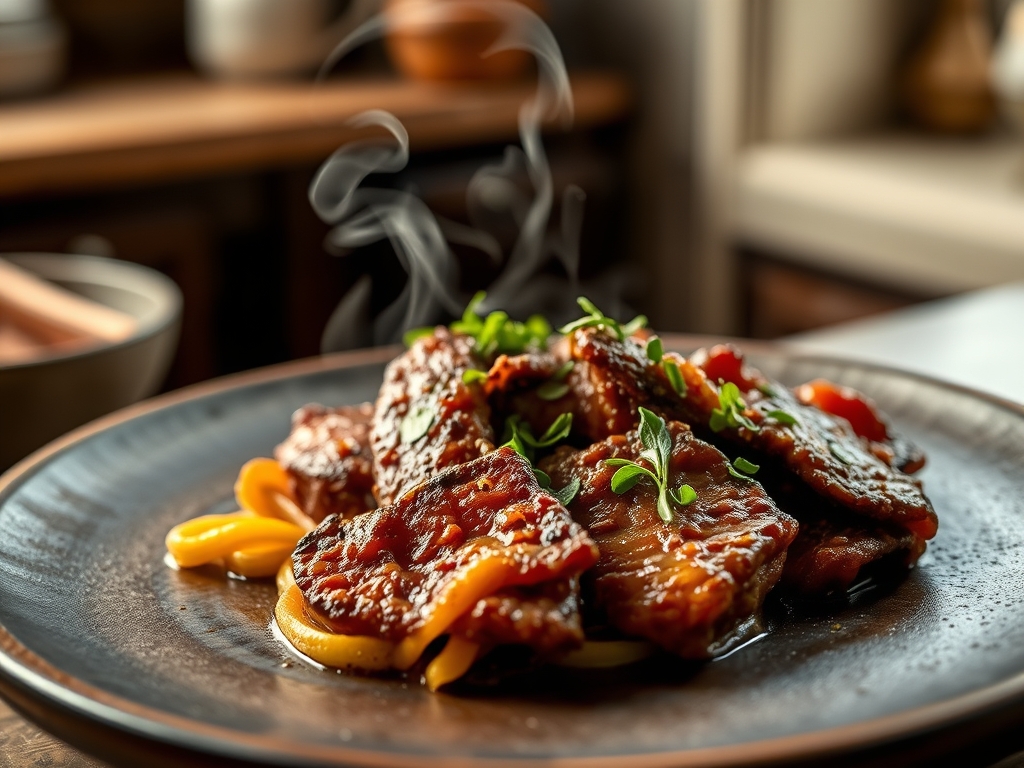
Imagine the scent of toasted flour and rendered fat swirling through a sunlit kitchen; it is the olfactory equivalent of a warm hug. When you are craving that quintessential mid-century comfort, nothing hits the mark quite like classic armour chipped beef recipes. This dish is a masterclass in balance; it marries the intense, salt-cured punch of thin-sliced beef with a velvety, ivory-colored bechamel. It is not just "SOS" on toast; it is a sophisticated study in salt management and emulsion stability.
The secret to a truly transcendent creamed beef lies in the texture of the sauce. We are aiming for a viscous, glossy coat that clings to the meat without feeling heavy or pasty. By understanding the molecular dance between the starches in your roux and the proteins in the beef, you can transform a humble pantry staple into a gourmet brunch centerpiece. Whether you are serving it over sourdough or folding it into a breakfast casserole, the goal is a piquant flavor profile that awakens the palate. Let us dive into the chemistry of the perfect creamed beef.

The Gathers:
To achieve culinary excellence, your mise-en-place must be precise. Start with a 2.25-ounce jar of Armour Star Sliced Dried Beef. This product is salt-cured and air-dried; it possesses a concentrated umami profile that serves as the backbone of the dish. You will need four tablespoons of unsalted butter to control the sodium levels and four tablespoons of all-purpose flour to create a standard 1:1 roux. For the liquid base, use two cups of whole milk; the higher fat content ensures a more stable emulsion.
Smart Substitutions: If you are looking for a lighter profile, swap half the milk for unsalted beef stock to deepen the savory notes. For those avoiding gluten, a 1:1 gluten-free flour blend works well, though you may need to whisk more vigorously to prevent grittiness. If you want to elevate the aromatics, keep a microplane handy to grate fresh nutmeg or a clove of garlic into the butter as it melts. A pinch of cayenne or a dash of Worcestershire sauce adds the necessary acidity to cut through the richness of the dairy.
The Clock
Efficiency in the kitchen is about "Chef's Flow," the art of overlapping tasks to maximize flavor and minimize time. Expect a total time of 15 minutes. The prep phase takes roughly 5 minutes; this includes rinsing the beef to manage salinity and chopping it into bite-sized ribbons using a sharp chef's knife or kitchen shears.
The cooking phase requires 10 minutes of active attention. You cannot walk away from a bechamel. The first 3 minutes are dedicated to the roux, where you will toast the flour to remove the "raw" grain taste. The final 7 minutes involve the gradual incorporation of milk and the simmering of the beef. This rapid turnaround makes it a favorite for high-volume breakfast service or a quick, protein-dense weeknight dinner.
The Masterclass
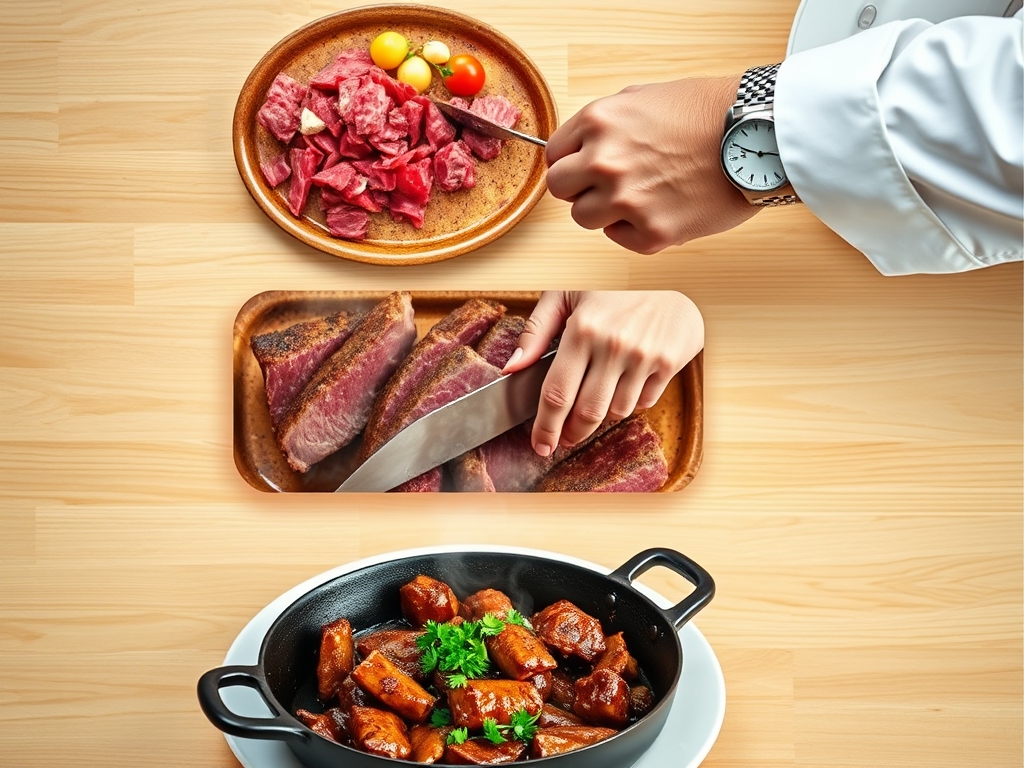
1. The Salinity Reset
Begin by rinsing your dried beef under cold running water. This step is non-negotiable for controlling the final seasoning of the dish. Pat the meat dry with paper towels to ensure it doesn't steam when it hits the pan.
Pro Tip: This process uses osmosis to draw excess surface salt away from the meat fibers. If you skip this, your final sauce may become oversalted as the beef releases its cure into the milk during the simmering stage.
2. The Roux Foundation
In a heavy-bottomed skillet or a saucier, melt your butter over medium heat. Once the foaming subsides, sprinkle in the flour. Use a silicone whisk to combine them into a smooth paste. Cook for two minutes until it smells slightly nutty and looks like pale sand.
Pro Tip: This is the "Blonde Roux" stage. Cooking the flour triggers the Maillard reaction on a micro-scale; it breaks down the starch granules so they can later absorb the milk without clumping or tasting like uncooked dough.
3. The Gradual Emulsion
Slowly pour in the milk, roughly half a cup at a time. Whisk constantly in a circular motion, ensuring you scrape the corners of the pan. The mixture will thicken rapidly at first before loosening into a silky sauce.
Pro Tip: This relies on starch gelatinization. As the milk heats, the flour particles swell and burst; they release amylose molecules that trap the liquid into a thick, cohesive structure. Adding milk slowly prevents the temperature from dropping too sharply, which keeps the emulsion stable.
4. The Infusion
Once the sauce is smooth, stir in your chopped beef and seasonings. Lower the heat and let it simmer gently for three to five minutes. This is the time to add a crack of black pepper or that hint of nutmeg.
Pro Tip: This stage allows for "Flavor Migration." The heat coaxes the savory, cured essence of the beef into the dairy base; it creates a unified flavor profile rather than just meat sitting in milk.
The Deep Dive
From a nutritional standpoint, this dish is a powerhouse of protein and calcium. A standard serving provides roughly 15 grams of protein, making it an excellent recovery meal. For those following a Keto lifestyle, replace the flour with a pinch of xanthan gum and use heavy cream instead of milk to slash the carb count while boosting healthy fats. Vegan adaptations can be achieved using coconut oil, almond milk, and "vegan jerky" or smoked mushrooms to mimic the cured texture.
The Fix-It:
- Lumpy Sauce: If your sauce looks like cottage cheese, it is likely because the milk was added too fast. Fix it by passing the sauce through a fine-mesh sieve or using an immersion blender to re-emulsify the fats.
- Too Salty: If you forgot to rinse the beef, do not add more salt. Instead, stir in a teaspoon of lemon juice or a splash of heavy cream to dilute the intensity.
- Too Thick: Bechamel thickens as it cools. If it becomes a paste, whisk in a tablespoon of warm milk or water to restore the desired viscosity.
Meal Prep: To reheat, avoid the microwave if possible. Place the leftovers in a small saucepan over low heat and add a splash of milk. Use a bench scraper to get every bit of sauce out of your storage container. The gentle heat prevents the butter fats from separating, ensuring "day-one" silkiness.
The Wrap-Up
Mastering armour chipped beef recipes is a rite of passage for any home cook who values the intersection of history and culinary science. It is a dish that proves how four or five simple ingredients can be transformed through technique into something truly elegant. By controlling your roux and managing your salinity, you create a breakfast that is both nostalgic and technically perfect. So, grab your favorite skillet, whisk with confidence, and enjoy the creamy, savory reward of a job well done.
The Kitchen Table
How do I keep the sauce from breaking?
Maintain a consistent medium-low heat and whisk constantly. Avoid boiling the sauce vigorously; a gentle simmer keeps the fat and protein molecules bonded. If it begins to separate, whisk in a teaspoon of cold milk to stabilize the temperature.
Can I make this ahead of time?
Yes, you can store it in an airtight container for up to three days. When reheating, add a splash of milk to loosen the starches. Use a gentle heat on the stovetop to maintain the silky emulsion without scorching the dairy.
Why is my chipped beef so tough?
Toughness usually results from overcooking the meat in the sauce. The beef is already cured and "cooked." It only needs a few minutes of simmering to soften the fibers and infuse the flavor into the bechamel.
What are the best things to serve this over?
While toasted sourdough is the gold standard, try it over buttermilk biscuits, hash browns, or even a baked potato. The key is a sturdy, starchy base that can absorb the sauce without becoming soggy too quickly.
Is it necessary to rinse the dried beef?
Yes, rinsing is essential. The curing process uses high levels of sodium for preservation. Rinsing removes the excess surface salt; this allows you to control the final seasoning and prevents the sauce from becoming overwhelmingly salty.