
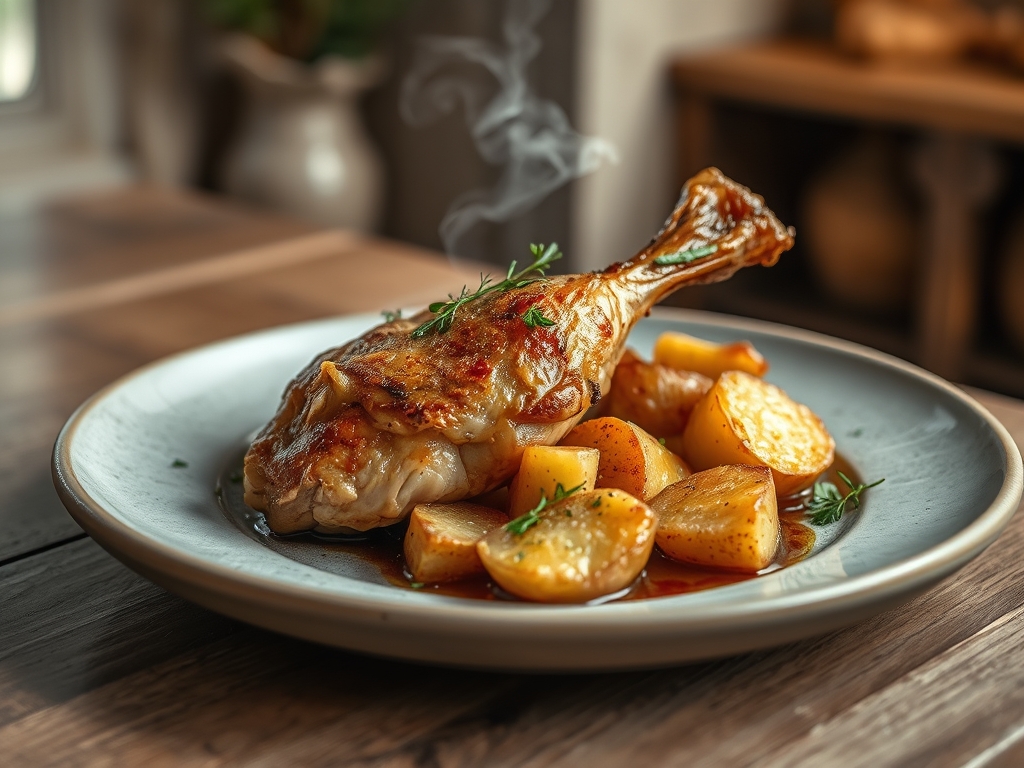
The scent of rendering schmaltz is a universal love language. It starts as a faint, savory whisper and ends as a full-bodied roar that fills every corner of your home. When we talk about chicken leg and potato recipes, we are discussing the absolute pinnacle of culinary comfort; a perfect marriage of high-protein collagen and complex carbohydrates.
There is a specific kind of magic that happens when a chicken leg, rich with connective tissue, meets a starchy potato in a high-heat environment. You are not just making dinner; you are managing a complex series of chemical reactions that result in shattered-glass skin and potatoes that have been fortified by molten poultry fat. This is the ultimate weeknight flex. It is efficient, cost-effective, and mathematically designed to satisfy. Whether you are hosting a frantic midweek gathering or prepping for a solo Sunday feast, these techniques will elevate your kitchen game from "just cooking" to "culinary engineering." Let us dive into the mechanics of the perfect roast.
The Gathers:
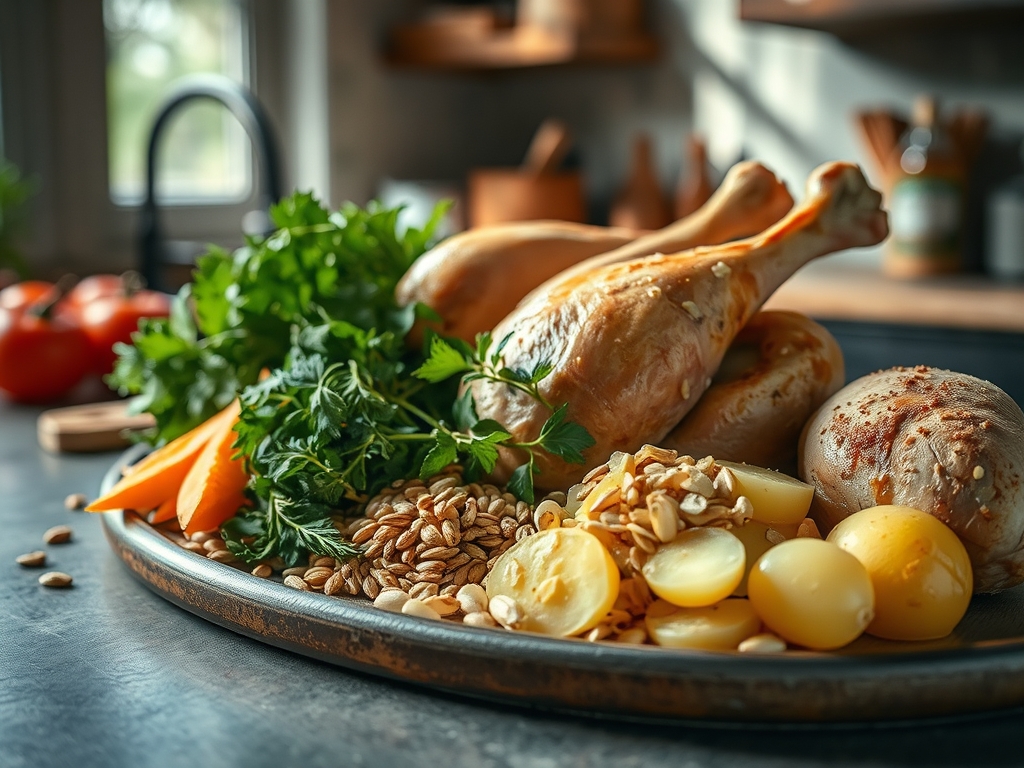
To achieve a five-star result, your mise-en-place must be intentional. Start with your protein. We are looking for high-quality chicken legs, which consist of the drumstick and the thigh attached. This cut is superior to the breast because the higher fat content protects the meat from drying out during the intense Maillard reaction.
For the potatoes, reach for a high-starch variety like a Russet or a waxy Yukon Gold. Russets provide that fluffy, aerated interior, while Yukon Golds offer a buttery, viscous mouthfeel. You will also need a high-smoke-point oil like avocado or grapeseed oil; extra virgin olive oil is lovely but can smoke out your kitchen at the temperatures required for truly crispy skin.
The Essential Tool Kit:
- Heavy-bottomed sheet pan or cast-iron skillet: Crucial for even heat distribution.
- Digital scale: For precise seasoning ratios (aim for 1.5 percent salt by weight).
- Microplane: To zest citrus or grate garlic into a fine paste.
- Bench scraper: To easily transport chopped potatoes from the board to the pan.
Smart Substitutions:
If you are out of potatoes, parsnips or rutabagas offer a similar density with a piquant, earthy twist. No chicken legs? Bone-in, skin-on thighs are your next best bet. Avoid boneless cuts here; the bone acts as a thermal conductor, cooking the meat from the inside out while maintaining moisture.
The Clock
Efficiency in the kitchen is all about "Chef's Flow." This is the art of overlapping tasks so that no second is wasted.
- Prep Time: 20 minutes. This includes washing, peeling, and the "dry brine" phase.
- Cook Time: 45 to 55 minutes. This depends on the calibration of your oven and the size of your poultry.
- The Flow: While your oven preheats to a roaring 425 degrees Fahrenheit, you should be prepping your aromatics. Never wait for the oven to beep before you start chopping. By the time the chime sounds, your sheet pan should be loaded and ready for the heat.
The Masterclass
1. The Dry Brine and Surface Prep
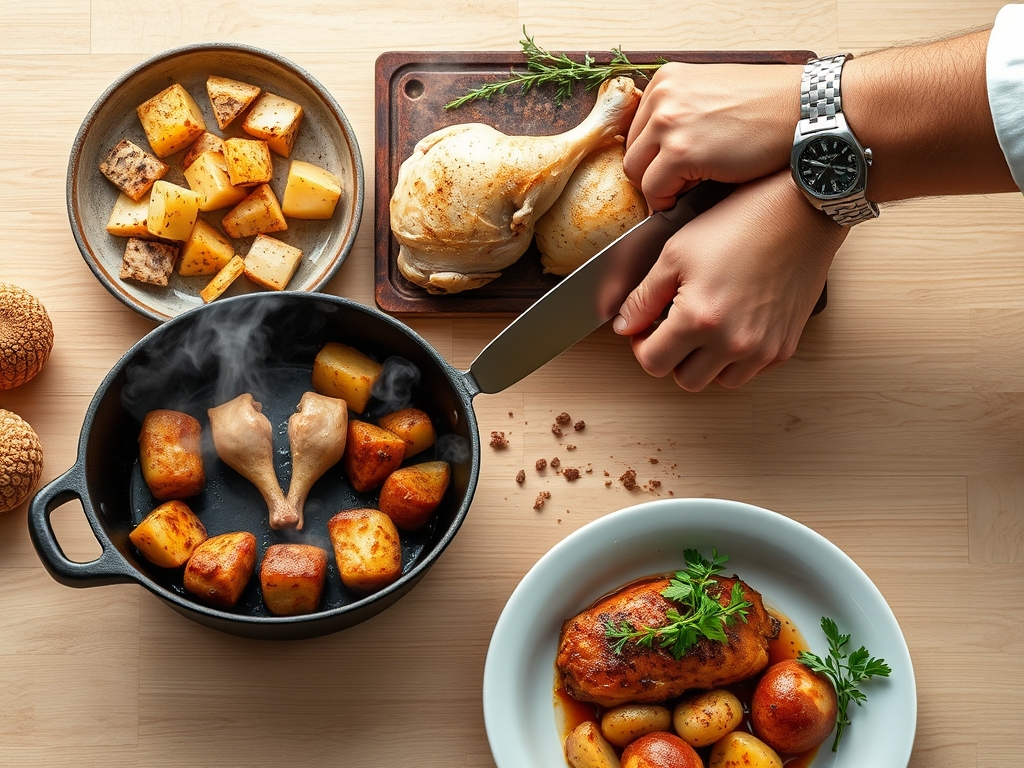
Pat the chicken legs excessively dry with paper towels. Moisture is the enemy of the Maillard reaction. Season generously with kosher salt and let them sit at room temperature for at least 15 minutes.
Pro Tip: This process uses osmosis to draw moisture out of the skin and then pull the seasoned brine back into the muscle fibers, ensuring the meat is seasoned to the bone.
2. The Potato Parboil
Cut your potatoes into uniform two-inch chunks. Place them in a pot of cold, salted water and bring to a boil for exactly five minutes, then drain.
Pro Tip: This creates a layer of gelatinized starch on the surface of the potato. When roasted, this layer dehydrates into an incredibly thick, crunchy crust that a raw-roasted potato simply cannot achieve.
3. The Fat Infusion
In a large bowl, toss the parboiled potatoes with oil, herbs, and a splash of duck fat if you are feeling fancy. Use your hands to ensure every nook and cranny is coated.
Pro Tip: This creates a lipid barrier that prevents the potatoes from sticking to the pan while ensuring they fry in the oven rather than just baking.
4. The Strategic Arrangement
Place the chicken legs on the sheet pan, skin-side up. Nestle the potatoes around them, ensuring no pieces are overlapping. If the pan is crowded, the moisture will steam the food instead of roasting it.
Pro Tip: Proper airflow and convection are required to move hot air around the ingredients. Crowding the pan drops the surface temperature, leading to rubbery skin and soggy spuds.
5. The High-Heat Roast
Slide the pan into the center rack. Rotate the pan 180 degrees halfway through the cooking process to account for any hot spots in your oven.
Pro Tip: We are looking for thermal carryover. Remove the chicken when the internal temperature hits 160 degrees Fahrenheit; it will rise to the safe 165 degrees while resting.
6. The Deglaze and Finish
Once the chicken is resting, look at the pan. Those brown bits stuck to the bottom are "fond." Toss the hot potatoes in those juices one last time.
Pro Tip: This is an emulsification of rendered chicken fat and potato starch, creating a savory "glaze" that clings to the vegetables.
The Deep Dive
Macro Nutrition:
A standard serving of roasted chicken legs and potatoes provides roughly 35 grams of protein and 30 grams of complex carbohydrates. It is a balanced, high-satiety meal that fuels muscle recovery and provides sustained energy.
Dietary Swaps:
- Vegan: Replace chicken with thick slabs of cauliflower "steaks" and use a heavy hand with smoked paprika to mimic the savory depth.
- Keto: Swap potatoes for radishes or cauliflower florets. When roasted, radishes lose their bite and become remarkably similar to potatoes in texture.
- GF: This recipe is naturally gluten-free, provided your spice blends do not contain anti-caking agents derived from wheat.
The Fix-It:
- Soggy Skin: Your oven temperature was too low or you didn't dry the chicken enough. Fix: Crank the broiler for the last 2 minutes, watching like a hawk.
- Burnt Garlic: You added minced garlic too early. Fix: Next time, add aromatics in the last 15 minutes of roasting.
- Raw Potatoes: You cut them too large or skipped the parboil. Fix: Microwave the potatoes for 2 minutes to soften the centers, then return to the pan.
Meal Prep & Reheating:
To maintain "day-one" quality, avoid the microwave. Reheat in an air fryer or a 375-degree oven for 10 minutes. This re-activates the fats and recrisps the skin through re-dehydration.
The Wrap-Up
Mastering chicken leg and potato recipes is like learning the secret handshake of the culinary world. It is about understanding how fat, heat, and starch interact to create something far greater than the sum of its parts. Once you nail the parboil and the dry brine, you have the foundation to experiment with any flavor profile, from lemon-oregano to spicy harissa. Now, grab your tongs and get roasting!
The Kitchen Table
How do I get the skin extra crispy?
Ensure the skin is bone-dry before seasoning. A light dusting of baking powder mixed with salt can also lower the pH levels, breaking down the peptide bonds in the skin for a faster, more intense crunch.
Can I use frozen chicken legs?
Yes, but they must be fully thawed and patted dry. Frozen meat releases excess moisture as it cooks, which can steam your potatoes and prevent the Maillard reaction from occurring properly.
What is the best potato for roasting?
Yukon Golds are the gold standard. They possess a medium starch content that allows them to hold their shape while still developing a creamy, velvety interior and a crisp, golden exterior.
How do I know when the chicken is done without a thermometer?
Pierce the thickest part of the leg with a skewer. If the juices run clear rather than pink, and the meat has begun to pull away from the bone, it is generally safe to eat.
Why are my potatoes sticking to the pan?
You likely put them into a cold oven or didn't use enough fat. Always preheat your pan if possible, and ensure every potato surface is well-coated in oil to create a non-stick barrier.