
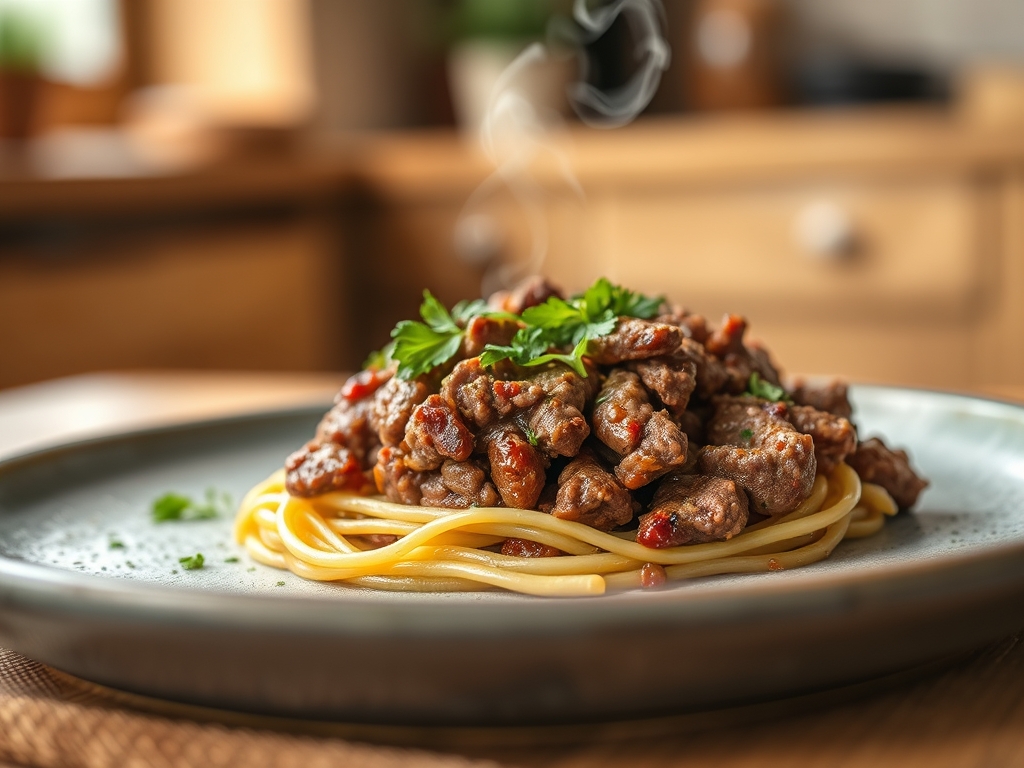
Imagine the scent of searing iron and caramelized onions hitting a hot heavy-bottomed skillet at six in the evening. There is a specific, comforting magic found in skinnytaste ground beef recipes that bridges the gap between high-performance nutrition and soul-soothing flavor. We are talking about lean proteins transformed into succulent masterpieces that never leave you feeling weighed down or sluggish.
It is time to ditch the idea that healthy eating requires sacrifice. When you master the art of the sear, you unlock a world of depth that rivals any five-star bistro. Whether you are craving a zesty taco bowl, a rich Bolognese, or a Mediterranean-inspired skillet, these recipes rely on high-quality ingredients and smart techniques to maximize every single calorie. We are going to dive deep into the chemistry of flavor, ensuring your kitchen becomes a laboratory of deliciousness.
By the time we finish this guide, you will be navigating your kitchen with the confidence of a seasoned chef. We will explore how to manage moisture, how to achieve the perfect Maillard reaction, and how to utilize professional tools to make your prep work seamless. Get your digital scale and your favorite chef's knife ready; we are about to elevate your weeknight dinner game to a professional standard.

The Gathers:
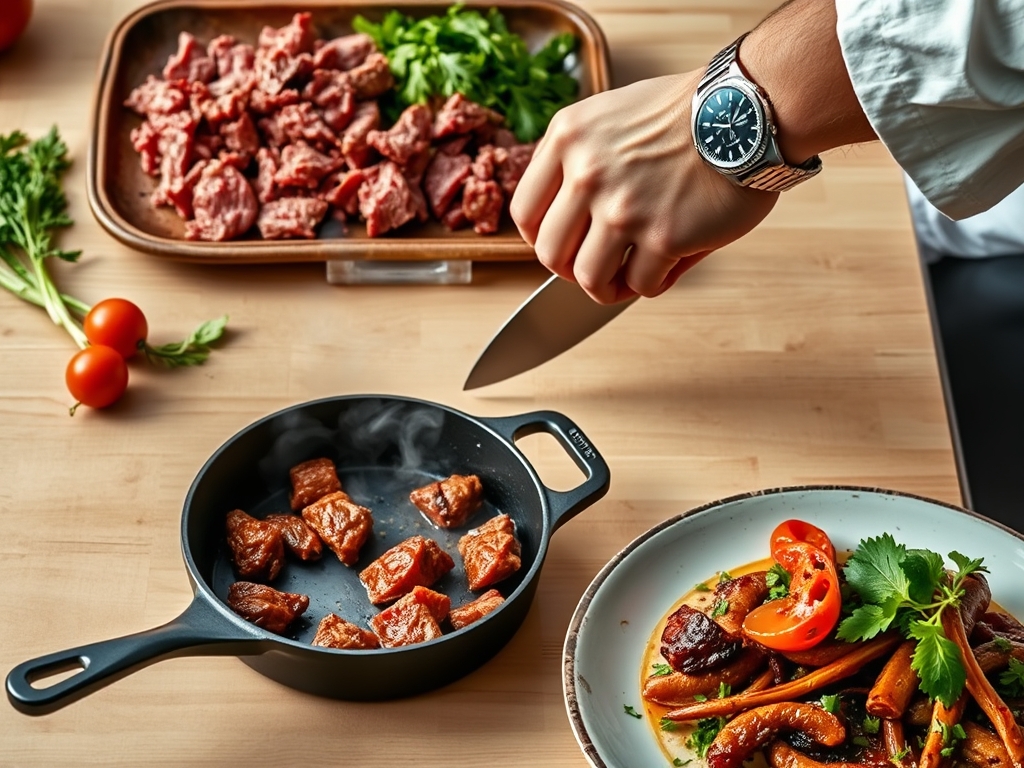
To execute the best skinnytaste ground beef recipes, your mise-en-place must be precise. Start with 90 percent or 93 percent lean ground beef. This specific fat-to-lean ratio is the sweet spot; it provides enough lipids to carry flavor without an oily mouthfeel. You will also need aromatic foundations: yellow onions for their high sugar content, garlic for its piquant sulfur compounds, and bell peppers for a crisp, aqueous crunch.
Professional tools make a significant difference here. Use a microplane to grate your garlic and ginger into a fine paste; this increases the surface area and ensures the flavors infuse the fat instantly. A bench scraper is essential for transferring chopped aromatics from your cutting board to the pan without losing a single morsel. For seasoning, keep kosher salt and a pepper mill nearby; freshly cracked peppercorns contain volatile oils that pre-ground versions simply lack.
Smart Substitutions are your secret weapon for calorie management. If a recipe calls for a heavy binder, try using grated zucchini or finely minced mushrooms. These vegetables mimic the texture of meat while adding moisture and fiber. If you need a creamy element, reach for Greek yogurt instead of sour cream to add a tangy, probiotic punch.
The Clock
Efficiency in the kitchen is all about the Chef's Flow. Most skinnytaste ground beef recipes require about 15 minutes of active prep and 20 minutes of cook time. The goal is to minimize downtime by multitasking. While your skillet preheats, you should be dicing your aromatics. While the beef browns, you can prepare your garnishes or side salads.
Total time usually clocks in at 35 to 45 minutes from start to finish. Understanding thermal momentum is key here; a heavy skillet takes time to reach the proper temperature, but once it is hot, it retains heat exceptionally well. Do not rush the preheating phase. If you add meat to a cold pan, it will steam in its own juices rather than searing, resulting in a grey, rubbery texture instead of a rich, mahogany crust.
The Masterclass
1. The High-Heat Sear
Place your heavy-bottomed skillet over medium-high heat until a drop of water dances and evaporates instantly. Add a teaspoon of high-smoke-point oil, then crumble the beef into the pan. Do not stir it immediately. Let it sit undisturbed for three minutes to develop a deep brown crust.
Pro Tip: This process is known as the Maillard reaction. It is a chemical reaction between amino acids and reducing sugars that creates hundreds of different flavor compounds. If you crowd the pan, the moisture release will drop the temperature, causing the meat to boil rather than sear.
2. Deglazing the Fond
Once the beef is browned and removed, you will notice brown bits stuck to the bottom of the pan. This is called fond. Add a splash of beef stock, wine, or even water, and use a wooden spoon to scrape those bits up.
Pro Tip: Deglazing is a technical necessity because the fond contains concentrated umami. By introducing a liquid, you de-polymerize those proteins and incorporate them back into your sauce, creating a more viscous and flavorful base.
3. Emulsifying the Sauce
If your recipe includes a sauce, add your liquid components and bring them to a gentle simmer. Use a saucier or a whisk to combine the fats and liquids into a smooth, cohesive mixture.
Pro Tip: Emulsification occurs when you force two immiscible liquids, like oil and water, to stay mixed. In lean beef recipes, the small amount of rendered fat combined with a starch or a reduction creates a silky mouthfeel without the need for heavy cream.
4. Resting and Carryover Cooking
Remove the pan from the heat when the beef is just barely finished. Transfer the mixture to a serving bowl and let it rest for five minutes before serving.
Pro Tip: Thermal carryover means the internal temperature will continue to rise by 5 to 10 degrees after being removed from the heat source. Resting allows the muscle fibers to relax and reabsorb juices, ensuring the meat remains tender rather than dry.
The Deep Dive
When we look at the macro nutrition of these meals, we see a profile designed for satiety. A standard serving typically provides 25 to 30 grams of protein with moderate fats and low carbohydrates. To keep these meals Keto-friendly, swap traditional pasta for zoodles or spaghetti squash. For a Vegan twist, you can replicate the texture of ground beef using a mix of lentils and walnuts, though the cooking chemistry will shift from fat-rendering to fiber-softening.
The "Fix-It" guide for common pitfalls:
- The Meat is Greasy: This happens if you do not drain the fat after browning. Use a slotted spoon to remove the meat, or use a crumpled paper towel held with tongs to soak up excess lipids from the corner of the pan.
- The Flavor is Flat: You likely forgot to deglaze or lacked acidity. Add a squeeze of lime or a teaspoon of apple cider vinegar at the end to brighten the dish.
- The Texture is Rubbery: This is a result of overworking the meat. When browning, break it into large chunks rather than a fine paste to maintain structural integrity.
For meal prep, reheating science is vital. To maintain "day-one" quality, reheat your beef in a skillet with a tablespoon of water or broth. This creates steam that re-hydrates the proteins, preventing the "warmed-over flavor" caused by lipid oxidation in the microwave.
The Wrap-Up
Mastering skinnytaste ground beef recipes is about more than just following a list of ingredients; it is about respecting the science of the kitchen. By focusing on the Maillard reaction, proper deglazing, and the Chef's Flow, you turn a simple weeknight dinner into a culinary event. These meals prove that you can prioritize your health without ever sacrificing the bold, savory flavors that make eating a joy. Now, grab your skillet and get cooking!
The Kitchen Table
How do I prevent lean ground beef from drying out?
Avoid overcooking by utilizing carryover cooking. Remove the beef from the heat just before it is fully browned. Adding moisture-rich aromatics like grated onions or mushrooms also creates a protective barrier that retains internal juices during the searing process.
Can I freeze these ground beef meals?
Yes, ground beef dishes freeze exceptionally well. Ensure the food reaches room temperature before sealing in airtight containers. This prevents ice crystal formation. When ready to eat, thaw in the refrigerator overnight to maintain the structural integrity of the protein fibers.
What is the best way to drain excess fat?
Use a slotted spoon to transfer the browned beef to a plate lined with paper towels. Alternatively, tilt the skillet and use a bulb baster or a wad of paper towels held by tongs to safely remove the rendered lipids.
Why does my ground beef turn grey instead of brown?
Grey meat is a sign of steaming rather than searing. This occurs if the pan is not hot enough or if you crowd the skillet. Cook in batches and ensure the surface is dry to allow the Maillard reaction to occur properly.