
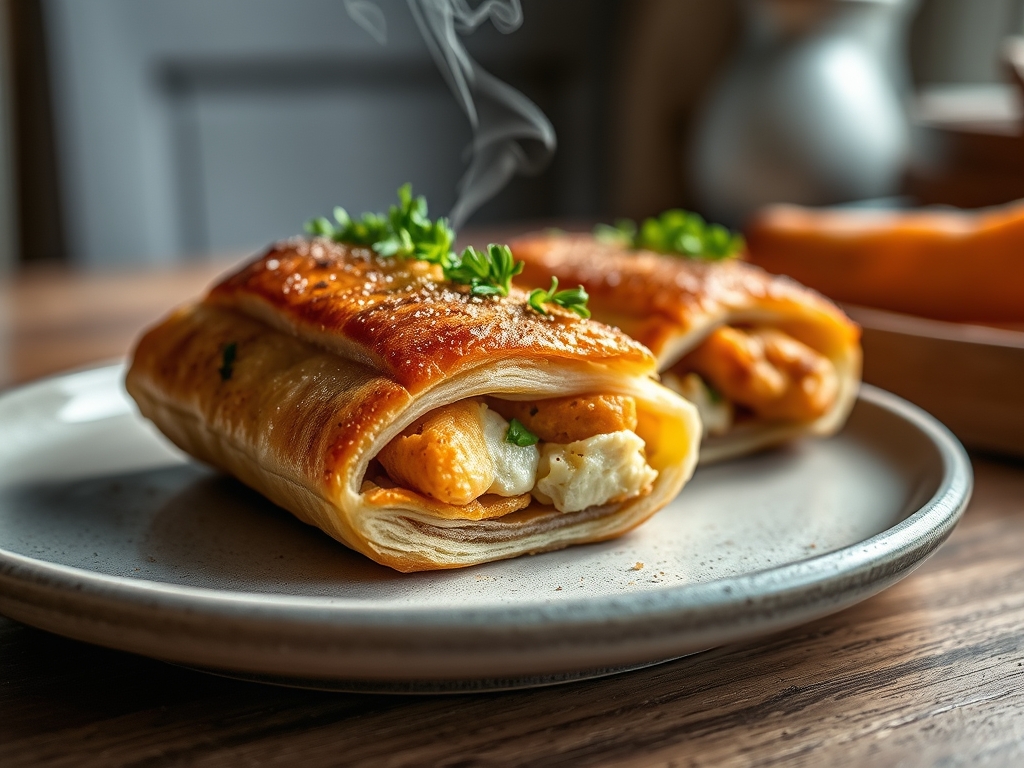
Imagine the sound of a thousand microscopic glass shards shattering at once. That is the precise acoustic signature of a perfect bite into these puff pastry and chicken recipes. It starts with the golden, laminated architecture of the dough, followed immediately by the succulent, savory release of seasoned poultry. It is high-wire culinary theater in your own kitchen.
To master this duo, we are moving beyond basic pot pies. We are talking about delicate vol-au-vents, rustic galettes, and sophisticated "cigars" that rely on the interplay of steam and fat. The science is simple but unforgiving. The water in the butter layers must evaporate rapidly to create lift, while the chicken must remain juicy enough to provide a contrast in texture. Whether you are hosting a high-end gala or just treating yourself on a Tuesday, these techniques will transform standard frozen pastry into a Michelin-star medium. Grab your apron and your favorite heavy-bottomed skillet; we are about to turn basic ingredients into edible gold.
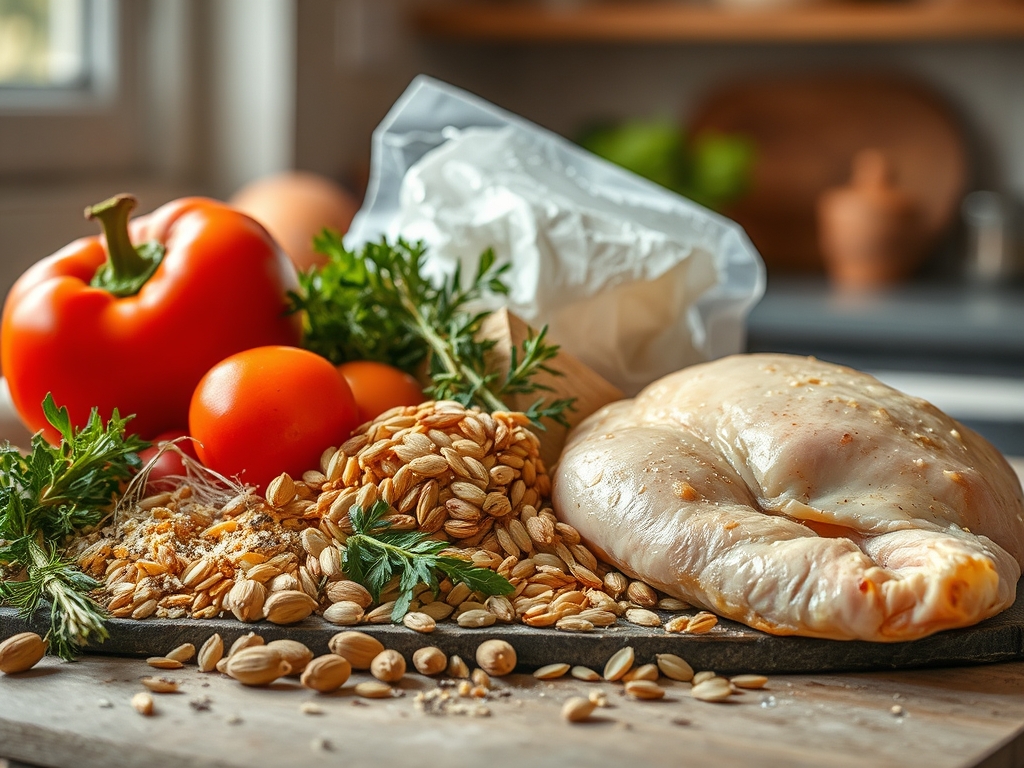
The Gathers:
Setting your mise-en-place is not just about organization; it is about thermal management. You will need high-quality puff pastry, preferably made with 100 percent butter. Look for a brand that lists "butter" before "vegetable oil" to ensure a superior mouthfeel and better Maillard reaction during the bake. For the protein, opt for boneless, skinless thighs. Thighs contain more connective tissue (collagen) than breasts, which breaks down into gelatin during the cooking process, ensuring your filling remains viscous and moist.
Your pantry should also feature heavy cream, a sharp Dijon mustard for a piquant kick, and fresh aromatics like thyme and leeks. Use a microplane to zest lemon and grate garlic into a fine paste; this ensures even distribution of flavor without chunky textures. If you are looking for smart substitutions, you can swap the heavy cream for full-fat coconut milk to add a subtle nutty undertone. For a lower-fat profile, use a Greek yogurt base, but be careful to fold it in off the heat to prevent curdling. Always have a digital scale handy to measure your pastry cuts; precision is the secret to uniform rising.
The Clock:
Efficiency in the kitchen is what we call "Chef's Flow." This process takes approximately 20 minutes of active prep and 25 minutes of baking. The key is to work in parallel. While your oven preheats to a steady 400 degrees Fahrenheit, you should be rendering the fat from your chicken in the skillet.
Never let your pastry sit at room temperature for more than ten minutes. If the butter melts before it hits the oven, you lose the "puff" and end up with a greasy "slump." Use a bench scraper to move your dough quickly and keep your hands cool. By the time your filling is deglazed and cooled slightly, your pastry should be cut and ready for assembly. This synchronized timing ensures the dough stays chilled while the filling remains warm enough to begin the cooking process immediately upon entering the oven.

The Masterclass:
1. Sear and Deglaze
Start by heating your heavy-bottomed skillet over medium-high heat. Add your diced chicken, ensuring you do not crowd the pan. Crowding causes the temperature to drop, leading to steaming rather than searing. Once a golden crust forms, use a splash of dry white wine to deglaze the brown bits (fond) from the bottom.
Pro Tip: This process utilizes enzymatic browning, creating complex flavor compounds that cannot be achieved through boiling or steaming. The fond contains concentrated umami that acts as the backbone of your sauce.
2. Create the Emulsion
Lower the heat and add your aromatics. Slowly whisk in your cream or stock using a saucier or whisk. You are looking to create a stable emulsion where the fats and liquids are perfectly suspended. The sauce should be thick enough to coat the back of a spoon.
Pro Tip: If your sauce separates, it is likely due to high heat. Remove it from the burner and add a teaspoon of cold water while whisking vigorously to re-establish the bond between the molecules.
3. Chill the Filling
This is the step most home cooks skip, but it is vital. Transfer your chicken mixture to a shallow bowl and place it in the fridge for ten minutes. A hot filling will immediately melt the butter layers in your puff pastry, ruining the structural integrity of the bake.
Pro Tip: Chilling the filling prevents thermal transfer, ensuring the pastry remains cold until it hits the intense heat of the oven, which is required for maximum "lift."
4. Precision Cutting and Scoring
Unfold your chilled pastry on a lightly floured surface. Use a sharp knife or a pizza cutter to create your shapes. If you are making turnovers, use a fork to crimp the edges. Use a knife to lightly score the top of the pastry without cutting all the way through.
Pro Tip: Scoring allows steam to escape in a controlled manner. Without these vents, the internal pressure will cause the pastry to burst at the seams, leaking your delicious filling everywhere.
5. The Egg Wash Application
Whisk one egg with a tablespoon of water and brush it lightly over the pastry. Avoid letting the egg wash drip down the cut edges of the dough, as this can "glue" the layers together and prevent them from rising.
Pro Tip: The proteins and sugars in the egg wash undergo the Maillard reaction at a lower temperature than the dough itself, resulting in that iconic professional mahogany sheen.
The Deep Dive:
From a nutritional standpoint, puff pastry and chicken recipes are calorie-dense but can be balanced with a side of acidic greens. A single serving generally contains 350 to 450 calories, with a solid 15 grams of protein. To make this keto-friendly, you would need to swap the pastry for a fat-head dough made of mozzarella and almond flour. For a vegan version, use "accidentally vegan" puff pastry (made with oil) and substitute the chicken with roasted oyster mushrooms, which mimic the fibrous texture of poultry.
"The Fix-It" guide for common pitfalls:
- Soggy Bottoms: This happens when the oven is too cool or the filling is too wet. Use a preheated baking stone or a heavy dark baking sheet to ensure bottom-up heat transfer.
- Leaking Filling: You likely overstuffed the pastry. Leave a half-inch border around the edges and use a "slurry" of cornstarch in your sauce to keep it stable.
- Pale Pastry: Your oven temperature is likely inaccurate. Use an oven thermometer to verify you are at a true 400 degrees Fahrenheit.
For meal prep, these treats are best stored in an airtight container for up to three days. To achieve "day-one" quality, never use a microwave. Reheat them in a toaster oven at 350 degrees Fahrenheit for eight minutes. This allows the fats to re-liquefy and the exterior to re-crisp without making the chicken rubbery.
The Wrap-Up:
Mastering puff pastry and chicken recipes is a rite of passage for any serious home cook. It requires a balance of speed, temperature control, and a little bit of scientific curiosity. When you pull that tray out of the oven and see the towering, golden layers, you will realize that the effort was worth every second. These bites are elegant, comforting, and technically impressive. Now, get into that kitchen and start laminating your way to glory!
The Kitchen Table:
How do I prevent my puff pastry from getting soggy?
Always chill your chicken filling before adding it to the dough. Additionally, bake on the lowest oven rack for the first ten minutes to ensure the bottom crust sets quickly before the moisture from the filling can soak in.
Can I use pre-cooked rotisserie chicken for these recipes?
Yes, rotisserie chicken is an excellent time-saver. Simply shred the meat and fold it into your warm sauce. Ensure the sauce is thick enough to bind the pre-cooked meat without adding excess moisture to the pastry.
What is the best way to store leftover puff pastry treats?
Store them in a single layer in an airtight container in the refrigerator. To maintain the crisp texture, reheat them in an oven or air fryer at 350 degrees Fahrenheit. Avoid the microwave, which makes the pastry chewy.
Why didn't my puff pastry rise?
Your dough likely became too warm before baking, melting the butter layers together. Another culprit is "pinning" the edges with too much egg wash, which acts as a glue and prevents the steam from pushing the layers apart.