
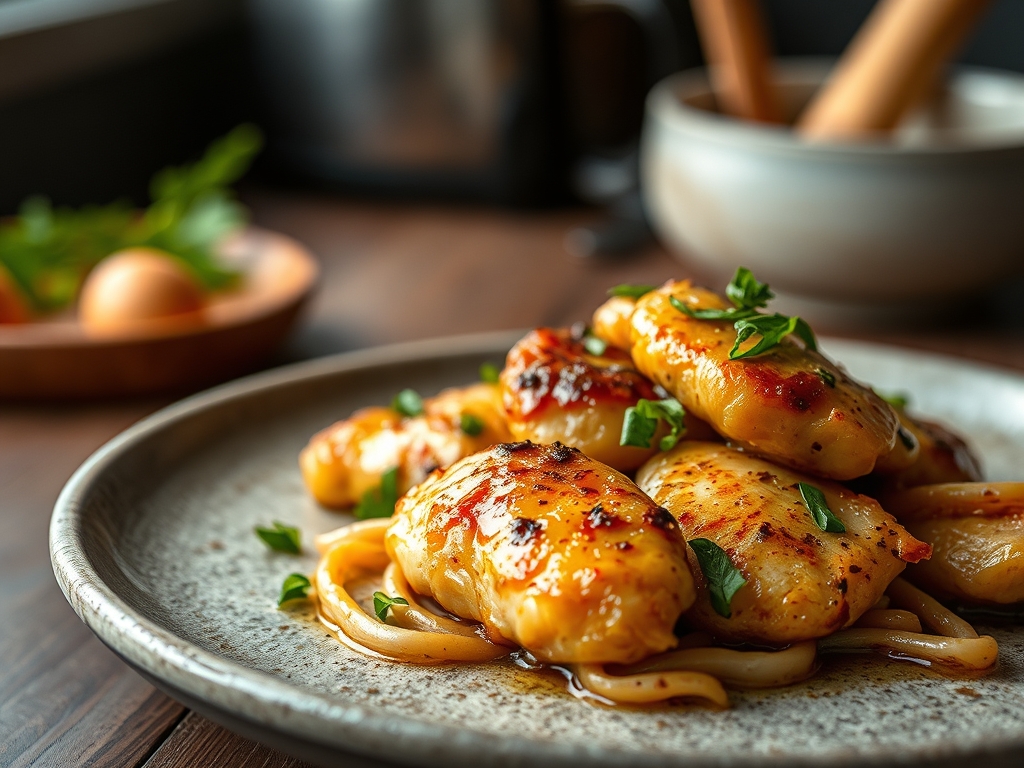
Picture the sound of a cold, stainless steel skillet meeting a high-flame burner; it is a sharp, rhythmic ping that signals the start of something transformative. You want that golden, shatter-crisp crust and a center so succulent it practically dissolves. Most home cooks struggle with sauteed chicken recipes because they treat the pan like a heating element rather than a chemical reactor. We are not just cooking dinner; we are orchestrating a series of complex molecular reactions to turn a humble protein into a five-star masterpiece.
To master this, you must understand that moisture is the enemy of the crust. When you toss a damp chicken breast into a pan, you aren't sauteing; you are steaming. That lackluster, grey exterior is the result of water molecules absorbing all the thermal energy before the proteins can brown. We are going to change that today. By the time we are finished, your kitchen will smell like toasted butter and garlic, and you will have the technical confidence of a line cook during a Saturday night rush. Grab your favorite heavy-bottomed skillet and let's get scientific.
The Gathers:
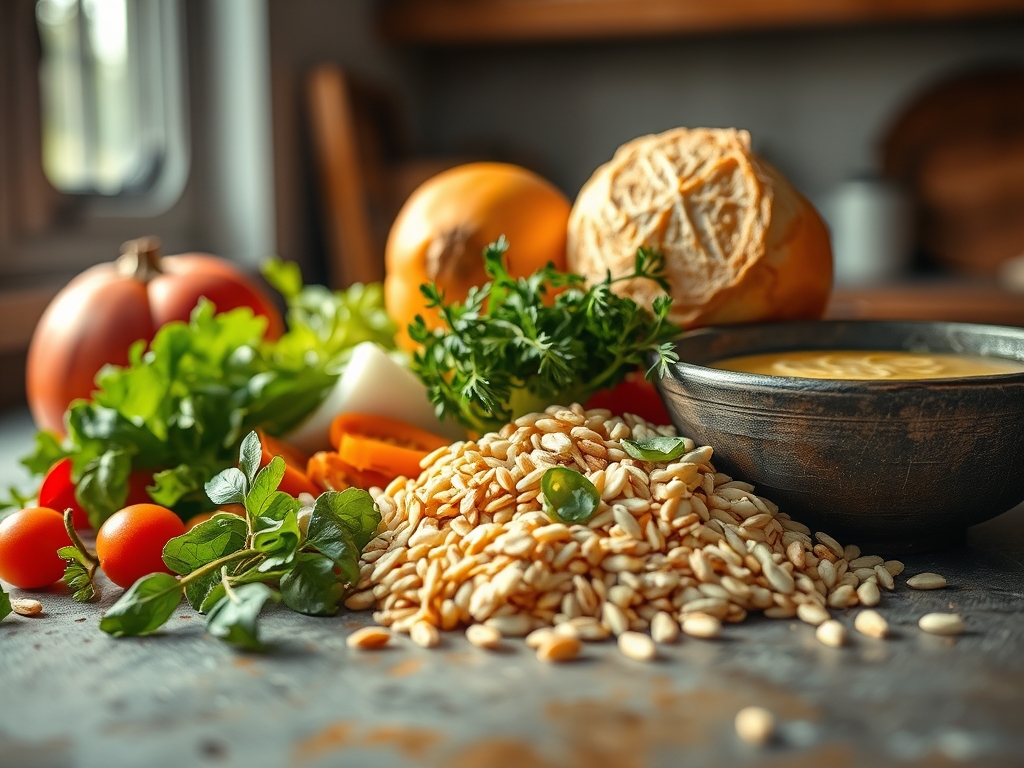
Before we even ignite the flame, your mise-en-place must be flawless. Professional kitchens run on the principle of readiness because once the fat reaches its smoke point, you have mere seconds to act. Start with high-quality chicken breasts or thighs, ideally air-chilled. Air-chilled poultry has a lower water content than its water-chilled counterparts, which ensures a more viscous pan sauce later. You will need a high-smoke-point fat like avocado oil or clarified butter (ghee). Standard butter contains milk solids that burn at 350 degrees Fahrenheit, which is too low for a proper sear.
Next, gather your aromatics. Use a microplane to zest fresh lemon and grate garlic into a fine paste; this increases the surface area, allowing the flavors to infuse the oil without leaving chunky, burnt bits in the pan. You will also need a coarse kosher salt. The large grains are essential because they draw out surface moisture through osmosis, which we will then pat dry. For the deglazing liquid, have a dry white wine or a fortified chicken stock ready in a saucier.
Smart Substitutions: If you are avoiding alcohol, a splash of verjus or white balsamic vinegar provides that necessary piquant acidity. If you lack ghee, a 50/50 blend of neutral oil and unsalted butter provides the flavor of dairy with a slightly elevated burn temperature.
The Clock:
The "Chef's Flow" is all about timing the thermal momentum. Total preparation takes roughly 15 minutes, while the active cooking time spans 10 to 12 minutes. However, the most critical part of the clock is the 20-minute pre-salt period. Salting the meat early allows the seasoning to penetrate deep into the muscle fibers, denaturing the proteins so they retain more juice during the high-heat transition.
Once the chicken hits the pan, you are looking at 5 to 6 minutes per side. Do not rush this. If you move the meat too early, you tear the delicate protein bonds forming against the metal. The final phase is the rest. A 5-minute rest period is non-negotiable. This allows the internal temperature to stabilize and the juices to redistribute, preventing them from flooding your cutting board the moment you slice in.
The Masterclass:
1. The Surface Preparation
Use a bench scraper to clear your workspace, then lay your chicken on paper towels. Press firmly to remove every microscopic drop of surface water. Once dry, season aggressively with kosher salt and cracked black pepper. Note the matte texture of the meat in the step-by-step photos below; this is the ideal canvas for browning.
Pro Tip: This stage utilizes osmotic dehydration. By removing surface moisture, you ensure that the pan's energy goes directly into the Maillard reaction (the chemical reaction between amino acids and reducing sugars) rather than wasting energy evaporating surface water.
2. Achieving the Perfect Sear
Heat your heavy-bottomed skillet over medium-high heat until the oil shimmers and barely begins to wisps smoke. Lay the chicken away from you to avoid oil splatter. Use stainless steel tongs to press the meat down gently, ensuring total surface contact.
Pro Tip: This is about conduction. A heavy pan (like cast iron or tri-ply stainless) has high thermal mass, meaning it won't drop in temperature when the cold meat hits it. This constant heat is what creates that uniform, golden-brown crust.
3. The Flip and Butter Baste
Once the chicken releases naturally from the pan (usually after 5 minutes), flip it. Drop a knob of cold butter and a sprig of thyme into the "dead space" of the pan. As the butter foams, tilt the pan and use a large spoon to continuously bathe the chicken in the hot fat.
Pro Tip: This technique, known as arrosé, uses the fat to render any remaining connective tissue while simultaneously flavoring the meat. The foaming action indicates that the water in the butter is evaporating, leaving behind toasted milk solids that smell like hazelnuts.
4. Monitoring Internal Temperature
Forget the "poke test." Use a digital scale or, more accurately, an instant-read thermometer. Aim to pull the chicken off the heat when it hits 160 degrees Fahrenheit.
Pro Tip: Thermal carryover is a real physical phenomenon. The exterior of the meat is much hotter than the center; once removed from the heat, that residual energy continues to move inward, raising the internal temperature to the food-safe 165 degrees Fahrenheit without drying it out.
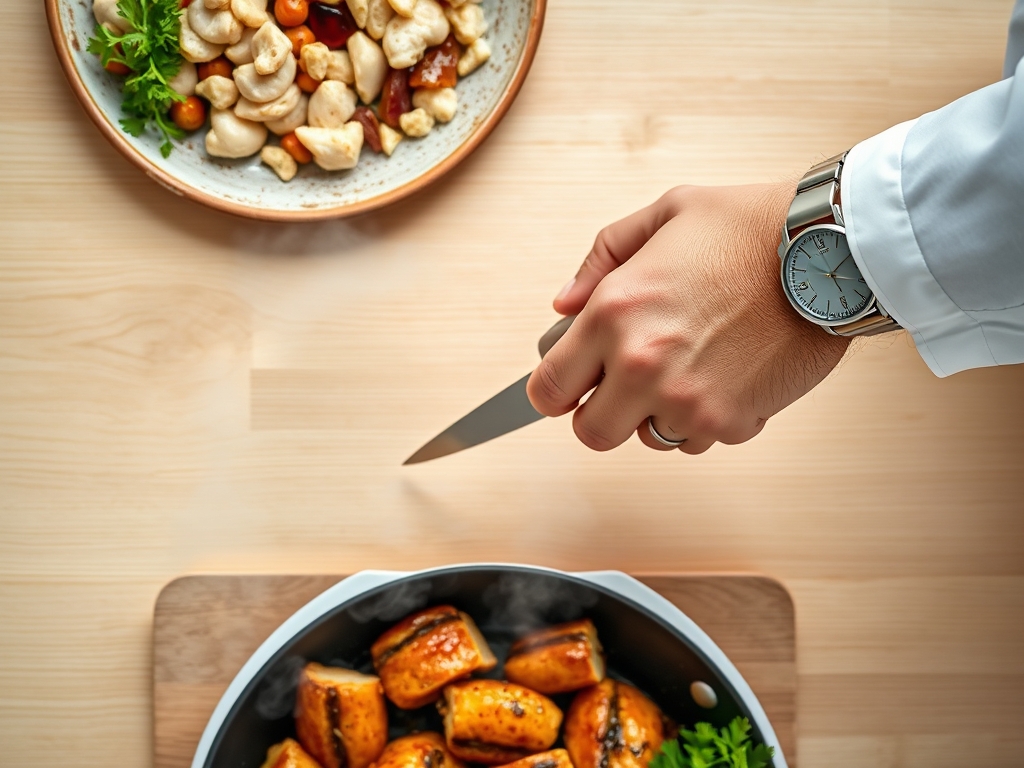
5. Deglazing the Fond
Remove the chicken to a warm plate. You will see brown bits stuck to the bottom of the pan; this is "fond," and it is concentrated flavor gold. Pour in your wine or stock and use a whisk to scrape these bits into the liquid.
Pro Tip: Deglazing is a solvent-based extraction. The acidity in the wine breaks the chemical bonds holding the caramelized proteins to the pan, creating a complex base for a velouté or a simple pan sauce.
6. Emulsifying the Pan Sauce
Reduce the liquid by half, then whisk in a final pat of cold butter or a splash of heavy cream. Whisk vigorously until the sauce becomes glossy and coats the back of a spoon.
Pro Tip: You are creating a fat-in-water emulsion. The rapid whisking breaks the butter into tiny droplets, while the proteins in the reduced stock act as stabilizers to keep the sauce from breaking or looking greasy.
The Deep Dive:
From a macro perspective, sauteed chicken recipes are a nutritional powerhouse. A standard 6-ounce breast provides roughly 52 grams of high-quality protein with minimal carbohydrates, making it a staple for metabolic health.
Dietary Swaps: For a Keto version, double down on the butter basting and skip the flour dredging entirely. For Vegan guests, this same technique works beautifully with extra-firm tofu or seitan, though you should use a mushroom-based "no-chicken" bouillon for the deglaze to mimic the savory depth. Gluten-Free cooks simply need to ensure their chicken stock is certified GF.
The Fix-It:
- Chicken is sticking: You tried to flip too early. Wait for the protein to undergo "autolysis" where it naturally releases from the metal.
- Burnt garlic: You added it too soon. Always add minced garlic in the last 60 seconds of sauteing to prevent bitterness.
- Tough meat: You likely skipped the rest period. If you cut it immediately, the muscle fibers tighten and squeeze out all the moisture.
Meal Prep: To maintain "day-one" quality, do not microwave your leftovers on high power. This vibrates water molecules so violently they tear the protein structures, resulting in rubbery chicken. Instead, reheat in a covered skillet with a tablespoon of water over low heat to create a gentle steam sauna.
The Wrap-Up:
Mastering the saute is the ultimate "level up" for any home cook. It transforms a Tuesday night chore into a culinary event. By focusing on surface moisture, thermal mass, and the magic of deglazing, you are no longer just following a recipe; you are controlling the physics of flavor. Go forth, use your tongs with pride, and never settle for a grey chicken breast again!
The Kitchen Table:
How do I keep chicken from getting rubbery?
Rubbery chicken is usually caused by overcooking or "woody breast" syndrome. Use a thermometer to pull the meat at 160°F and always allow a five-minute rest to let the fibers relax and reabsorb internal moisture.
Can I saute chicken without oil?
Technically no, as sauteing requires a fat medium for heat conduction. Without fat, the meat will stick and tear. For a healthier option, use a light spray of high-heat avocado oil to provide a thin conductive layer.
Why is my sauteed chicken dry?
Dryness occurs when heat is applied too long, causing protein fibers to shrink and expel liquid. To prevent this, use a heavy pan for even heating and ensure you are not cooking past an internal temperature of 165°F.
What is the best pan for sauteing?
A heavy-bottomed stainless steel or cast iron skillet is best. These materials retain heat efficiently, which is vital for the Maillard reaction. Avoid thin non-stick pans, as they cannot safely reach the high temperatures required for a proper sear.