
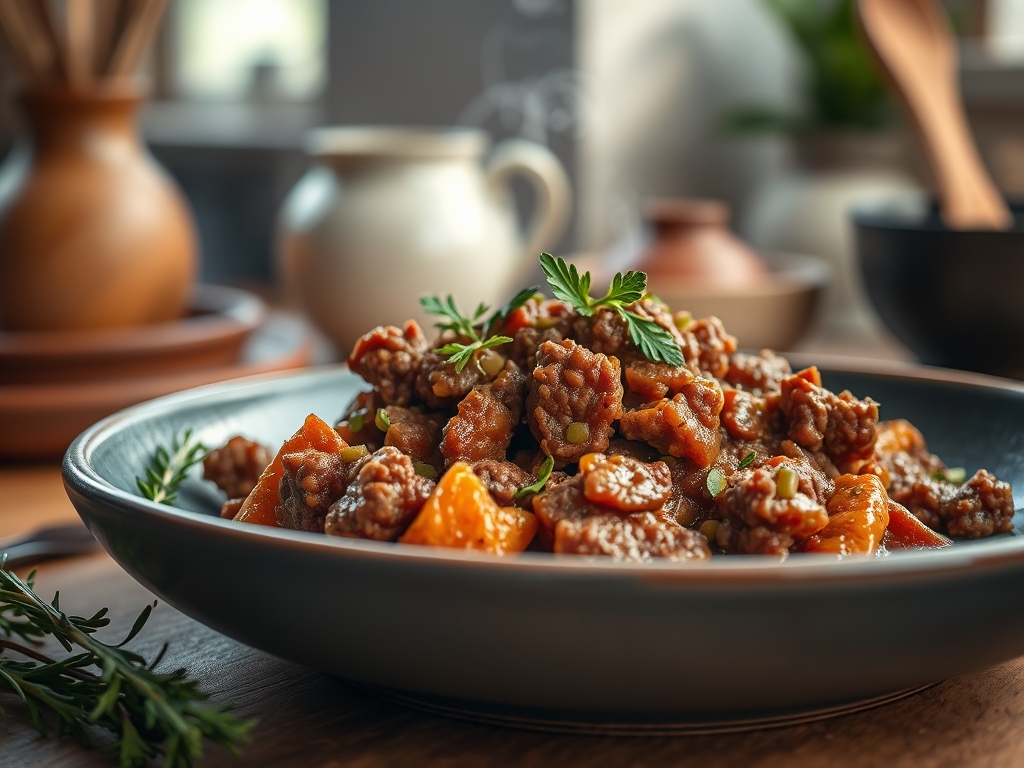
Imagine the scent of slow-simmered savory beef drifting through your home while you are busy conquering the world. These simple crock pot ground beef recipes are the ultimate kitchen cheat code; they transform humble pantry staples into gourmet comfort food with almost zero effort. It is time to let your slow cooker do the heavy lifting while you take all the credit.
The magic of the slow cooker lies in the gentle, consistent application of heat over several hours. This process allows the connective tissues in the meat to soften and the flavors of your aromatics to marry in a way that high-heat cooking simply cannot replicate. Whether you are craving a rich Bolognese, a piquant chili, or a zesty taco filling, the versatility of ground beef is unmatched. By mastering a few basic techniques, you can ensure that every meal is succulent rather than greasy. We are going to dive deep into the molecular side of browning, the importance of fat ratios, and how to maintain that perfect texture throughout an eight-hour simmer.
The Gathers:
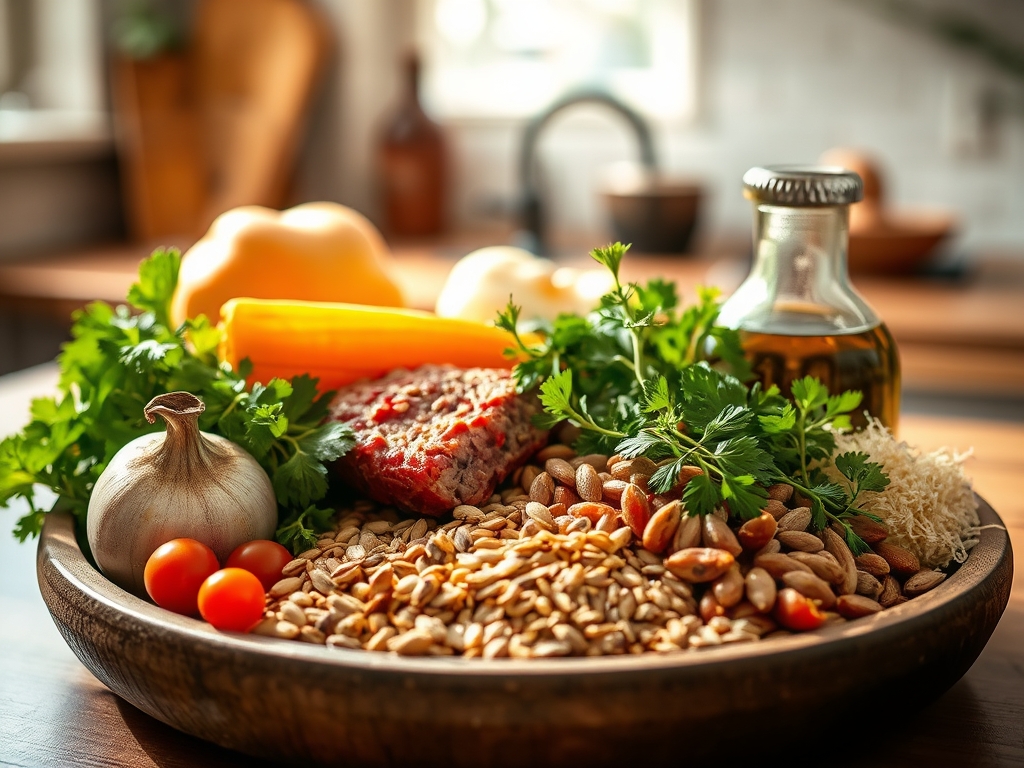
To achieve culinary excellence, your mise-en-place must be precise. Start with high-quality ground beef; ideally an 80/20 or 85/15 lean-to-fat ratio. The fat is essential as it acts as a flavor carrier and prevents the meat from becoming granular or dry during the long cook cycle. You will need a heavy-bottomed skillet for the initial sear, a digital scale for precise portioning, and a microplane for grating fresh garlic or ginger to maximize surface area and oil release.
Your pantry should be stocked with aromatics like yellow onions, which provide a foundational sweetness when the sugars undergo caramelization. For liquid bases, use a viscous bone broth or crushed San Marzano tomatoes to provide body. Smart Substitutions are your best friend here. If you find yourself without beef broth, a splash of soy sauce and water can mimic that savory depth. If you are aiming for a lighter profile, ground turkey or chicken can be swapped in, though you must add a teaspoon of olive oil to compensate for the lower lipid content. Always have a bench scraper nearby to neatly transfer your chopped vegetables from the cutting board to the crock, ensuring no precious flavor is lost in the transition.
The Clock:
The "Chef's Flow" is all about maximizing efficiency so you spend less than fifteen minutes on active preparation. Most simple crock pot ground beef recipes require a "Low" setting for six to eight hours or a "High" setting for three to four hours. The "Low" setting is superior for flavor development as it allows for a slower denaturation of proteins, resulting in a more tender mouthfeel.
Plan your morning by spending ten minutes browning the meat and five minutes dicing your mirepoix. Once the ingredients are in the ceramic insert, your work is done. The thermal mass of the crock pot ensures that even after the unit switches to "Warm," the internal temperature remains safe while the flavors continue to infuse. This window of time is perfect for prepping side dishes like steamed rice or a crisp green salad right before service.
The Masterclass:
1. The Maillard Sear
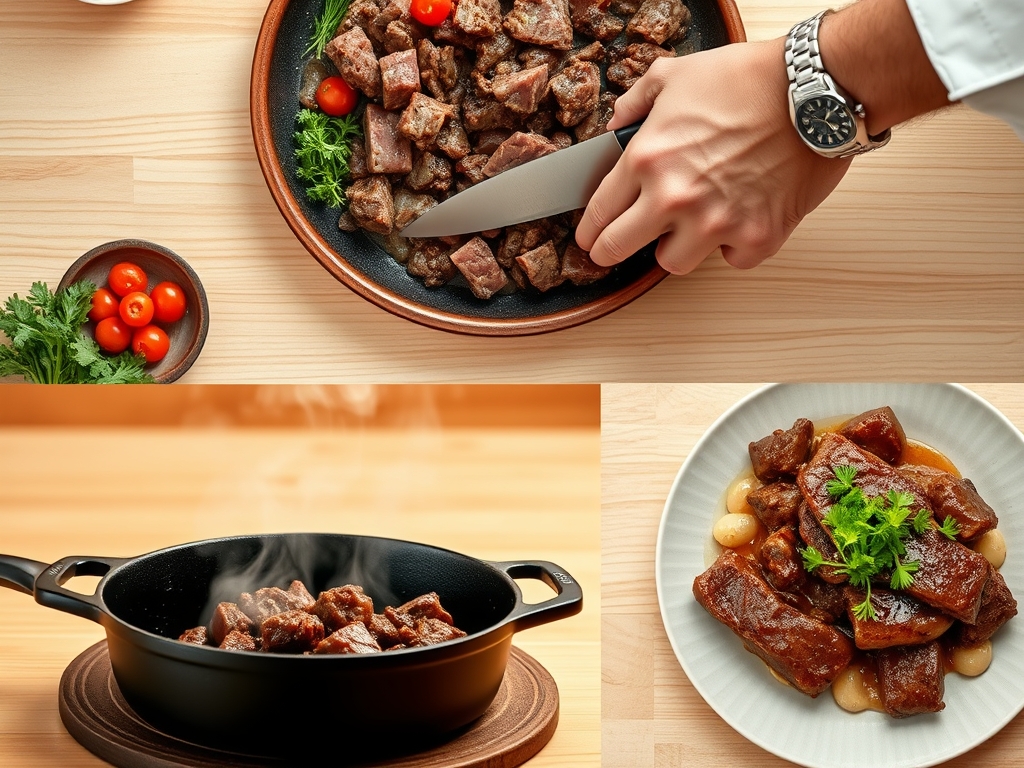
Before the meat ever touches the slow cooker, you must deglaze a heavy-bottomed skillet. Heat the pan until it reaches the smoke point of your oil, then add the beef. Do not crowd the pan; work in batches if necessary to ensure the meat browns rather than steams.
Pro Tip: This browning is the Maillard Reaction, a chemical reaction between amino acids and reducing sugars that creates hundreds of different flavor compounds. Skipping this step results in a gray, lackluster texture and a "boiled" flavor profile.
2. Rendering and Draining
Once the beef is browned, use a slotted spoon to transfer it to the crock pot. If there is excess liquid in the skillet, do not discard it all immediately. Use a small amount to sauté your onions and garlic, picking up the "fond" (the brown bits) from the bottom of the pan.
Pro Tip: Proper lipid management is key. If you leave too much rendered fat in the mix, the finished dish will have an oily sheen. Draining the excess fat ensures the sauce emulsifies properly with the meat.
3. Layering the Aromatics
Place your sturdier vegetables like carrots and celery at the bottom of the crock. These require more direct contact with the heating element to soften. Follow with the browned beef, then pour your liquid components over the top.
Pro Tip: This is known as thermal layering. By placing dense vegetables at the base, you prevent the meat from overcooking while ensuring the vegetables reach a palatable tenderness through conductive heat.
4. The Low and Slow Simmer
Set your crock pot and resist the urge to peek. Every time you lift the lid, you release a significant amount of steam and heat, which can add twenty minutes to your total cook time.
Pro Tip: Maintaining a constant vapor pressure inside the vessel is vital. The recycled moisture bastes the meat continuously, preventing the proteins from becoming tough through evaporation.
5. The Acidic Finish
Just before serving, stir in a bright element like lemon juice, apple cider vinegar, or fresh parsley. This cuts through the richness of the beef and elevates the entire flavor profile.
Pro Tip: This creates palate balance. The acidity acts as a foil to the heavy fats and salts, stimulating the salivary glands and making the flavors appear more vibrant and "awake."
The Deep Dive:
Nutritionally, ground beef is a powerhouse of heme iron, B12, and zinc. For those following a Keto lifestyle, these recipes are naturally low-carb; just ensure your sauces do not contain hidden sugars. For a Gluten-Free version, swap traditional thickeners for a cornstarch slurry or arrowroot powder. If you want to go Vegan, high-quality plant-based crumbles can be used, though you should reduce the cook time by half to prevent the fibers from disintegrating.
The "Fix-It" guide for common pitfalls:
- The Dish is Too Watery: Remove the lid and cook on "High" for thirty minutes to allow for evaporation, or stir in a tablespoon of tomato paste to increase viscosity.
- The Meat is Tough: This usually happens if the beef was too lean. Add a splash of heavy cream or a pat of butter to introduce fats that coat the protein fibers.
- The Flavor is Flat: You likely need more salt or umami. Add a teaspoon of Worcestershire sauce or a pinch of MSG to deepen the savory notes.
For meal prep, reheating is a science. To maintain "day-one" quality, reheat your beef in a saucier over medium-low heat with a tablespoon of water. This creates a small amount of steam that rehydrates the meat without overcooking it in the microwave.
The Wrap-Up:
Mastering simple crock pot ground beef recipes is like having a secret weapon in your culinary arsenal. By understanding the science of the sear and the importance of layering flavors, you turn a basic appliance into a five-star tool. These meals are hearty, healthy, and designed to fit into your chaotic, beautiful life. Now, grab your tongs and get to browning; your future self will thank you when dinner is served!
The Kitchen Table:
Can I put raw ground beef in the crock pot?
Yes, but browning it first is highly recommended. Searing creates the Maillard reaction, which adds essential depth of flavor and improves the texture. If you cook it raw, the meat may turn out gray and have a finer, grainier consistency.
How do I prevent my slow cooker beef from being greasy?
Always brown the beef in a skillet and drain the rendered fat before adding it to the crock pot. For even leaner results, pat the browned beef with paper towels to remove surface oils before combining it with other ingredients.
Why is my ground beef tough after slow cooking?
Toughness usually results from using meat that is too lean or cooking on "High" for too long. Ground beef with a bit of fat (80/20) stays moister. Ensure there is enough liquid in the pot to braise the meat.
Can I freeze these ground beef meals?
Absolutely. These recipes are perfect for freezing. Allow the dish to cool completely before transferring it to airtight containers. Leave a half-inch of space for expansion. Thaw in the refrigerator overnight before reheating gently on the stovetop.