

Imagine the sharp hiss of a heavy-bottomed skillet meeting cold fat; it is the sound of potential energy transforming into pure muscle fuel. For anyone serious about hypertrophy, bodybuilding ground beef recipes are the undisputed backbone of a high-performance kitchen. We are moving beyond the bland, grey crumbles of amateur hour. We are talking about deep, mahogany crusts and perfectly balanced macros that turn a boring meal prep session into a masterclass in culinary physics.
Ground beef is a biological marvel for the athlete. It offers a high bioavailability of heme iron and zinc, essential for oxygen transport and testosterone synthesis. When you understand the molecular dance of proteins and lipids, you stop eating for maintenance and start eating for dominance. Whether you are aiming for a lean bulk or a precision cut, mastering these nine variations will ensure your palate never fatigues before your muscles do. We are going to harness the Maillard reaction to create flavor compounds that do not exist in raw meat, ensuring every bite is as piquant as it is powerful. Grab your digital scale and let us get to work.
The Gathers:
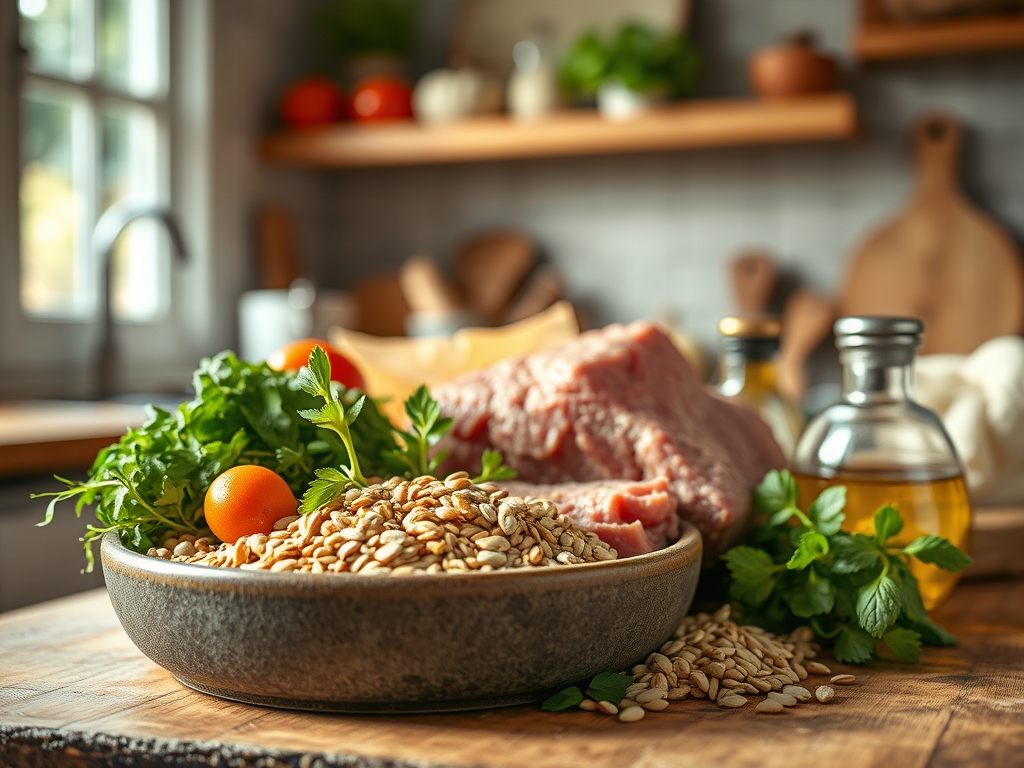
Your mise-en-place is your tactical advantage. To execute these bodybuilding ground beef recipes with precision, you need to organize your workstation with the rigor of a laboratory. Start with high-quality 93/7 or 90/10 lean ground beef. While 80/20 is the darling of the burger world, the athlete requires a higher protein-to-fat ratio to manage caloric density. You will need a variety of aromatics: minced garlic, translucent shallots, and ginger root ready for the microplane.
Smart Substitutions:
If you are looking to increase the volume without skyrocketing the calories, lean on "The Great Diluters." Finely minced white button mushrooms or riced cauliflower can be folded into the beef. This not only adds fiber but increases the hygroscopic capacity of the dish, meaning it stays juicy even after reheating. For those avoiding nightshades, swap paprika for ground sumac to maintain a bright, acidic profile. Always keep a high-smoke-point oil on hand, such as avocado oil, to ensure you can reach the temperatures necessary for searing without the oil breaking down into acrid, bitter compounds.
The Clock: Chef's Flow
Efficiency is the difference between a lifestyle and a chore. The "Chef's Flow" dictates that you should never be standing still while the stove is on. Total prep time for a bulk batch of these recipes is roughly 20 minutes, with a cook time of 15 minutes per batch.
Start by calibrating your digital scale. While the skillet preheats, perform all your knife work. Use a bench scraper to move your aromatics from the cutting board to the pan without dulling your blade. By the time the pan reaches 400 degrees Fahrenheit, your ingredients should be staged in order of their moisture content. High-moisture vegetables go in last to prevent them from steaming the meat and ruining your crust.
The Masterclass:
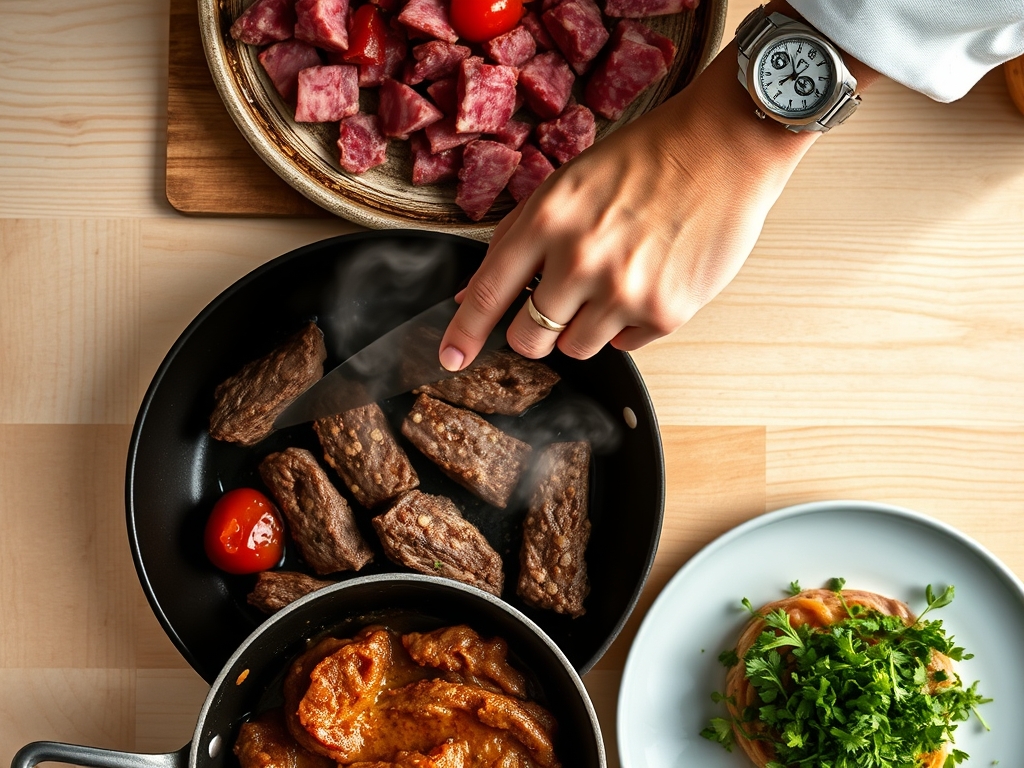
1. The High-Heat Sear
Place your beef in the hot skillet but do not touch it for at least three minutes. You are waiting for the Maillard reaction, a chemical reaction between amino acids and reducing sugars that gives browned food its distinctive flavor.
Pro Tip: This is not just about color; it is about chemistry. If you crowd the pan, the water vapor cannot escape, causing the meat to boil in its own juices rather than sear. Work in batches to maintain high surface tension.
2. Deglazing the Fond
Once the meat is browned and removed, you will see brown bits stuck to the bottom of the pan. This is called the fond. Pour in a splash of beef bone broth or a piquant vinegar to lift these concentrated flavor molecules.
Pro Tip: Use a wooden spatula to scrape the bottom. This process, known as deglazing, incorporates denatured proteins back into your sauce, creating a more viscous and complex flavor profile without adding fat.
3. Infusing Aromatics
Lower the heat and add your garlic, shallots, or ginger. You want to sweat these ingredients until they are translucent and fragrant, but not burnt.
Pro Tip: Garlic contains allicin, which is heat-sensitive. Adding it too early destroys its health benefits and creates a bitter profile. Adding it at the end of the fat-rendering phase preserves its aromatic integrity.
4. Emulsifying the Sauce
If your recipe calls for a sauce, such as a low-sugar teriyaki or a spicy tomato base, add it now. Use a whisk or a saucier to combine the fats and liquids into a stable emulsion.
Pro Tip: A stable emulsion ensures that every morsel of beef is coated evenly. If your sauce breaks, a teaspoon of mustard or a splash of starchy pasta water can act as a bridge between the oil and water molecules.
5. The Rest and Carryover
Remove the pan from the heat when the beef is just slightly underdone. The internal temperature will continue to rise by 5 to 10 degrees due to thermal carryover.
Pro Tip: Resting the meat allows the protein fibers to relax and reabsorb the juices. If you serve it immediately, the moisture will leak out onto the plate, leaving you with dry, rubbery results.
The Deep Dive:
Macro Nutrition
On average, a 6-ounce serving of these bodybuilding ground beef recipes provides 35-40 grams of protein, 10-12 grams of fat, and 0-5 grams of carbohydrates (depending on your choice of sauce). This makes it a perfect "anchor" for your daily macros.
Dietary Swaps
- Keto: Replace any sugar in sauces with monk fruit sweetener and serve over sautéed spinach.
- Vegan: While this guide focuses on beef, you can apply the same searing techniques to crumbled extra-firm tofu or tempeh, though you will need to add more liquid aminos to mimic the umami of beef.
- Gluten-Free: Always use tamari or coconut aminos in place of soy sauce to avoid hidden wheat fillers.
The Fix-It: Common Pitfalls
- Problem: The meat is grey and "steamed." Fix: Your pan wasn't hot enough or was too crowded. Next time, use a larger surface area or a cast-iron skillet which has higher heat retention.
- Problem: The dish is too salty. Fix: Add a splash of acid, like lime juice or rice vinegar. The acid masks the perception of saltiness on the tongue.
- Problem: The beef is tough. Fix: You likely overcooked it. Use a digital thermometer to pull the beef at 155 degrees Fahrenheit, allowing carryover to reach the safe 160 mark.
Meal Prep: Reheating Science
To maintain "day-one" quality, do not microwave on high. Use the 50% power setting. This prevents the proteins from tightening further and becoming "rubbery." Adding a tablespoon of water or broth to the container before heating creates a steam chamber that rehydrates the meat.
The Wrap-Up:
You are now armed with the technical prowess to turn a simple pound of ground beef into a culinary powerhouse. By focusing on the science of searing, the precision of aromatics, and the physics of heat transfer, you have elevated your meal prep from a chore to a craft. These bodybuilding ground beef recipes are more than just fuel; they are the delicious evidence of your dedication to the sport. Now, go get those gains!
The Kitchen Table:
How do I keep ground beef from getting dry?
Avoid over-stirring the meat while it browns. Use a high-heat sear to lock in moisture and pull the meat off the heat at 155 degrees, allowing carryover cooking to finish the job without dehydrating the protein fibers.
What is the best fat percentage for bodybuilding?
A 90/10 or 93/7 lean-to-fat ratio is ideal. It provides enough fat for fat-soluble vitamin absorption and flavor while keeping the caloric density low enough to allow for larger, more satiating portions of protein.
Can I freeze these beef meals?
Yes. Use airtight glass containers to prevent freezer burn. When reheating, add a splash of water and cover to create steam, which prevents the beef from becoming granular or tough during the second heat cycle.
How do I add flavor without adding calories?
Utilize dry spices, vinegars, and aromatics like garlic and ginger. These provide intense flavor profiles through essential oils and acids without the caloric load of heavy oils, sugars, or butter-based sauces.