
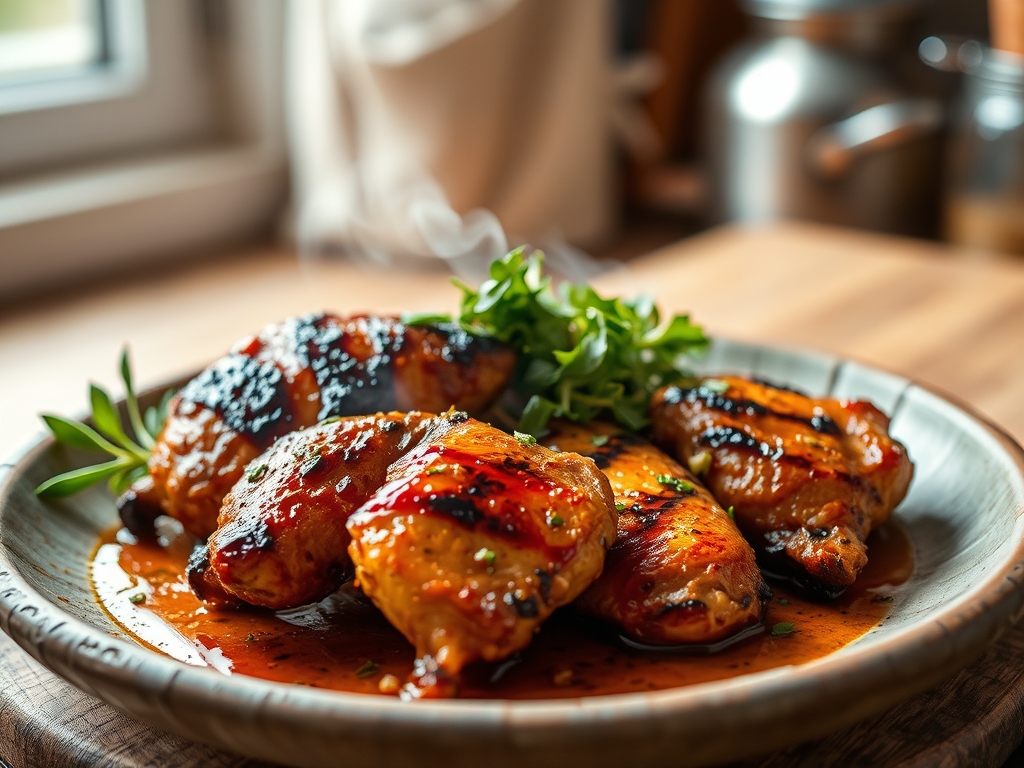
Picture the scene: a midsummer evening where the air is thick with the scent of charred hickory and the piquant tang of vinegar. You are standing over the grates, watching the heat transform pale protein into a glistening, mahogany masterpiece. Achieving the ultimate result with bbq chicken recipes grilled is not just about luck; it is a calculated dance of thermodynamics and sugar chemistry. Most home cooks struggle with the dreaded "blackened outside, raw inside" syndrome, but we are going to fix that today. We are moving beyond the basic backyard char and diving into the molecular mechanics of the perfect bird. By understanding how heat interacts with connective tissue and how sugars caramelize without burning, you will elevate your grilling game from amateur hour to pitmaster status. This is about more than just dinner. It is about mastering the flame to create a sensory experience that lingers long after the last bone is polished clean. Let us get your apron on and your digital thermometer calibrated.
The Gathers:
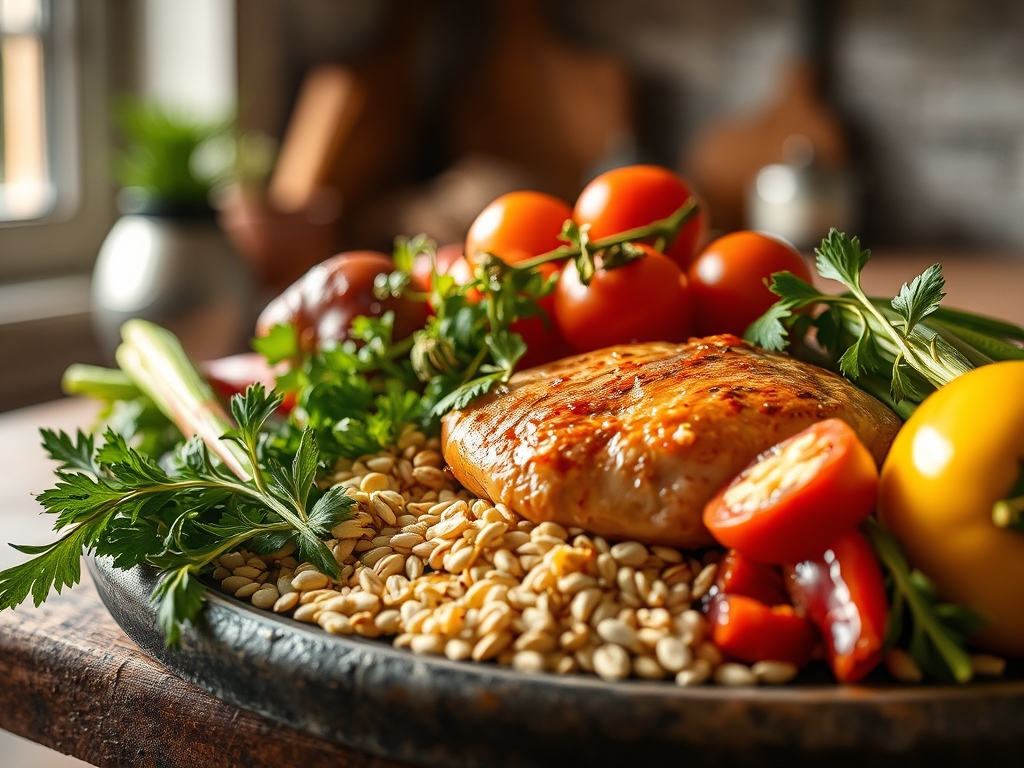
To execute world class bbq chicken recipes grilled, your mise-en-place must be precise. Start with high quality chicken thighs or breasts; I prefer bone-in, skin-on thighs for their superior fat content and resilience against high heat. You will need a coarse kosher salt to initiate denaturation, which allows the meat to retain moisture. For the rub, gather smoked paprika, garlic powder, onion powder, and a touch of dry mustard. The mustard contains compounds that act as a natural emulsifier when the fat begins to render.
Your sauce is the crown jewel. Whether you choose a Kansas City style or a vinegar-based Carolina mop, ensure it has a high viscosity. You will also need a high smoke point oil, like avocado or grapeseed oil, to coat the grates.
Smart Substitutions: If you are out of honey for your glaze, use maple syrup or agave; both provide the necessary glucose for the Maillard reaction. If you lack a traditional grill, a heavy-bottomed cast iron grill pan can simulate the sear, provided you manage the smoke point of your fats carefully. Use a microplane to zest a bit of lemon into your rub for an aromatic lift that cuts through the heavy lipids.
The Clock:
The "Chef's Flow" is all about timing and temperature management. Total active prep time is roughly 20 minutes, but the passive time is where the magic happens. You should salt your chicken at least 4 hours in advance; this is a dry brine that restructures the protein filaments.
The actual cook time ranges from 35 to 45 minutes for bone-in pieces. You must account for the "stall," where evaporative cooling slows the internal temperature rise. Finally, factor in a mandatory 10 minute rest period. This allows the internal pressure to stabilize, ensuring the juices stay within the muscle fibers rather than spilling onto your cutting board.
The Masterclass:
1. The Dry Brine Ritual
Apply a generous coating of kosher salt to the skin and underneath it. Place the chicken on a wire rack over a sheet pan and refrigerate uncovered. This allows the skin to dehydrate, which is essential for achieving a crisp texture rather than a rubbery one.
Pro Tip: This process utilizes osmosis. Initially, salt draws moisture out, but eventually, that concentrated brine is reabsorbed into the meat, seasoning it deeply and breaking down tough proteins.
2. Tempering the Protein
Remove your chicken from the refrigerator 30 minutes before it hits the heat. Bringing the meat closer to room temperature ensures a more even cook and prevents the muscle fibers from seizing up when they hit the hot grate.
Pro Tip: This reduces the thermal gradient between the exterior and the core, preventing a charred outside and an undercooked center.
3. Establishing Two-Zone Heating
Set up your grill with a hot side for searing and a cool side for indirect cooking. Use high quality lump charcoal or calibrated gas burners. Clean your grates with a wire brush and oil them using long tongs and a folded paper towel.
Pro Tip: Indirect heat allows for convection cooking. This mimics an oven, allowing the internal temperature to rise steadily without the sugars in the rub burning.
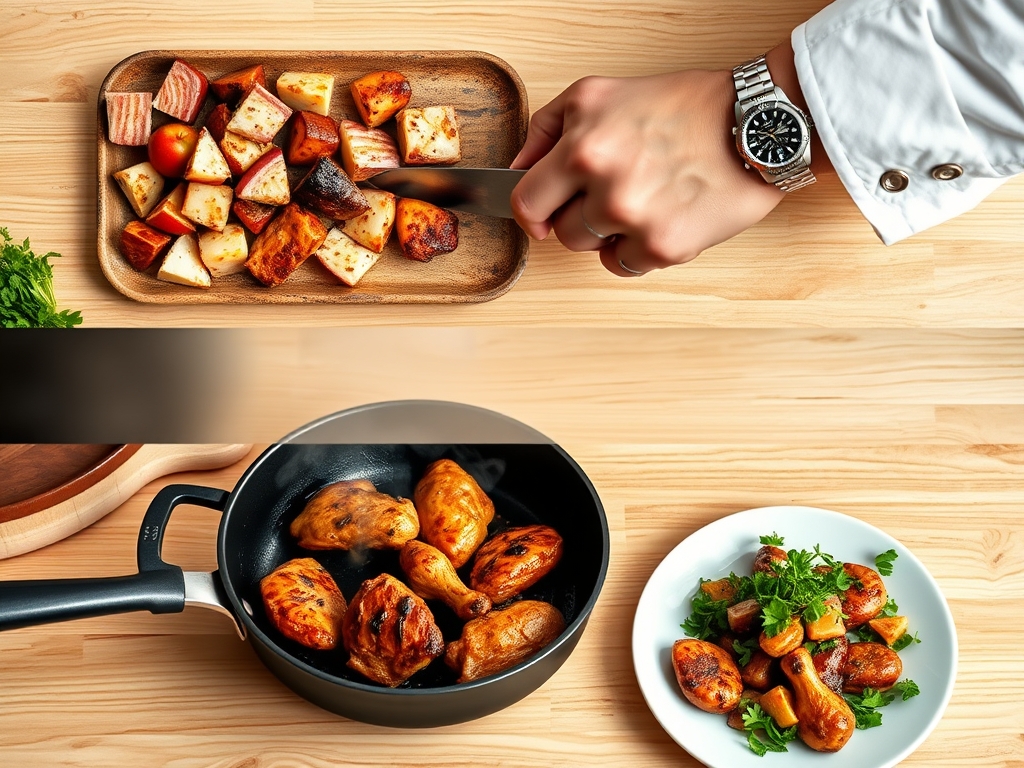
4. The Initial Sear
Place the chicken skin side down over the direct heat. Use your tongs to press the meat firmly against the grates to maximize surface contact. Look for those iconic grill marks, which are the result of localized pyrolysis.
Pro Tip: This step initiates the Maillard reaction, creating hundreds of new flavor compounds that give grilled meat its savory, "umami" depth.
5. The Indirect Migration
Once the skin is golden and the fat has begun to render, move the chicken to the cool side of the grill. Close the lid to trap the heat. This is where the connective tissue, specifically collagen, begins to transform into silky gelatin.
Pro Tip: Maintaining a steady ambient temperature of 325 degrees Fahrenheit ensures the meat stays succulent while the bone conducts heat to the center.
6. The Glazing Phase
Only apply your BBQ sauce during the final 10 minutes of cooking. Use a silicone basting brush to coat the pieces evenly. The sauce should bubble and become tacky, but it should not turn black.
Pro Tip: Most BBQ sauces are high in fructose. If applied too early, the sugar will undergo caramelization too quickly and eventually burn, creating a bitter carbon crust.
7. Monitoring the Internal Temp
Use a high quality digital meat thermometer to check the thickest part of the thigh. You are aiming for 165 degrees Fahrenheit for breasts and 175 degrees for thighs to ensure the dark meat is fully tender.
Pro Tip: Always account for thermal carryover. The internal temperature will typically rise another 5 degrees after you remove the chicken from the grill.
8. The Mandatory Rest
Transfer the chicken to a clean platter and tent it loosely with foil. Do not wrap it tightly, or the steam will soften the crispy skin you worked so hard to achieve.
Pro Tip: Resting allows the viscosity of the internal juices to increase as they cool slightly, meaning they will cling to the meat fibers instead of running off.
The Deep Dive:
Macro Nutrition: A standard serving of grilled BBQ chicken (about 6 ounces) provides roughly 45g of protein and 12g of fat, depending on the cut. The carbohydrate count is primarily determined by your sauce; a standard molasses-based sauce can add 15 to 20g of sugar per serving.
Dietary Swaps: For a Keto version, swap the sugar-heavy sauce for a mustard-based vinegar mop or a sugar-free alternative using monk fruit. Vegan enthusiasts can apply these same dry rub and glazing techniques to thick "steaks" of cauliflower or firm tofu, though the cook times will be significantly shorter. For Gluten-Free guests, ensure your liquid smoke or Worcestershire sauce is certified GF.
The Fix-It:
- Flare-ups: If grease causes flames to lick the meat, move the chicken to the cool zone immediately. Do not use water; it creates steam that ruins the skin.
- Rubbery Skin: This happens if the heat is too low. Finish the chicken with a quick 60 second sear over direct heat at the very end.
- Dry Meat: If you overcook the chicken, shred it and toss it with extra sauce and a splash of apple cider vinegar to reintroduce moisture.
Meal Prep: To reheat and maintain "day-one" quality, avoid the microwave. Use a toaster oven or air fryer at 350 degrees Fahrenheit. This re-crisps the skin and prevents the "warmed-over flavor" caused by lipid oxidation.
The Wrap-Up:
Mastering bbq chicken recipes grilled is a rewarding blend of culinary art and chemical science. By focusing on the dry brine, managing your heat zones, and timing your sugar application, you transform a simple bird into a gourmet feast. Remember, the grill is an extension of your kitchen; treat it with the same precision you would a delicate souffle. Now, go forth, fire up those coals, and show your friends what a real pitmaster can do.
The Kitchen Table:
How do I prevent chicken from sticking to the grill?
Ensure your grates are scrubbed clean and well-oiled. Most importantly, do not try to flip the meat too early. The chicken will naturally "release" from the grates once the surface proteins have properly seared and hardened.
What is the best temperature for grilling chicken?
Aim for a medium-high heat of around 350 to 400 degrees Fahrenheit for the grill surface. This allows for a proper sear while the indirect zone remains cool enough to finish the interior without drying it out.
Can I use frozen chicken for BBQ?
It is highly discouraged. Thaw chicken completely in the refrigerator before grilling. Frozen centers lead to uneven cooking, where the outside burns before the inside reaches a safe internal temperature of 165 degrees Fahrenheit.
Why is my BBQ chicken always dry?
You likely skipped the brine or overcooked it. Use a digital thermometer to pull the chicken at 160 degrees (for breasts), allowing carryover heat to reach 165. Always use bone-in cuts for maximum moisture retention.
Should I leave the grill lid open or closed?
Keep the lid closed when using indirect heat. This creates a convection oven effect that cooks the chicken evenly. Only leave the lid open during the initial searing phase to closely monitor the Maillard reaction and prevent flare-ups.