
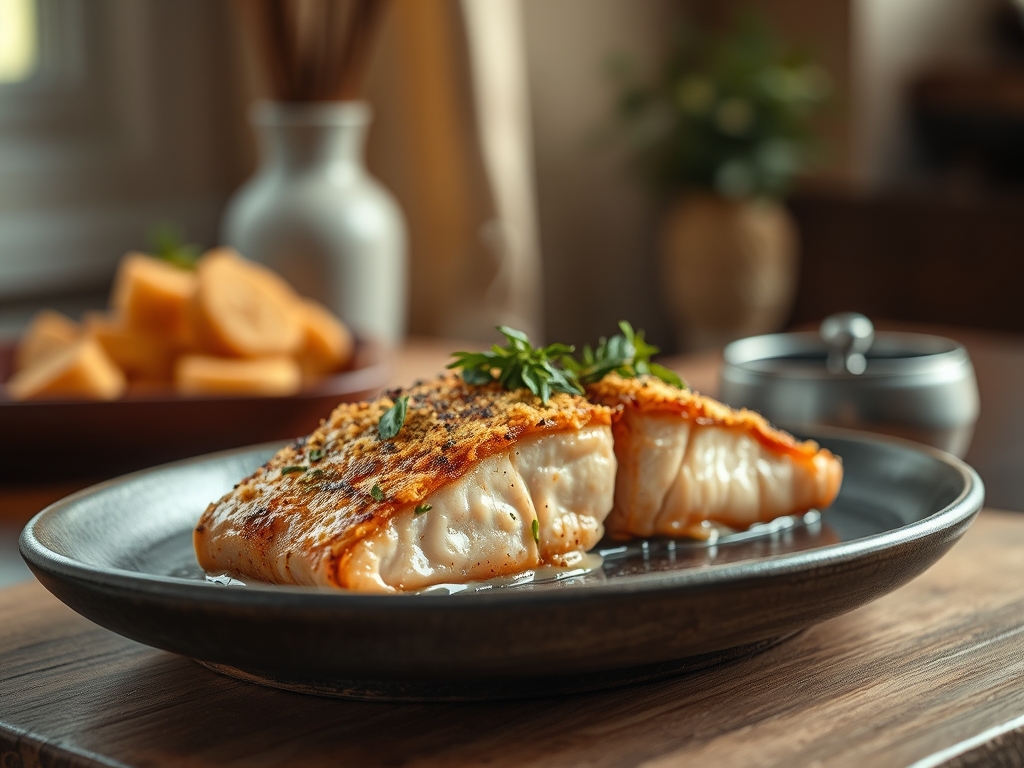
The sound of a can opener piercing a metal lid is the modern dinner bell for the savvy home cook. You are looking at a powerhouse of omega-3 fatty acids and high-quality protein that is shelf-stable and ready for a transformation. When we talk about can salmon recipes baked to perfection, we are moving far beyond the soggy patties of the past. We are entering a world of golden-brown crusts; delicate, flaky interiors; and the kind of umami-rich flavors that make your family forget they are eating out of the pantry. By leveraging the Maillard reaction in a high-heat oven environment, we can turn humble tinned fish into a sophisticated centerpiece. This is about working smarter, not harder, in the kitchen. We are going to use heat to evaporate excess moisture while concentrating the natural oils of the fish, resulting in a texture that rivals fresh fillets. Whether you are aiming for a crispy Mediterranean bake or a spicy Asian-inspired loaf, the oven is your best friend for achieving uniform heat distribution without the mess of stovetop splashing.
The Gathers:
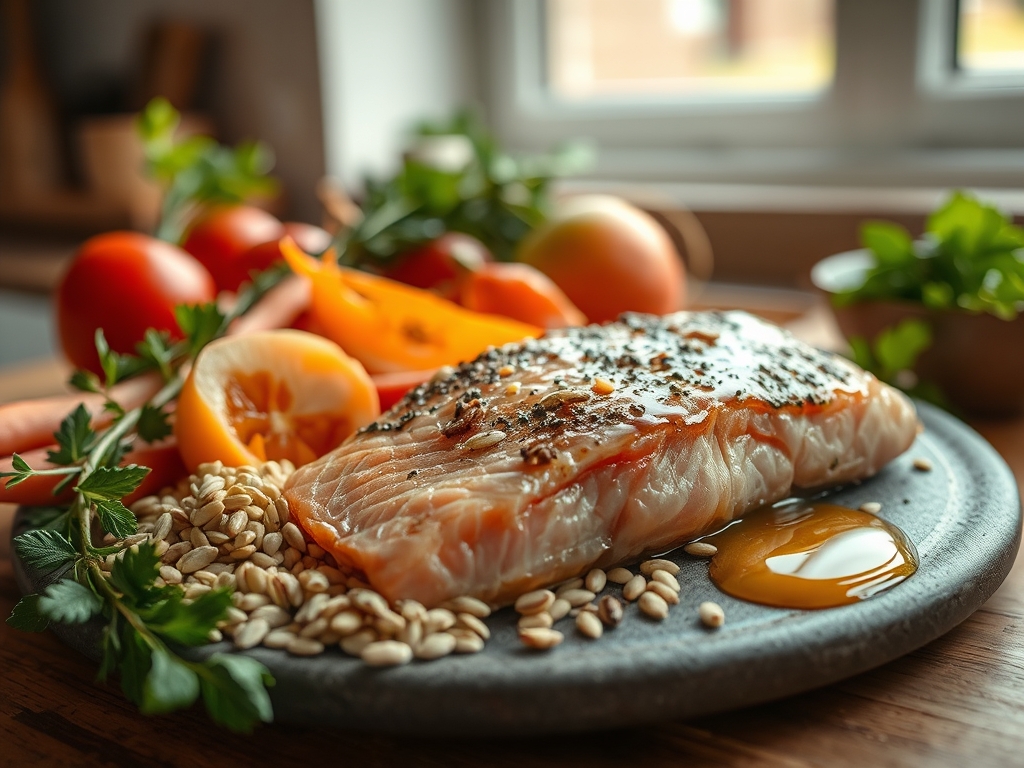
To begin our journey into can salmon recipes baked for flavor, we must assemble a mise-en-place that respects the chemistry of the ingredients. Start with high-quality pink or sockeye salmon; ensure you have a digital scale to measure your binders accurately. You will need a microplane for zesting citrus and grating aromatics like garlic and ginger to maximize surface area and flavor release. For the binding agent, we use a combination of panko breadcrumbs and a viscous binder like Greek yogurt or a light mayonnaise. This creates a protein-fat emulsion that keeps the salmon moist during the dehydration process of baking.
Smart Substitutions: If you are avoiding gluten, swap the panko for crushed pork rinds or almond flour to maintain that essential crunch. For those who find the traditional canned flavor too piquant, a quick soak in cold water or a splash of lemon juice can neutralize the trimethylamine, the compound responsible for that "fishy" scent. Always include a handful of fresh herbs like dill or parsley; the volatile oils in fresh greens provide a necessary lift to the dense, preserved fish.
The Clock
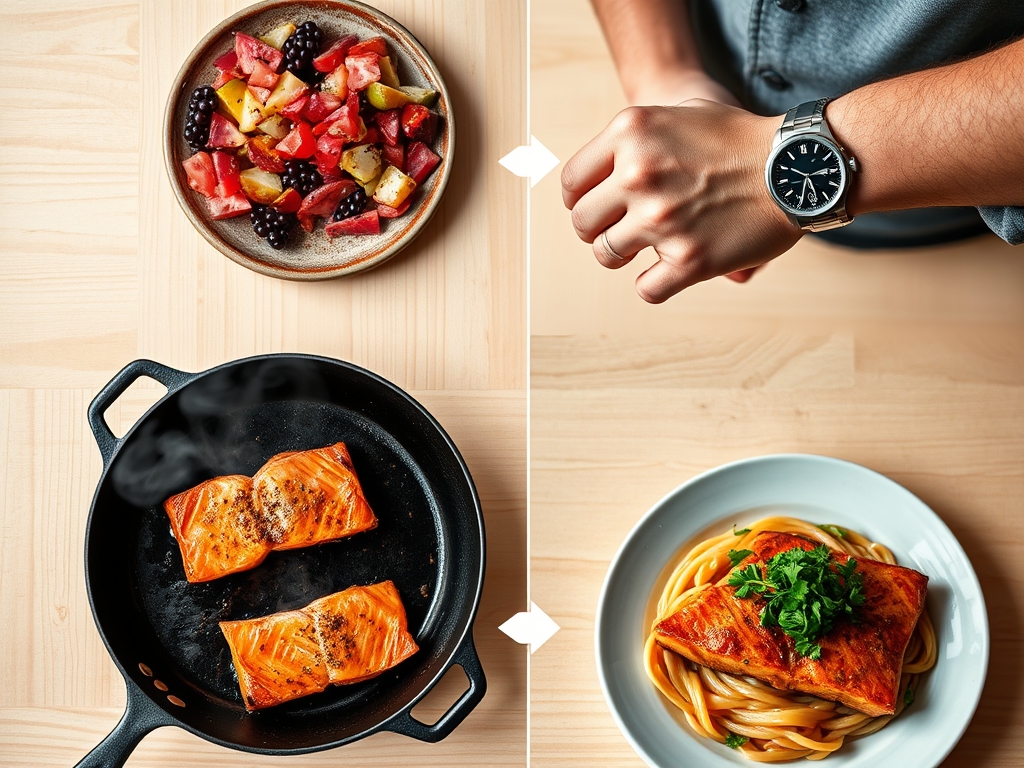
Efficiency in the kitchen is all about the "Chef's Flow." For these bakes, expect a total prep time of 15 minutes and a bake time of 20 to 25 minutes. The goal is to reach an internal temperature of 145 degrees Fahrenheit. While the oven preheats to a steady 400 degrees, you are multitasking. Use the first five minutes to drain the salmon and remove any skin or bones with a bench scraper or fork. The next ten minutes are for the "build," where you fold in your aromatics. The bake time is your "reset" period; use it to prepare a crisp side salad or a light vinaigrette in a saucier. This flow ensures that by the time the timer dings, your kitchen is clean and your sides are ready.
The Masterclass
1. The Prep and Drain
Empty the cans into a fine-mesh strainer and press firmly. Removing excess liquid is vital to prevent a "steamed" texture. Use a fork to flake the meat into uniform bite-sized pieces, ensuring even heat penetration.
Pro Tip: This step prevents the "soggy bottom" syndrome. By removing the canning liquid, you allow the heat to immediately begin the Maillard reaction on the surface of the fish rather than wasting energy evaporating water.
2. The Binder Infusion
In a large mixing bowl, combine your Greek yogurt, Dijon mustard, and aromatics. Whisk until the mixture is a smooth, viscous consistency before folding in the salmon. This ensures every flake is coated in a protective fat layer.
Pro Tip: The fats in the binder act as a thermal insulator. This slows down the coagulation of proteins, preventing the salmon from becoming rubbery or dry in the high-heat environment of the oven.
3. The Aeration Fold
Add your breadcrumbs and herbs. Use a spatula to "fold" rather than "stir." You want to aerate the mixture to keep it light and fluffy. Over-mixing will crush the delicate flakes and result in a dense, heavy bake.
Pro Tip: Keeping the mixture aerated creates small air pockets. These pockets trap steam during the baking process, which helps to puff up the bake and creates a more delicate mouthfeel.
4. The Structural Formation
Transfer the mixture into a parchment-lined baking dish or form into individual cakes on a sheet pan. Use a bench scraper to square off the edges for even cooking. Brush the top with a thin layer of melted butter or olive oil.
Pro Tip: Brushing the surface with lipids facilitates even browning. The oil acts as a heat conductor, ensuring that the exterior reaches the high temperatures needed for caramelization while the interior remains moist.
5. The Thermal Finish
Slide the dish into the center rack of the oven. Bake until the edges are golden and the center is firm to the touch. Do not overbake; remember that thermal carryover will continue to cook the fish for several minutes after it leaves the oven.
Pro Tip: Thermal carryover can raise the internal temperature by 5 to 10 degrees after removal. Pulling the dish at 140 degrees ensures it hits the perfect 145 degrees by the time it reaches the table.
6. The Rest and Release
Allow the bake to sit for five minutes before slicing. This allows the proteins to firm up and the juices to redistribute, ensuring a clean cut and a moist bite.
Pro Tip: Resting allows the steam pressure inside the bake to stabilize. If you cut into it immediately, the steam escapes instantly, which can lead to a dry finished product.
The Deep Dive
From a macro perspective, canned salmon is a nutritional goldmine. It is naturally low in carbohydrates and high in selenium and Vitamin D. For a Keto version, simply replace the breadcrumbs with crushed macadamia nuts or extra parmesan cheese. For a Vegan alternative, though it changes the profile, mashed chickpeas with seaweed flakes can mimic the texture and saline flavor of the sea.
The Fix-It:
- Falling Apart: If your cakes are crumbling, your binder ratio is too low. Add an extra egg yolk to increase the protein-based "glue."
- Too Dry: You likely over-mixed or over-baked. Next time, add a tablespoon of olive oil to the mix and check the temp five minutes early.
- Bland Flavor: Canned fish needs acid. Increase your lemon zest or add a teaspoon of capers to provide a piquant counterpoint to the rich oils.
Meal Prep: To reheat, avoid the microwave as it turns fish rubbery. Use a toaster oven at 350 degrees for 8 minutes. This re-activates the fats and restores the crisp exterior for "day-one" quality.
The Wrap-Up
Mastering can salmon recipes baked in your own kitchen is a total game changer for busy weeknights. It is the perfect marriage of pantry convenience and high-end culinary technique. By focusing on moisture control, proper binding, and the science of the Maillard reaction, you can turn a basic staple into a gourmet family favorite. Go ahead and pop those lids; your most impressive, effortless dinner is only twenty minutes away.
The Kitchen Table
Can I use the bones and skin in the bake?
Yes. The canning process softens the bones until they are completely edible and rich in calcium. Simply mash them into the salmon with a fork. They provide a structural boost and extra minerals without affecting the final texture of the bake.
How do I prevent the salmon from smelling fishy?
Freshness is key, but for canned varieties, rinse the salmon in cold water and pat dry. Adding acidic elements like lemon juice, vinegar, or tartar sauce neutralizes the amines responsible for the strong scent, leaving a clean flavor.
What is the best binder for a crispy salmon bake?
A combination of panko breadcrumbs and an egg provides the best structural integrity. The egg proteins denature and "set" the shape, while the panko absorbs excess moisture and creates a crunchy, golden-brown crust during the baking process.
Can I freeze baked salmon cakes?
Absolutely. Flash-freeze the formed, unbaked cakes on a tray before transferring them to a vacuum-sealed bag. You can bake them directly from frozen; just add an extra ten minutes to the total cooking time to ensure the center is heated through.